 by
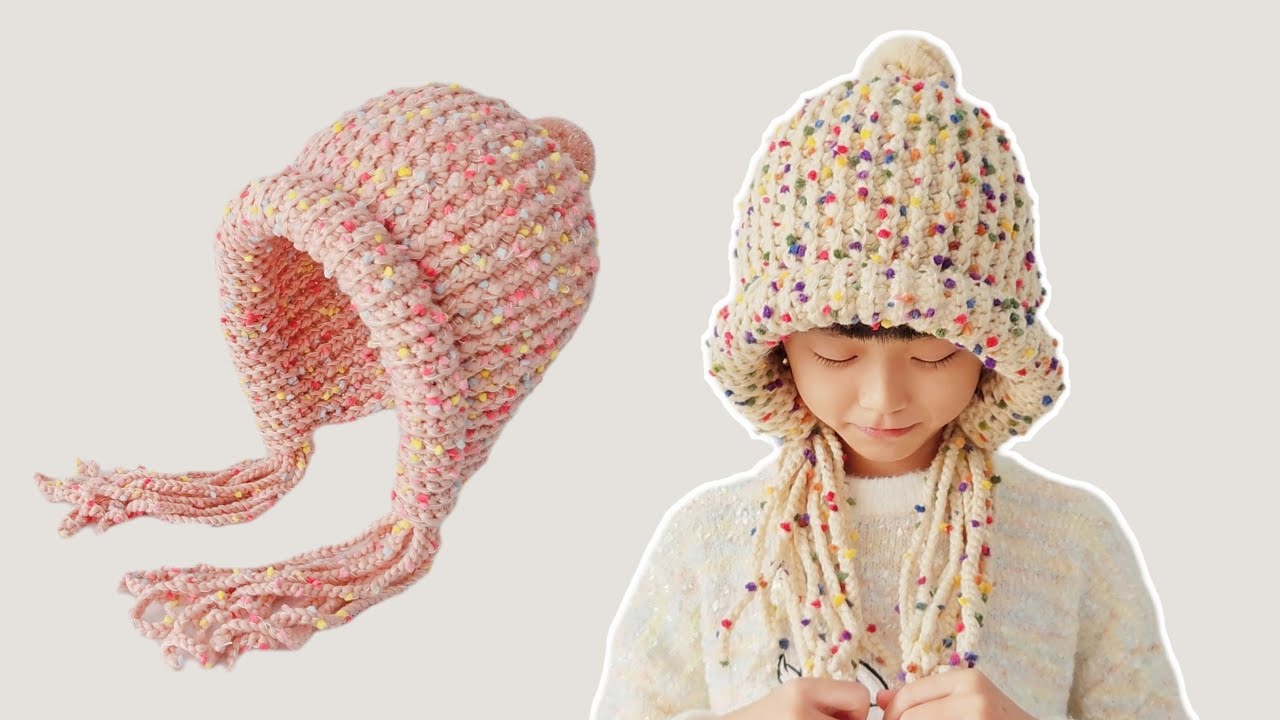
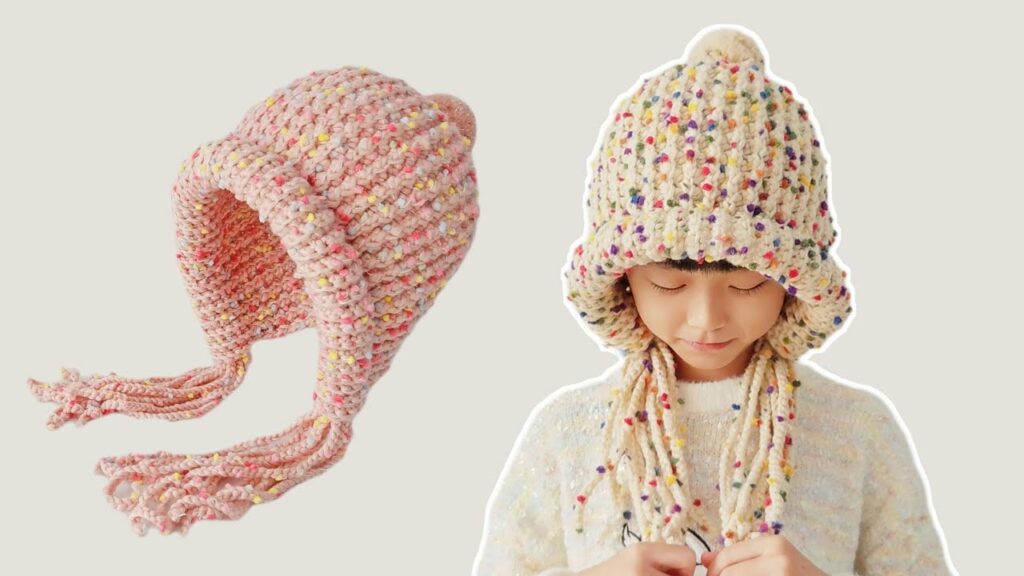
by Beyond its primary function of warding off the cold, a handmade hat possesses the unique power to transport us to a world of imagination. The “Crochet Ear Protection Hat with Eyes Full of Colorful Stars” is a whimsical testament to this idea, combining the practical warmth of ear coverage with a burst of cosmic wonder. This hat is not merely an accessory; it’s a miniature universe worn on the head, inviting smiles and sparking dreams with its enchanting design.
Beyond Basic Warmth: The Essence of Ear Protection
At its core, this hat serves the vital purpose of keeping little (or big!) ears cozy and protected from biting winds and chilly temperatures.
- Integrated Warmth: Ear protection hats are designed with extensions or flaps that cup over the ears, ensuring maximum warmth and comfort. These can be seamlessly integrated into the hat’s body, or added as distinct, shaped pieces.
- Secure Fit: A well-designed ear protection hat fits snugly around the head, preventing cold air from seeping in, yet remains comfortable for extended wear. Ties often extend from the earflaps to secure the hat under the chin.
- Comfort Through Material: The choice of yarn is paramount. Soft, non-itchy fibers are essential, especially for sensitive skin, ensuring that the hat’s warmth is always a welcome embrace.
“The Eyes of the Spirit are Full of Colorful Stars”: Decoding the Whimsy
This evocative phrase is the heart and soul of the hat’s unique aesthetic, transforming a functional item into a piece of wearable art brimming with imagination:
- The “Eyes of the Spirit” Element: This refers to a prominent, central focal point on the hat that metaphorically serves as its “gaze” or “spirit.”
- Central Motif: Often, this is achieved through a large, circular, or oval design strategically placed on the hat’s front. This “eye” can be a solid block of contrasting color, a mesmerizing spiral of shifting hues, or a complex mosaic pattern that draws the viewer in.
- Subtle Animation: While not overtly cartoonish, the “eye” can be enhanced with small, thoughtful details – perhaps a contrasting center circle acting as a pupil, or the clever placement of stitches that suggest a knowing or playful “look.”
- A Hat That “Looks Back”: The overall design creates a sense that the hat itself is an enchanted entity, looking out at the world with wonder and whimsy.
- “Full of Colorful Stars”: Where the Magic Twinkles This is where the hat truly comes alive with cosmic energy and vibrant charm:
- Color Explosion: The “stars” are brought to life through a rich tapestry of colors.
- Variegated or Speckled Yarns: These are often ideal for naturally creating a “starry” or nebular effect, with their inherent shifts and pops of color resembling distant galaxies.
- Planned Colorwork: Using intarsia or stranded colorwork techniques, you can crochet actual star shapes, concentric rings of varying hues, or abstract bursts of color directly into the “eye” motif or across the entire hat.
- Sequined or Glitter Yarns: For literal, undeniable sparkle, these yarns can be used for the entire hat, or strategically placed within the “eye” area to mimic twinkling constellations.
- Star Motifs & Embellishments:
- Crocheted Star Stitches: Techniques like the puff star stitch, simple star stitch, or jasmine stitch create textured, star-like patterns directly within the fabric, adding dimension.
- Star Appliques: Small, separately crocheted stars can be made in various colors and sewn onto the “eye” area, the earflaps, or scattered across the hat’s body.
- Bead Embellishments: Tiny seed beads, sequin beads, or small crystal beads can be meticulously sewn onto the surface to simulate individual twinkling stars, catching the light as the hat moves.
- Yarn Blends: Using yarns with metallic threads, subtle shimmers, or contrasting fiber textures adds another layer of visual interest, enhancing the “cosmic” feel.
- Color Explosion: The “stars” are brought to life through a rich tapestry of colors.
Design Philosophy: Merging Function and Fantasy
The “Crochet Ear Protection Hat with Eyes Full of Colorful Stars” is a perfect example of how craft can transcend utility. It’s a design philosophy that embraces:
- Playful Expression: It’s a hat that encourages imagination, turning a simple covering into a source of joy and storytelling for the wearer and observer alike.
- Miniature Universe: The hat becomes a wearable galaxy, bringing the wonder of the night sky down to a personal scale.
- Personalization: The possibilities for customizing the “eye” design, the color palette for the stars, and the density of embellishments are endless, allowing each hat to be a unique reflection of its wearer’s spirit.
Choosing Your Tools & Materials:
Bringing this cosmic vision to life requires thoughtful material choices:
- Yarn (Crucial for warmth, comfort, and the “starry” effect):
- Fiber: Soft acrylics (durable, washable, vast color range, excellent for incorporating glitter or specialty textures), superwash merino wool (warm, breathable, good stitch definition), or cozy blends.
- Weight: Worsted (Category 4) or DK (Category 3) are most common for hats, providing good warmth without excessive bulk.
- Color: Consider a solid, rich color for the main hat body (like deep blue, purple, or black for a night sky effect), with contrasting vibrant colors for the “eye” and stars.
- Specialty Yarns: Look for yarns with metallic threads, subtle shimmers, pre-strung sequins, or “speckled” dyes that create a natural “starry” look.
- Crochet Hook: Choose a hook size appropriate for your chosen yarn weight and for achieving the desired gauge (snug but not too tight).
- Other Notions:
- Stitch Markers: For marking the beginning of rounds or key design points.
- Tapestry Needle: Essential for weaving in ends and securely attaching embellishments.
- Scissors.
- Measuring Tape: For checking gauge and hat circumference.
- Optional Embellishments: Small buttons (for pupils in the “eye”), seed beads, tiny sequin beads, pre-made star charms, or even glow-in-the-dark thread for extra magic.
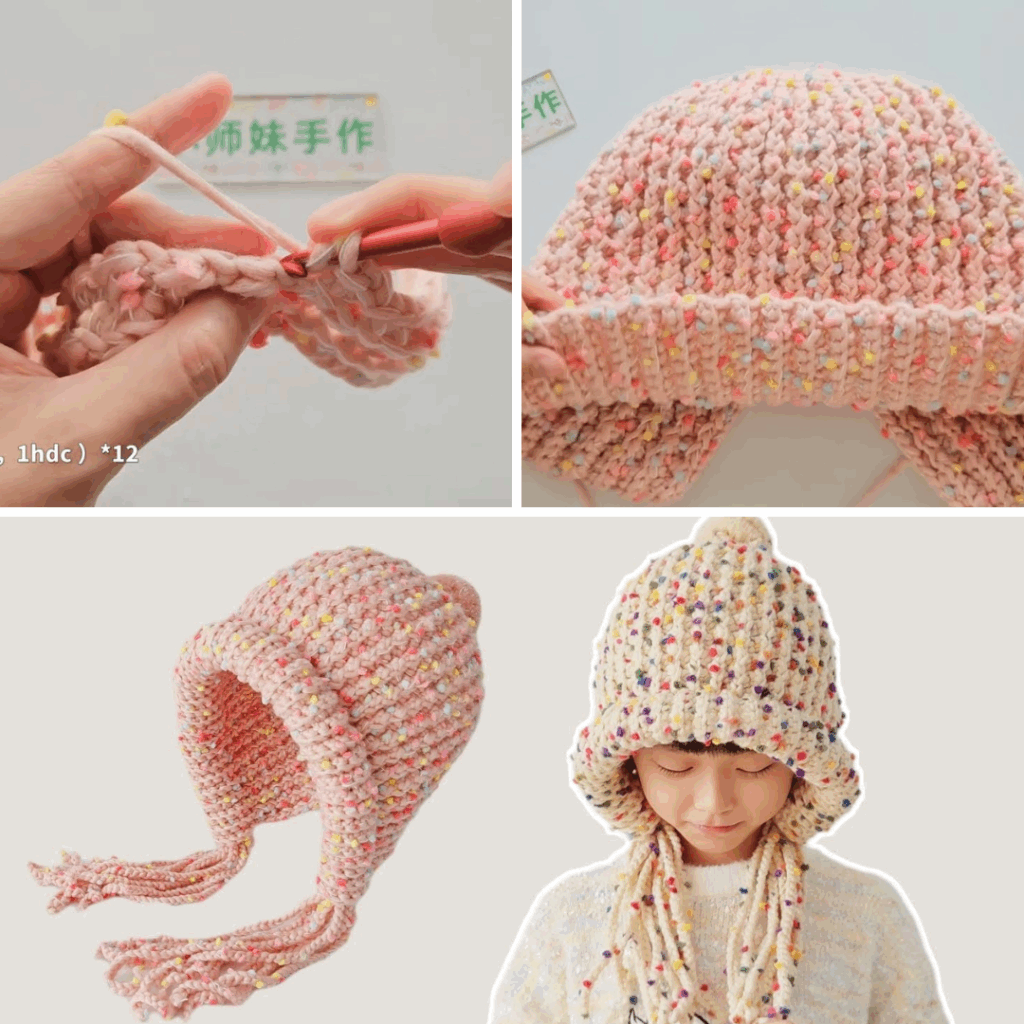
Step-by-Step Construction (General Method – Top-Down Beanie with Earflaps):
Most ear protection hats begin as a basic beanie, with earflaps added or shaped from the lower edge.
Phase 1: The Hat Crown & Body
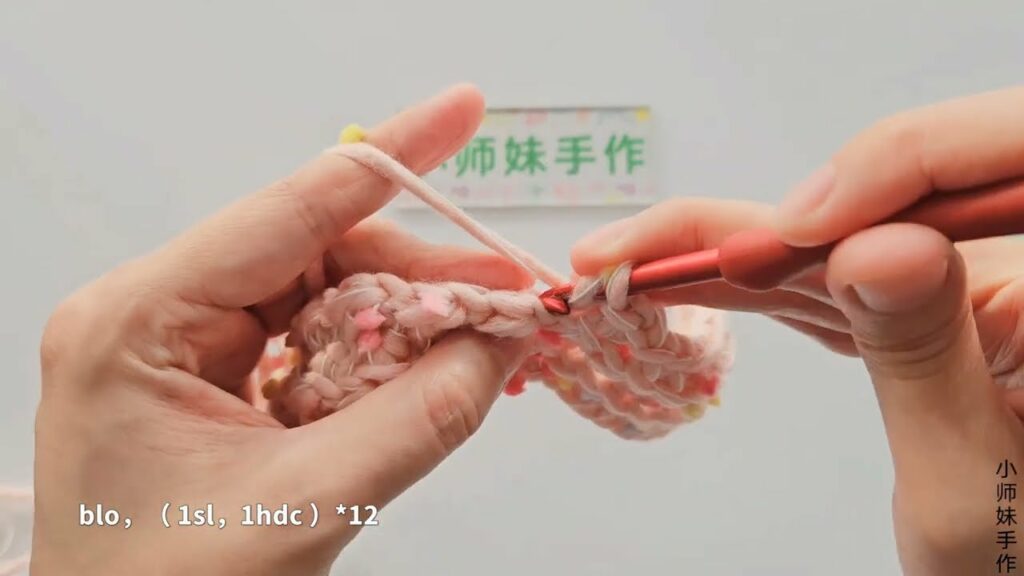
- Start with the Crown: Begin with a magic ring or a chain loop, then work your first round of stitches into it.
- Increase for Crown: Continue working in rounds, increasing stitches evenly in each round as specified by your pattern, to form a flat circle (the crown of the hat). The size of this circle determines the hat’s overall circumference.
- Hat Body: Once the crown reaches the correct diameter for your desired head size, stop increasing. Continue working in continuous rounds (without increases) for the body of the hat until it reaches the desired depth to comfortably cover the ears, usually just below the top of the ear.
- Integrating the “Eye”: This is where the “eyes of the spirit” motif comes into play. You can achieve this by:
- Changing to a contrasting color for a specific section of rounds to create a solid “eye” circle.
- Using colorwork techniques (e.g., tapestry crochet, intarsia) to work a detailed starburst or circular design into the front of the hat.
- Working specialized star stitches or textured stitches within this “eye” zone.
- Integrating the “Eye”: This is where the “eyes of the spirit” motif comes into play. You can achieve this by:
Phase 2: Creating Earflaps
- Placement: Once the main hat body is complete, lay the hat flat. Mark the placement for your earflaps (typically on opposite sides, ensuring they align comfortably over the ears).
- Work Each Earflap: Attach yarn to the marked stitch on the bottom edge of the hat. Work flat in rows for each earflap, decreasing stitches on both ends of the rows to shape them into a gentle point or curve. The pattern will guide the exact stitch count and decrease rate.
- Star Embellishments on Flaps: As you work the earflaps, or once they’re finished, consider crocheting small star appliques and sewing them onto the flaps, or incorporating star stitches directly into the earflap design, echoing the main “eye” theme.
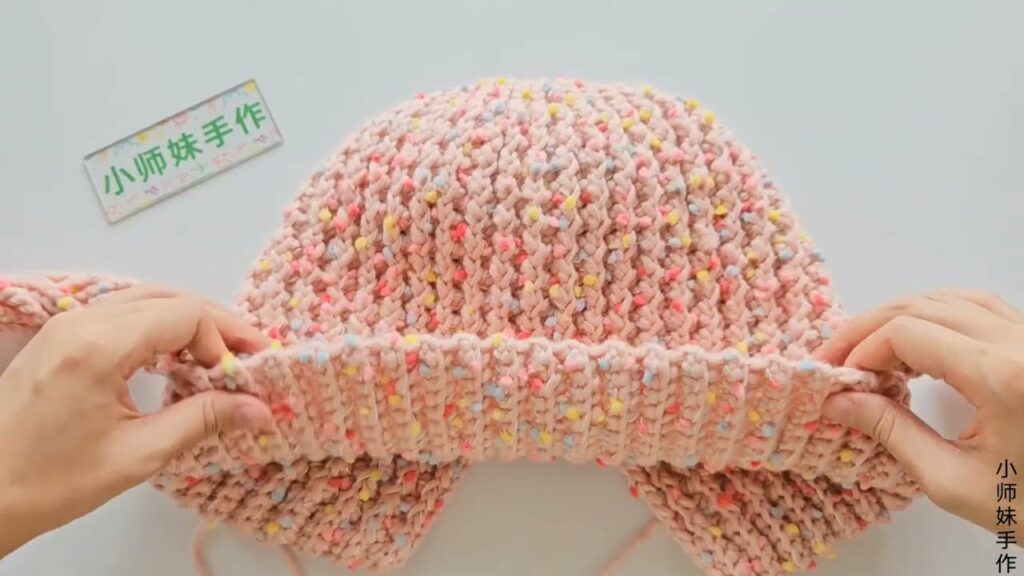
Phase 3: The Hat Band & Edging
- Neatening the Edge: Work a final round or two of single crochet (or another sturdy stitch like crab stitch) around the entire bottom edge of the hat, including the earflaps, for a clean and neat finish. This can be done in a contrasting color to frame the design.
- Ties: Attach braided ties (made from chains or I-cords) to the pointed ends of the earflaps for securing the hat under the chin.
Phase 4: Finishing Touches & Starry Details
- Weave in All Ends: Meticulously weave in every single yarn tail using your tapestry needle for a clean, professional, and durable finish.
- Starry Embellishments: This is where the hat truly comes alive!
- If not integrated, securely sew on your crocheted star appliques.
- Use metallic embroidery thread to stitch tiny stars across the hat.
- Carefully attach beads or sequins in a scattered pattern, particularly around the “eye” motif, to mimic twinkling stars. Ensure all embellishments are very securely fastened, especially if the hat is for a young child, to prevent choking hazards.
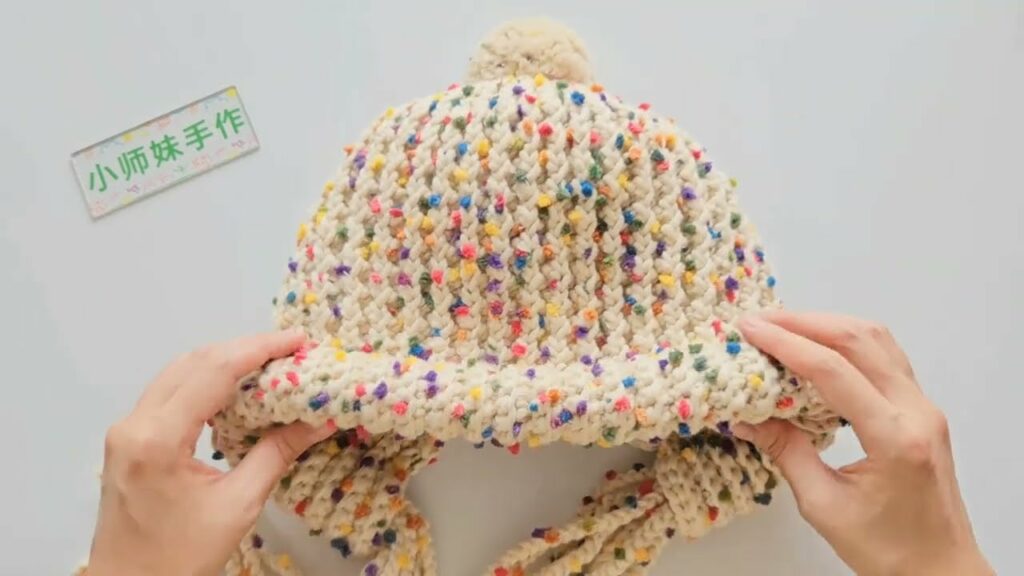
- Pom-Pom or Tassel: Add a fluffy pom-pom (multi-colored for extra pop!) or a whimsical tassel to the top of the hat for added cuteness and flair.
- Blocking (Optional but Recommended): Gently wash and shape the hat according to your yarn’s care instructions. Lay it flat to dry. This helps to even out stitches, set the shape, and relax the fabric, enhancing the overall appearance.
Tips for a “Cosmic Comfort” Hat:
- Color Play is Key: Don’t shy away from vibrant or unexpected color combinations to create that “colorful stars” effect.
- Texture Matters: Experiment with different stitch textures to define the “eye” area from the rest of the hat.
- Safety First for Embellishments: If using beads or sequins for children’s hats, prioritize large, securely attached items or use embroidered details.
- Gauge for Fit: Always check your gauge to ensure the hat will fit comfortably and provide adequate warmth.
- Softness is Supreme: Choose yarns that are soft and gentle against the skin, especially for ears.
Care Instructions for Your Handmade Hat:
- Follow Yarn Label: Always adhere to the specific care instructions for your chosen yarn.
- Gentle Handling: If your hat has delicate embellishments, hand wash and gently reshape it.
- Lay Flat to Dry: Always lay crocheted hats flat to air dry to prevent stretching and distortion.
The “Crochet Ear Protection Hat with Eyes Full of Colorful Stars” is more than just a functional item; it’s a testament to the power of imagination woven into fabric. It’s a hat that not only keeps you warm but also invites you to dream, making every chilly day a little bit more magical.
Video Tutorial ;