 by
by There’s something uniquely heartwarming about a handmade gift, and for a new arrival or a beloved little one, a crocheted baby dress is a tangible expression of love and care. Soft, breathable, and utterly adorable, a crocheted dress is not just an outfit; it’s a keepsake, a whisper of tenderness woven into every loop. While the idea of crocheting a garment might seem daunting, breaking it down into manageable steps reveals the pure joy and rewarding process of creating such a precious item.
This detailed guide will walk you through the essential steps, considerations, and techniques for crocheting a beautiful baby dress, ensuring your finished piece is as perfect as the little one who wears it.
Why Crochet a Baby Dress?
Beyond the undeniable cuteness factor, crocheting a baby dress offers numerous benefits:
- Personalized Touch: You can choose colors, yarns, and designs that perfectly suit the baby’s personality or the occasion.
- Heirloom Potential: Handmade baby clothes often become treasured family heirlooms, passed down through generations.
- Comfort and Softness: With careful yarn selection, you can ensure the dress is incredibly soft, gentle on delicate skin, and breathable.
- Creative Outlet: It’s a wonderful way to express your creativity, experiment with stitches, and enjoy the meditative process of crochet.
- Unique Gift: A handmade dress is a truly unique and thoughtful gift that stands out from store-bought items.
Planning Your Baby Dress Project: The First Stitches
Before you even pick up your hook, a little planning goes a long way:
- Size Matters: Baby sizes vary widely. Consult a standard baby clothing size chart (e.g., Newborn, 0-3 months, 3-6 months, 6-12 months). It’s helpful to know the baby’s current age and approximate measurements if possible.
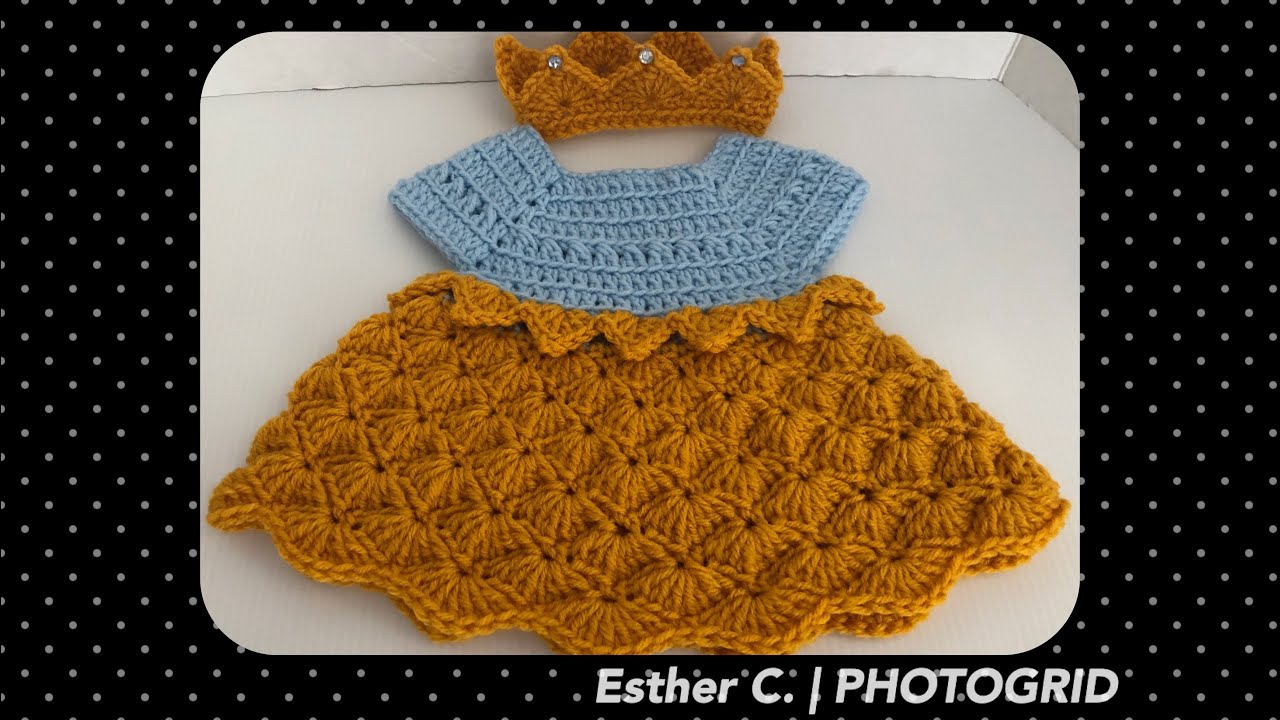
- Choose Your Style:
- Silhouette: Simple A-line, empire waist (with a flared skirt starting just under the chest), or a more traditional full-skirted design.
- Sleeves: Sleeveless, short-sleeved, cap sleeves, or long-sleeved.
- Closure: Pullover (stretchy neck opening needed) or with buttons/snaps at the back or shoulder for easier dressing.
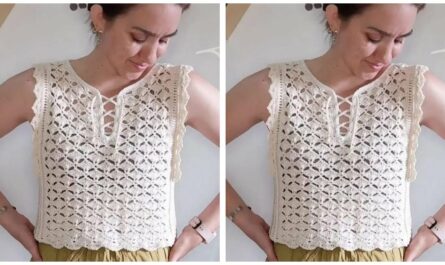
- Detailing: Lacy, solid, textured, ruffled, appliquéd, or with ribbon accents.
- Find a Pattern: While this article provides general guidance, it is highly recommended to choose a well-written crochet pattern specifically for a baby dress. Websites like Ravelry, Yarnspirations, and independent designer blogs offer a plethora of free and paid patterns for all skill levels. A pattern will provide specific stitch counts, shaping instructions, and sizing details.
- Gauge is Gold: This cannot be stressed enough! Always make a gauge swatch. Crocheting a small square (e.g., 4×4 inches) with your chosen yarn and hook, then measuring it, ensures your finished dress matches the pattern’s size. A dress that’s too big or too small, or too stiff or too loose, often comes down to an incorrect gauge.
Materials You’ll Need
Gathering the right supplies is crucial for a successful and comfortable baby dress:
- Yarn: This is the most important choice for a baby garment.
- Fiber:
- 100% Cotton (Pima, Organic, or Mercerized): Excellent for breathability, softness, and durability. Less likely to cause allergies.
- Bamboo or Bamboo Blends: Incredibly soft, silky, and has natural anti-bacterial properties. Excellent drape.
- Superwash Merino Wool: Offers warmth without itchiness, and is often machine washable, making it practical for baby clothes.
- Baby-Specific Acrylics: Often labeled “baby yarn,” these are designed to be ultra-soft, durable, and easily washable.
- Weight:
- Fingering (Category 1) or Sport (Category 2): For delicate, lacy, heirloom-style dresses.
- DK (Double Knitting / Category 3): A versatile choice for a balance of drape and body.
- Worsted (Category 4): For a slightly thicker, sturdier dress.
- Quantity: Refer to your chosen pattern. Typically 1-3 skeins depending on size, yarn weight, and dress length.
- Color: Pastels, brights, or gender-neutral shades – whatever brings you joy!
- Fiber:
- Crochet Hook: Choose the size recommended in your pattern for your yarn weight, keeping your gauge swatch in mind.
- Notions:
- Stitch Markers: Invaluable for marking beginnings of rounds, increases, or specific points.
- Tapestry Needle: For weaving in yarn ends and seaming.
- Scissors: Sharp and dedicated for yarn.
- Measuring Tape: For checking gauge and garment dimensions.
- Buttons or Snaps: If your dress has a back or shoulder opening.
- Ribbon: For a sash, shoulder ties, or decorative bows.
- Lining Fabric (Optional but Recommended): A soft cotton or knit fabric for a lining. This provides extra comfort for delicate skin, prevents tiny fingers/toes from catching in stitches, and adds modesty, especially for lacy designs.
Understanding Baby Dress Construction (General Steps)
Most crocheted baby dresses follow a similar construction flow:
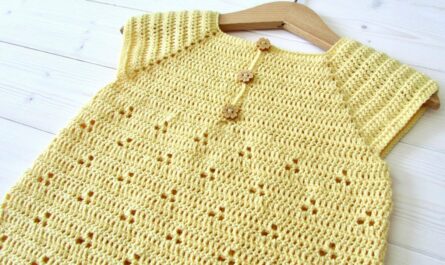
- The Yoke: This is the top part of the dress, covering the shoulders and chest. It’s usually worked first.
- Shape: Yokes can be round (worked in continuous rounds, often from a magic ring) or square (worked in rows that are then joined).
- Increases: The yoke is where all the initial increases happen to create the shoulder/chest shaping. These increases allow the dress to lie flat at the top and then flare out slightly for the body.
- Dividing for Armholes: Once the yoke reaches the desired size, you’ll typically skip stitches to create openings for the armholes, joining the front and back sections to begin the body of the dress.
- The Body (Skirt): This is worked downwards from the bottom edge of the yoke.
- Flare: Increases might continue in the skirt section, or a new stitch pattern might be introduced to create additional flare and fullness.
- Length: Work until the skirt reaches the desired length for the baby’s height.
- Sleeves (Optional): If the dress has sleeves, they are usually crocheted by joining yarn at the armhole opening and working in the round or rows to create the sleeve, then sewn (if worked flat).
- Closures and Edging: The final touches involve creating buttonholes (if needed), attaching buttons or snaps, and adding decorative borders or edgings.
Key Crochet Techniques for Baby Dresses
You’ll utilize a combination of fundamental and specific techniques:
- Basic Stitches:
- Chain (ch): The foundation of almost all crochet projects.
- Slip Stitch (sl st): Used for joining, moving yarn, and creating neat finishes.
- Single Crochet (sc): Creates a dense, sturdy fabric.
- Half Double Crochet (hdc): A versatile stitch offering a balance of density and drape.
- Double Crochet (dc): A taller stitch that works up quickly and creates a softer drape.
- Increasing & Decreasing: Essential for shaping the yoke, sleeves, and flaring the skirt.
- Increase: Working more than one stitch into a single stitch (e.g., 2 sc in one st).
- Decrease: Working two or more stitches together to form one (e.g., sc2tog, dc2tog).
- Working in the Round: For seamless yokes and skirts. You’ll often join rounds with a slip stitch or work in a continuous spiral.
- Working in Rows: For flat panels (e.g., if you’re making a back opening or seamed sleeves).
- Buttonholes: Simple chain-space buttonholes are common for crochet. You’ll chain a few stitches and skip the corresponding number of stitches on the row below, then work into the chain space on the next row.
- Edging/Borders: To give your dress a polished finish, common edgings include simple single crochet rounds, shell stitch borders, picot edges, or reverse single crochet.
- Seaming (if applicable): If your pattern involves separate pieces, learn techniques like the mattress stitch or whip stitch for neat, invisible joins.
Step-by-Step Mini-Guide (Conceptual Process)

- Read Your Pattern Thoroughly: Understand the construction, stitch counts, and special instructions before starting.
- Make Your Gauge Swatch: Seriously, do it! Adjust hook size if your gauge doesn’t match the pattern.
- Start with the Yoke: Begin your foundation chain or magic ring. Work the initial rows/rounds, following the pattern’s increase instructions to form the top of the dress.
- Divide for Armholes: At the designated point, follow your pattern to skip stitches for the armholes and join the working sections to begin the body of the dress.
- Work the Body/Skirt: Continue in rounds or rows, applying any increases for the skirt’s flare, until the dress reaches the desired length.
- Add Sleeves (if applicable): Join yarn at the armhole opening and crochet the sleeves according to your pattern.
- Finishing Touches:
- Add any edgings to the neckline, armholes, hem, and back opening.
- Create buttonholes and sew on buttons/snaps.
- Weave in all your yarn ends meticulously using a tapestry needle. This is crucial for a neat finish and to prevent unraveling.
- Consider sewing in a soft fabric lining for comfort and drape.
- Block Your Dress: Gently wet or steam the finished dress and carefully shape it according to the pattern’s measurements. Pin it flat and allow it to dry completely. Blocking opens up lace patterns, evens out stitches, and gives your garment a professional, finished look.
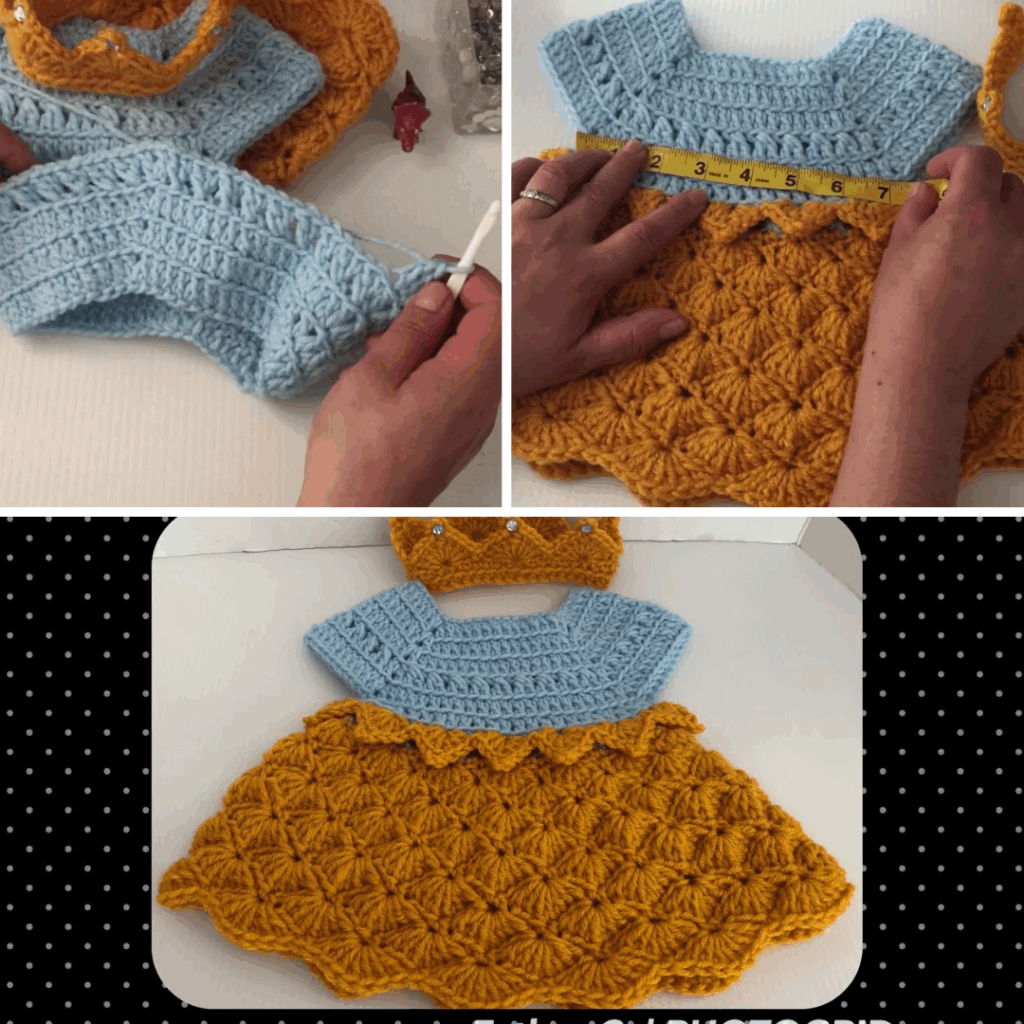
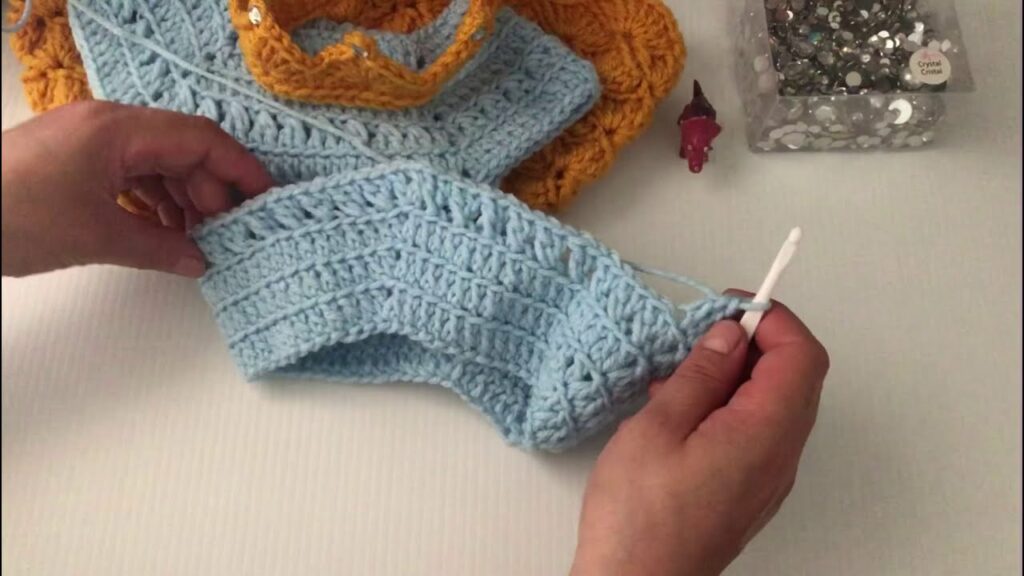
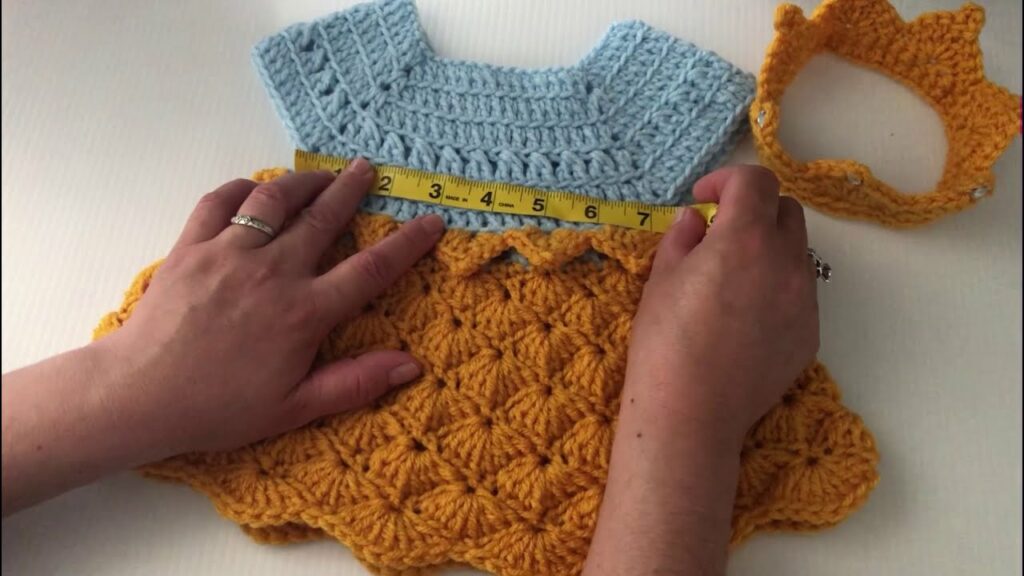
Video Tutorial part1 ;
Tips for Success
- Patience is Key: Take your time, especially with your first garment project.
- Use Stitch Markers: They are your best friend for keeping track of increases, decreases, and the start of rounds.
- Count Your Stitches: Regularly count your stitches to catch errors early.
- Don’t Be Afraid to Undo: If you find a mistake, don’t be afraid to unravel back to the error. It’s better to fix it than to have a finished garment you’re not proud of.
- Read Reviews: If using an online pattern, check reviews for tips on sizing or common challenges.
Caring for Your Crocheted Baby Dress
To ensure your handmade dress lasts and stays beautiful:
- Follow Yarn Label Instructions: Always defer to the specific care instructions on your yarn skein.
- Gentle Washing: Hand wash in cool water with a mild detergent, or use a machine’s gentle/delicate cycle if the yarn is machine washable.
- Reshape and Dry Flat: Never hang a wet crocheted garment, as it will stretch out of shape. Gently squeeze out excess water, reshape the garment to its original dimensions, and lay it flat on a clean towel or drying rack to air dry.
- Avoid Harsh Chemicals: Do not bleach or tumble dry unless explicitly stated by the yarn label.
Video Tutorial Part 2;
Crocheting a baby dress is a journey of creation that results in a truly special garment. Each stitch you place is infused with warmth and intention, making the finished dress a beautiful symbol of the love it represents. Embrace the process, enjoy the transformation of yarn into fabric, and delight in the joy your handmade treasure will bring.