by
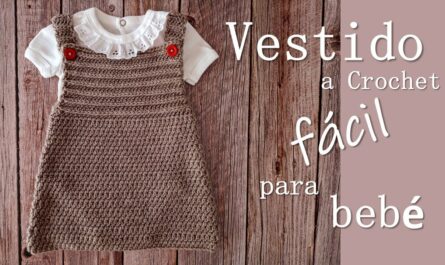
by There’s nothing quite like wrapping a tiny human in something you’ve created with your own hands. And when that something is a “cozy hoodie” for your baby girl, it becomes more than just an outfit – it’s a tender hug, a warm embrace, and a miniature masterpiece of love. A crocheted hoodie offers unparalleled comfort, practical warmth, and an irresistible charm that makes it a cherished addition to any little one’s wardrobe.
If you’re ready to embark on this heartwarming project, this detailed guide will walk you through the journey of crocheting the perfect snuggly hoodie for your baby girl, from planning to the final, adorable stitch.
Why a Cozy Crochet Hoodie for Your Baby Girl?
The humble hoodie, transformed by the softness of yarn and the warmth of handmade stitches, becomes an essential garment for a baby:
- Ultimate Comfort: Crocheted fabrics, especially with the right yarn, are incredibly soft, pliable, and gentle against sensitive baby skin. A relaxed-fit hoodie allows for freedom of movement and cozy snuggles.
- Practical Warmth: The hood provides extra protection for delicate ears and heads against chilly breezes, while the body offers excellent insulation for core warmth. It’s perfect for layering on cooler days or as a standalone piece in milder weather.
- Irresistible Style: A baby in a hoodie is simply adorable! You can customize colors and add subtle details to make it uniquely hers, enhancing that irresistible “aww” factor.
- Personalization & Heirloom Potential: A handmade hoodie carries the unique touch of the maker. It can be a special gift for a baby shower, a memorable outfit for photos, or even an heirloom to be passed down.
Planning Your Cozy Hoodie Project: Setting the Foundation
Before you pick up your hook, a little thoughtful planning will ensure your hoodie turns out just right:
- Size Selection: Baby sizes are based on age ranges (e.g., Newborn, 0-3 months, 3-6 months, 6-12 months, 12-18 months). It’s crucial to consult a standard sizing chart and, if possible, take actual measurements of the baby’s chest circumference, arm length, and head circumference (for the hood) to choose the best fit. Hoodies are often designed with a bit of “positive ease” (roominess) for comfort.
- Choose Your Style & Design Elements:
- Fit: Will it be a relaxed, oversized look, or a slightly more structured fit?
- Closure: Most baby hoodies feature a front opening with buttons for easy dressing. Zippers are an option but more complex for beginners. Pullover styles require a very stretchy neckline.
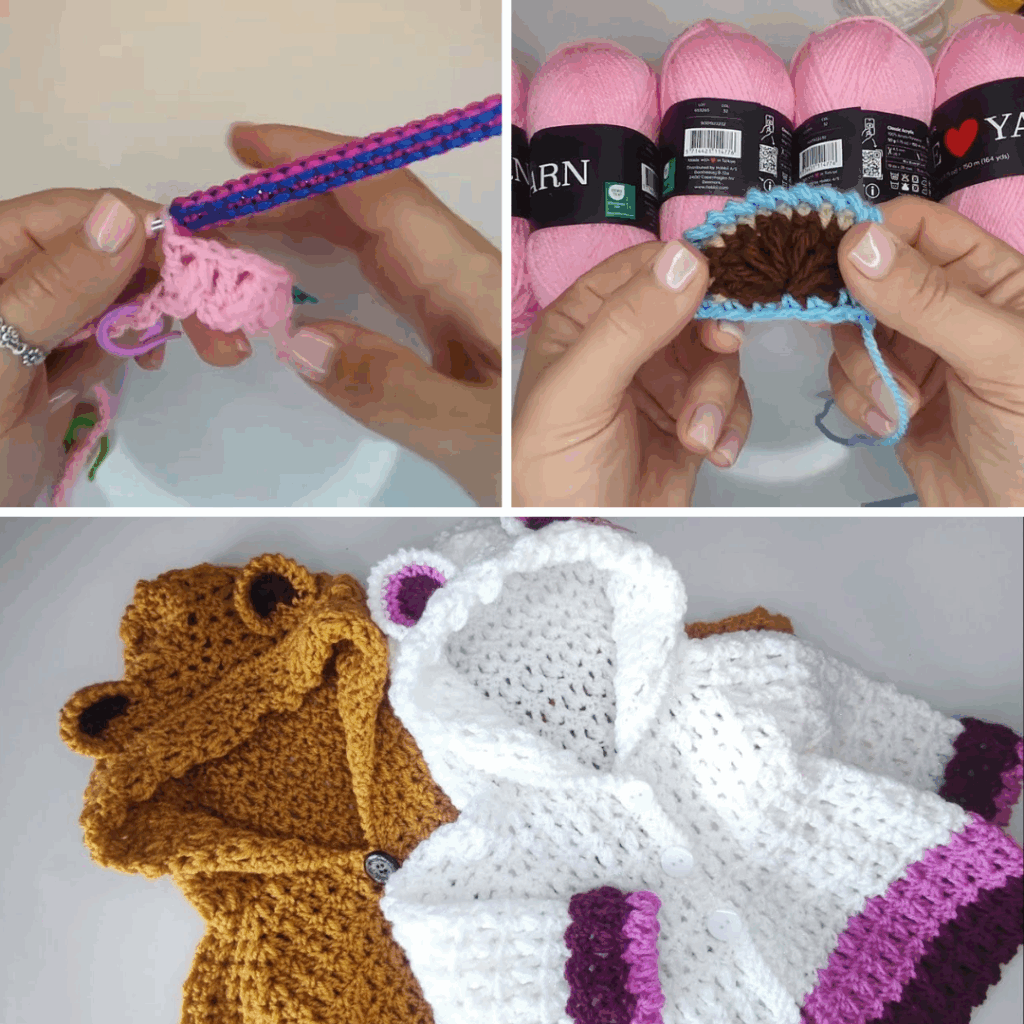
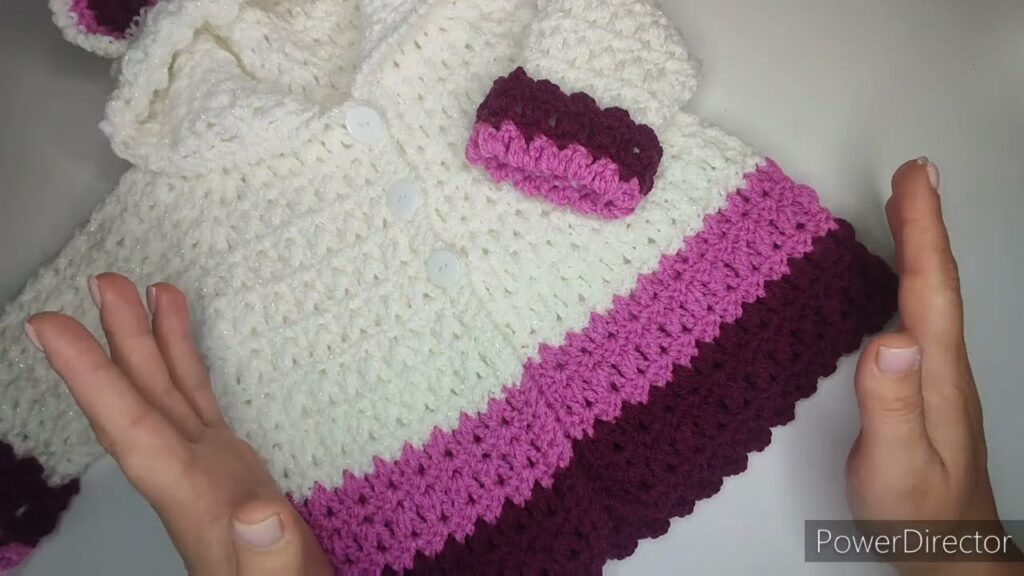
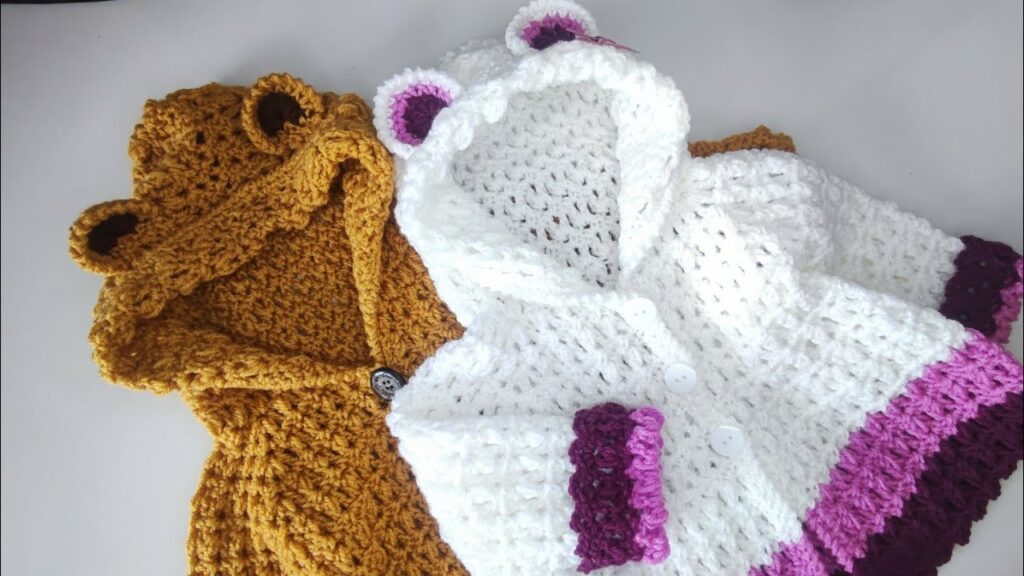
- Hood Shape: A classic rounded hood is cozy. You might consider adding adorable details like bear ears or a little point at the top for extra cuteness.
- Details: Pockets (miniature and cute!), ribbing on cuffs and hem for a snug fit, a textured stitch pattern throughout, or even a tiny crocheted ruffle along the front opening or hood edge for a feminine touch.
- The All-Important Gauge Swatch: This step is non-negotiable for any crocheted garment. Make a small square (e.g., 4×4 inches) using your chosen yarn and hook, then measure it. If your stitch count per inch/cm doesn’t match the pattern’s gauge, adjust your hook size until it does. An incorrect gauge will result in a hoodie that’s too big, too small, or has the wrong drape and coziness level.
Materials You’ll Need: The Heart of the “Cozy”
The right yarn is paramount for creating a truly cozy baby hoodie.
- Yarn (The Star of the Show!):
- Fiber: Prioritize softness, warmth, and washability.
- Superwash Merino Wool: Excellent for warmth, breathability, and luxurious softness. The “superwash” treatment means it can be machine washed, a huge plus for baby items.
- Alpaca Blends: Offers incredible softness and lightweight warmth.
- Baby Acrylics: Specifically designed for babies, these yarns are ultra-soft, hypoallergenic, durable, and generally very easy to care for (machine washable and dryable).
- Cotton Blends (with acrylic or wool): Provide softness, some structure, and good breathability.
- Weight:
- DK (Double Knitting / Category 3): A versatile choice offering good stitch definition and a lovely balance of drape and warmth.
- Worsted (Category 4): Creates a slightly thicker, warmer fabric that works up faster.
- Bulky (Category 5): For a truly chunky, extra cozy hoodie that works up very quickly.
- Quantity: Refer to your specific pattern. Hoodies use more yarn than dresses; typically 2-5 skeins depending on size, yarn weight, and design.
- Color: Soft pastels (blush pink, lavender, mint green, buttery yellow), cheerful brights (coral, teal, fuchsia), or timeless neutrals (cream, light grey, taupe) are all wonderful choices for a baby girl. You can use solid colors, variegated yarns, or color-block different sections.
- Fiber: Prioritize softness, warmth, and washability.
- Crochet Hook: Choose the size recommended in your pattern, adjusting based on your gauge swatch results.
- Notions:
- Stitch Markers: Essential for marking the start of rows/rounds, increase/decrease points, and seams.
- Tapestry Needle: For weaving in yarn ends and neatly seaming panels together.
- Scissors: Sharp and dedicated for yarn.
- Measuring Tape: For checking gauge and garment dimensions as you go.
- Buttons: If your hoodie has a front opening. Choose adorable buttons that complement your yarn (e.g., little wooden buttons, pearlized buttons, or cute animal-shaped ones).
- Sewing Needle and Matching Thread: For attaching buttons securely.
- Ribbon or Cord (Optional): For a drawstring in the hood (ensure it’s sewn in securely and not too long for safety).
Understanding Hoodie Construction (General Flow)
Most crocheted hoodies for babies follow a similar construction sequence:

- Body Panels: The main front(s) and back panels are usually crocheted flat in rows. This allows for straightforward shaping of the armholes and neckline. If it’s a front-opening hoodie, you’ll crochet two front panels.
- Sleeves: Sleeves can be crocheted flat and then seamed, or worked in the round directly from the armhole opening for a seamless look. Shaping is done with increases/decreases to taper from the shoulder to the cuff.
- The Hood: The hood is typically crocheted as a separate piece (often two panels seamed together at the top and back, or one large piece folded and seamed). It’s shaped with increases to create its curve and depth.
- Ribbing: Cuffs, the bottom hem, and the front opening bands (if applicable) are usually finished with a crocheted ribbing. This provides a snug fit and a polished look.
- Assembly & Finishing: All the individual pieces are carefully seamed together, the hood is attached, and the final touches like button bands, buttonholes, and weaving in ends are completed.
Key Crochet Techniques for Your Cozy Hoodie
You’ll utilize a combination of fundamental and specific garment-making techniques:
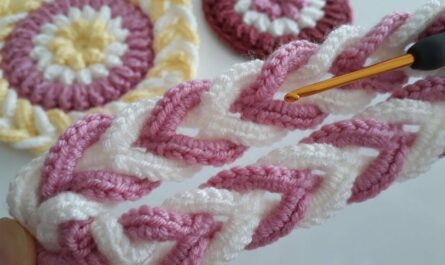
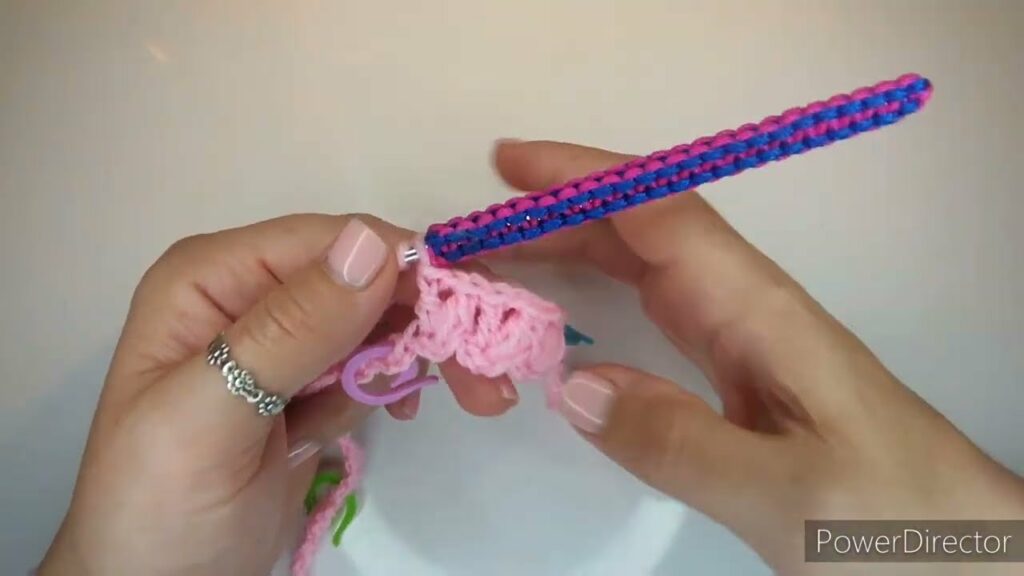
- Basic Stitches: Chain (ch), Slip Stitch (sl st), Single Crochet (sc), Half Double Crochet (hdc), Double Crochet (dc). These form the core fabric.
- Working in Rows: For the flat body and hood panels.
- Working in the Round: For seamless sleeves (if chosen) or for working ribbing borders continuously.
- Increasing & Decreasing: Essential for shaping:
- Increases: Working more than one stitch into a single stitch to widen the fabric (e.g., 2 sc in one st).
- Decreases: Working two or more stitches together to form one stitch, to narrow the fabric (e.g., sc2tog, dc2tog).
- Ribbing:
- Front Post/Back Post Stitches (FPDC/BPDC or FPHDC/BPHDC): These stitches create a raised, elastic ribbing that mimics knitting, perfect for cuffs and hems.
- Single Crochet in the Back Loop Only (SC in BLO): This simple technique creates a dense, horizontal ribbing often used for more subtle bands.
- Buttonholes: Learn how to create simple chain-space buttonholes within your front band.
- Seaming: The Mattress Stitch is highly recommended for garment seams as it creates an almost invisible and very sturdy join. The whip stitch is another option.
- Attaching the Hood: Often involves single crocheting around the entire neckline of the body and the corresponding edge of the hood, then slip stitching or seaming these two edges together.
Step-by-Step Mini-Guide (Conceptual Process)
- Choose Your Pattern & Swatch: Select a reliable pattern and make that gauge swatch!
- Crochet the Main Body Panels: Start with the back panel. Work in rows from the bottom up, shaping the armholes and neckline according to your pattern. Then, crochet the two front panels, incorporating the front opening shaping and neckline.
- Crochet the Sleeves: Work them flat or in the round, decreasing stitches to taper towards the cuffs.
- Crochet the Hood: Often, this involves crocheting two identical panels that are then seamed together at the top and back, or one large piece that is folded and sewn. Pay attention to the shaping for a comfortable fit around the head.
- Seam It Up: Neatly seam the shoulder seams, then the side seams of the body, and finally the sleeve seams.
- Attach the Hood: Carefully pin the hood to the neckline of the body (right sides facing, if applicable) and securely seam or slip stitch it in place.
- Add Ribbing & Button Bands: Crochet the ribbing for the cuffs and the bottom hem. Then, crochet the front opening bands, incorporating the buttonholes on one side.
- Finishing Touches: Weave in all your yarn ends meticulously using a tapestry needle. Sew on your chosen buttons securely.
- Blocking: This final step is crucial for garments. Gently wet or steam the finished hoodie, carefully shape it to the pattern’s dimensions, and pin it flat. Allow it to dry completely. Blocking evens out stitches, relaxes the fabric, and gives your hoodie a professional, ready-to-wear look.
Tips for Success
- Read the Pattern Twice: Before starting, read through the entire pattern to understand the overall construction and any tricky parts.
- Use Stitch Markers Liberally: Mark the beginning/end of rows, increase/decrease points, and where panels join.
- Count Your Stitches: Regularly count your stitches at the end of each row/round to catch errors early, preventing frustration later.
- Don’t Fear the Frogging: If a section isn’t right, don’t hesitate to “frog” (unravel) it back to the mistake and redo it. It’s always worth it for a beautiful finished garment.
- Watch Tutorials: If a stitch or technique is new to you, search for video tutorials online.
Caring for Your Crocheted Hoodie
To keep your handmade hoodie soft and beautiful:
- Follow Yarn Label Instructions: Always refer to the specific care instructions on your yarn skein.
- Gentle Washing: Hand wash in cool water with a mild, baby-safe detergent, or use your machine’s gentle/delicate cycle if the yarn is machine washable.
- Reshape and Dry Flat: Gently squeeze out excess water (do not wring). Reshape the hoodie to its original dimensions and lay it flat on a clean towel or a mesh drying rack to air dry completely. Never hang a wet crocheted garment, as it will stretch out of shape.
- Avoid Harsh Chemicals: Do not bleach or tumble dry unless explicitly stated by the yarn label.
Video Tutorial Part1 ;
Crocheting a cozy hoodie for your baby girl is a rewarding journey, resulting in a practical, adorable, and deeply personal garment. Each stitch you place is a testament to your love and care, creating a snuggle-worthy hoodie that will wrap your little one in warmth and tenderness, making her look absolutely charming.
Part 2 :