 by
by There’s something uniquely heartwarming about dressing a tiny human in a garment made with your own hands. The stitches whisper stories of love, patience, and anticipation. While many knitters associate baby garments like bodysuits and rompers with complex circular knitting or multiple needles, the delightful truth is that you can create these adorable, practical pieces using just two needles. This method opens up a world of possibilities for knitters who prefer working flat or are looking for a straightforward approach to garment construction.
This detailed article will guide you through the journey of knitting a charming baby bodysuit or romper using only two needles, exploring the design considerations, essential techniques, and the satisfying process of bringing these sweet garments to life.
Why Knit a Baby Bodysuit or Romper on Two Needles?
Opting for two-needle construction offers several distinct advantages:
- Accessibility: Perfect for knitters who are comfortable with flat knitting and may not yet have mastered (or prefer not to use) circular needles or double-pointed needles.
- Portability: Flat pieces are often easier to carry and work on the go than a full garment on circular needles.
- Clearer Stitch Definition: For some stitch patterns, working flat can make it easier to see and correct mistakes, and sometimes even highlight the texture more clearly.
- Modular Construction: Breaking the garment down into manageable front, back, and sleeve pieces can feel less daunting for larger projects.
- Customization: It’s often easier to make precise width and length adjustments when working flat panels.
- Classic Charm: The seams, when meticulously joined, can add a subtle, tailored touch to the finished garment.
Understanding the Anatomy: Bodysuit vs. Romper
While both are all-in-one garments, their key difference lies in the leg length:
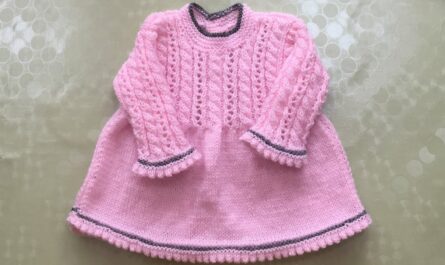
- Baby Bodysuit (Onesie): Features a top section that extends down, usually ending with snaps at the crotch to go over a diaper. It typically has short leg openings, sometimes with gentle elastication.
- Baby Romper (Playsuit): Similar to a bodysuit but with full-length or short-length legs (like shorts). It also includes snaps or buttons at the crotch for easy diaper changes, and may have openings down the inner leg seams.
For two-needle construction, both start with similar panel work, with the romper requiring more extensive leg knitting.
Design Considerations for Your Knitted Baby Garment
Before picking up your needles, envision the look and feel of your bodysuit or romper:
- Yarn Choice (Crucial!):
- Fiber:Soft, breathable, and easily washable are non-negotiable for baby garments.
- Merino Wool (Superwash): Excellent for warmth without bulk, incredibly soft, and often machine washable.
- Cotton or Cotton Blends: Breathable, durable, great for warmer climates, and soft.
- Bamboo or Viscose Blends: Silky soft with beautiful drape, very gentle.
- Baby-Specific Acrylics: Hypoallergenic, affordable, and easy-care, but ensure it’s a high-quality, soft variety.
- Weight: DK (Double Knitting, Category 3) or Sport (Category 2) are common for baby items, creating a lovely drape and stitch definition. Worsted (Category 4) can also work for a quicker knit, resulting in a slightly denser fabric.
- Color: Pastels, brights, variegated, neutrals – let your imagination run wild!
- Fiber:Soft, breathable, and easily washable are non-negotiable for baby garments.
- Stitch Pattern:
- Stockinette Stitch: Smooth, classic, but tends to curl (blocking is essential).
- Garter Stitch: Lies flat, reversible, excellent texture, good for beginners.
- Seed Stitch/Moss Stitch: Flat, textured, beautiful.
- Simple Lace or Cable Patterns: Add elegance, but ensure they don’t create large holes that snag tiny fingers or toes.
- Neckline:
- Envelope Neck: Easy to pull over baby’s head.
- Button/Snap Placket: At shoulder or back for wider opening.
- Simple Round Neck: Requires good stretch for putting on.
- Closures:
- Snaps: Most common at the crotch for quick diaper changes. Can be sew-on or press-on.
- Buttons: For plackets, shoulders, or decorative elements. Choose flat, securely sewn, baby-safe buttons.
- Fit & Ease: Baby garments need positive ease (room to grow and move) but shouldn’t be excessively baggy. The crotch area is particularly important for comfort over a diaper.
Materials You’ll Need
- Yarn: Chosen based on the above considerations (check pattern for specific yardage).
- Straight Knitting Needles: The size recommended by your pattern to achieve gauge.
- Stitch Holders or Waste Yarn: For holding live stitches (e.g., shoulder stitches).
- Tapestry Needle (or blunt yarn needle): For seaming pieces together and weaving in ends.
- Scissors.
- Measuring Tape: Crucial for checking gauge and garment dimensions.
- Buttons or Snaps: As per your design/pattern. For snaps, you might need a snap plier tool.
- Blocking Mats & T-pins: Essential for shaping and finishing.
Key Knitting Techniques for Two-Needle Baby Garments
You’ll utilize a combination of fundamental and garment-specific techniques:
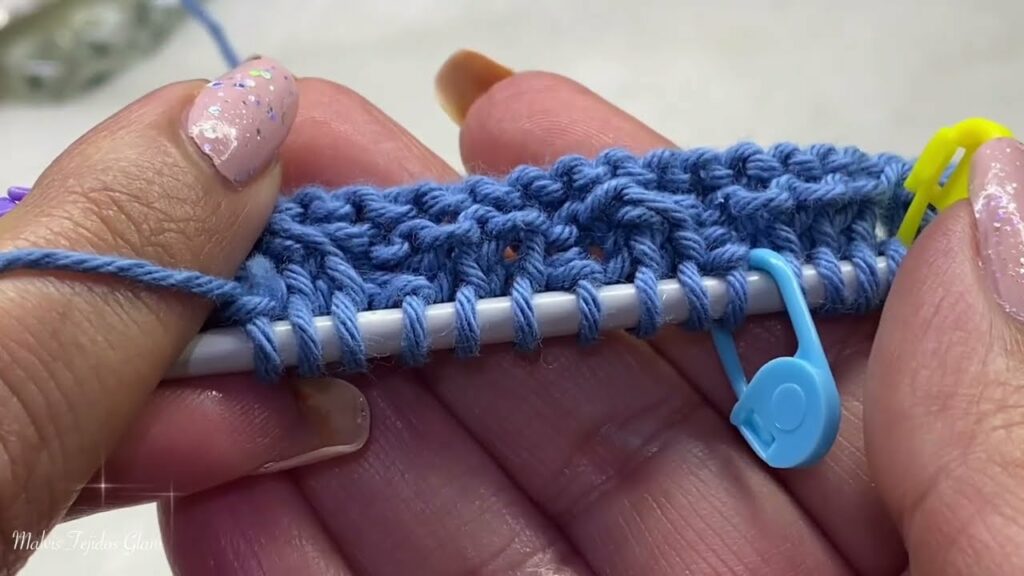
- Basic Stitches: Knit (k), Purl (p).
- Cast On & Bind Off: Standard methods.
- Increasing Stitches:
- M1 (Make One): Invisible increase.
- KFB (Knit Front and Back): Visible but easy.
- Yarn Over (YO): Creates a decorative hole, often for lace or buttonholes.
- Decreasing Stitches:
- K2tog (Knit Two Together): Decreases leaning right.
- SSK (Slip, Slip, Knit): Decreases leaning left.
- P2tog (Purl Two Together): Decreases in purl rows.
- Ribbing (K1P1 or K2P2): For hems, cuffs, and necklines, providing stretch and structure.
- Buttonholes: Creating small openings for buttons (often a yarn over followed by a decrease).
- Picking Up Stitches: For neckbands, armbands, or plackets along raw edges.
- Seaming:
- Mattress Stitch: The gold standard for invisible vertical seams.
- Grafting (Kitchener Stitch): For invisible horizontal seams (e.g., shoulder seams if worked that way), though less common for beginners.
- Whip Stitch or Backstitch: Simpler, but more visible seams.
- Blocking: Absolutely crucial for evening out stitches, setting the fabric, and ensuring the garment lays beautifully.
Planning Your Two-Needle Baby Bodysuit/Romper Project
Precision in planning leads to knitting success:
- Sizing:
- Consult your pattern’s size chart.
- If possible, measure a baby garment that fits well (a bodysuit or romper that the baby currently wears). Key measurements include chest circumference, shoulder-to-crotch length, and leg/sleeve length.
- Gauge Swatch (Non-Negotiable!):
- This is the single most important step for garment knitting.
- Knit a swatch at least 6×6 inches (15×15 cm) using your chosen yarn and needles in the main stitch pattern of the garment.
- Crucial Step: Wash and block your swatch exactly as you plan to wash and block the finished garment. Yarn can change significantly after laundering.
- Measure your stitches and rows per inch/cm accurately. If your gauge doesn’t match the pattern’s, adjust your needle size (go up a size if you have too many stitches per inch, down if you have too few) and knit another swatch until it matches.
- Yarn Quantity: Ensure you have enough yarn of the same dye lot, as a bodysuit/romper is a larger project.
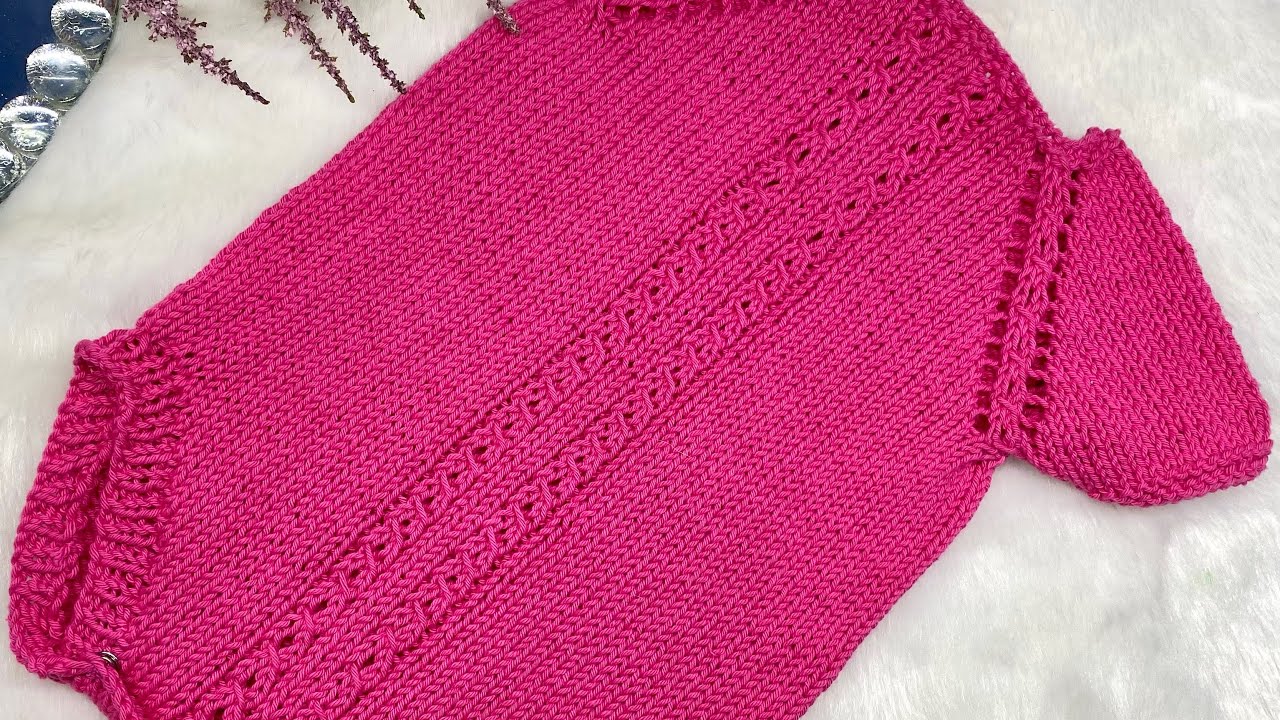
Step-by-Step Construction (Conceptual Guide for Two Needles)
Most two-needle bodysuits and rompers are constructed in flat panels, then sewn together.
Part 1: Front Panel
- Cast On: Cast on the required number of stitches for the bottom of the front panel.
- Leg Opening/Lower Body: Work in your chosen stitch pattern, shaping for the inner leg and crotch area with increases and decreases as per the pattern. For a romper, you’ll continue knitting the legs here.
- Torso: Once the leg/crotch shaping is complete, work straight up to the armholes, maintaining the stitch count.
- Armhole Shaping: Bind off or decrease stitches at the beginning and end of rows to create the armhole curves.
- Neckline & Shoulder Shaping: As you near the top, bind off or decrease stitches to form the neckline. Simultaneously, shape the shoulders (often with decreases or leaving live stitches on a holder).
- Bind Off: Bind off remaining shoulder stitches, or place them on a holder if joining with grafting.
Part 2: Back Panel
- Repeat Steps 1-4 from Front Panel: The back panel’s leg and body shaping will largely mirror the front.
- Neckline & Shoulder Shaping: The back neckline is typically shallower than the front. Shape the back neck and shoulders.
- Bind Off: Bind off remaining shoulder stitches, or place on a holder.
Part 3: Sleeves (if applicable)
- Cast On: Cast on stitches for the cuff.
- Work in Rows: Work in your chosen stitch pattern, increasing stitches evenly along the length of the sleeve to create fullness.
- Sleeve Cap Shaping: As you approach the top of the sleeve, decrease stitches to form the rounded sleeve cap, allowing it to fit smoothly into the armhole.
- Bind Off.
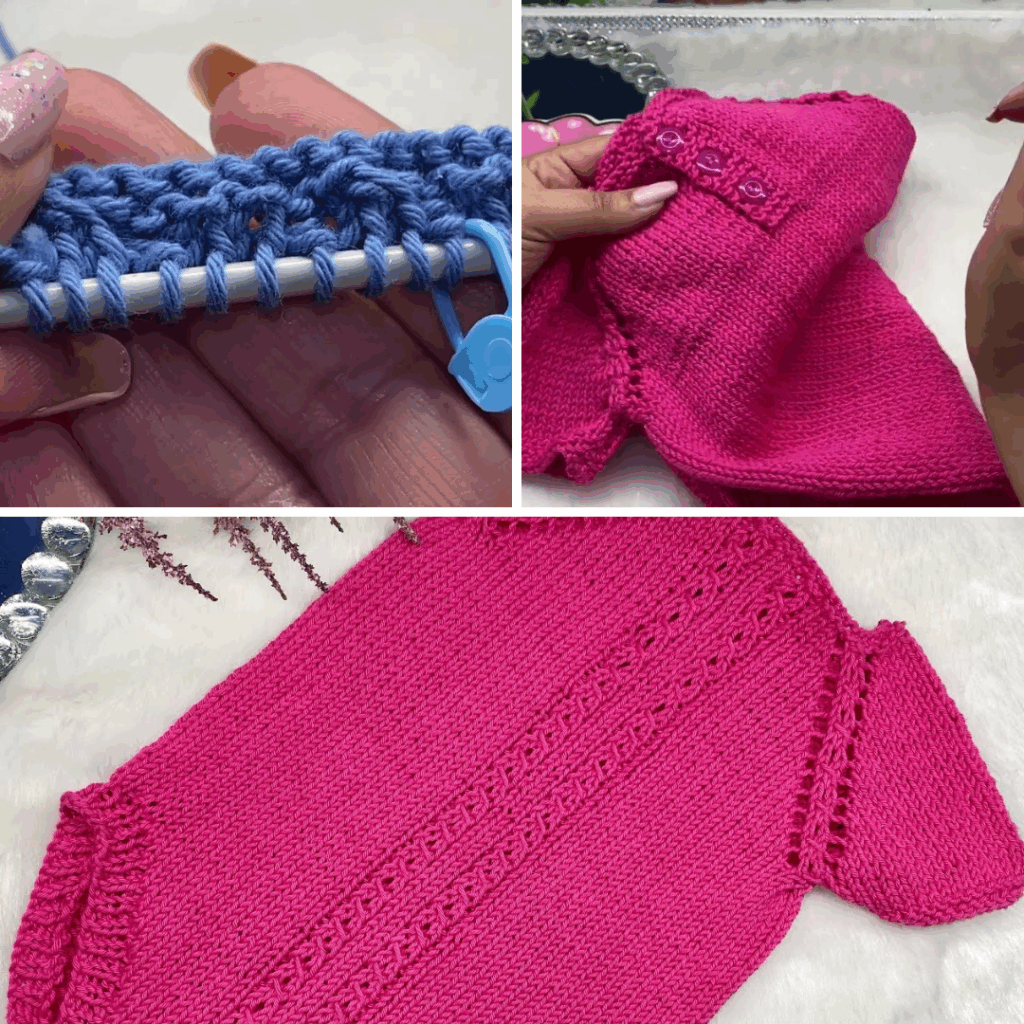
Part 4: Assembly & Finishing
- Seaming: This is where your individual panels become a garment.
- Shoulder Seams: Join the front and back shoulder seams using the Mattress Stitch for an almost invisible join.
- Side Seams: Join the front and back side seams from the armhole down to the beginning of the leg shaping.
- Inner Leg Seams (Romper): Join the inner leg seams of each leg.
- Crotch Seam: Join the front and back crotch pieces.
- Sleeve Seams (if applicable): Seam the long edges of the sleeves.
- Attaching Sleeves: Sew the prepared sleeve into the armhole opening using a Mattress Stitch or similar technique.
- Neckband/Armband/Legband:
- Pick Up Stitches: Along the raw edges of the neckline, armholes, and leg openings (for bodysuit), pick up stitches.
- Knit Ribbing: Work in ribbing (K1P1, K2P2) for a few rows to create a stretchy band.
- Bind Off: Bind off loosely for elasticity.
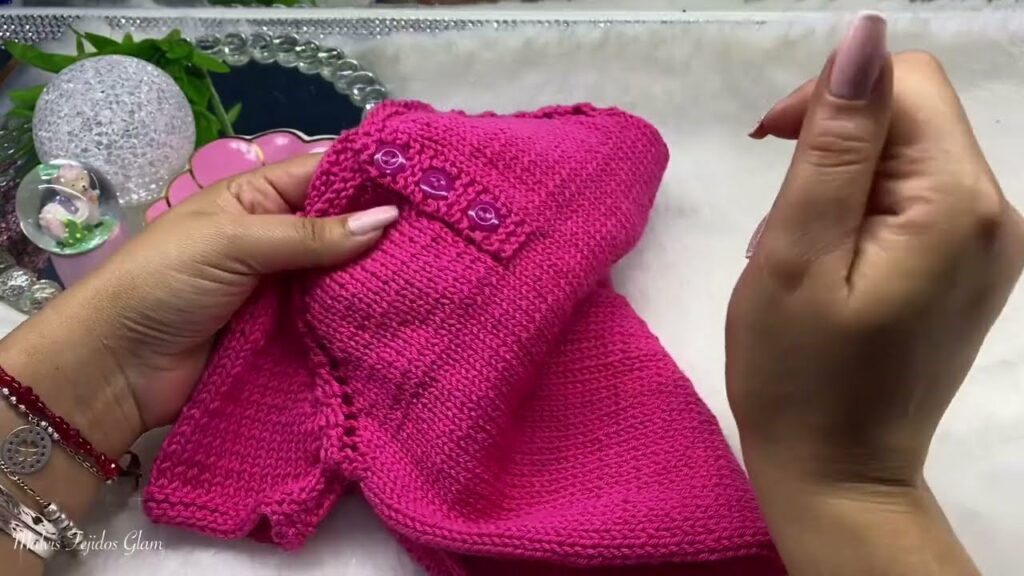
- Button Bands/Plackets: If your design includes a button placket (e.g., at the shoulder or back), pick up stitches along the opening and knit the bands, creating buttonholes as indicated in your pattern.
- Weave in All Ends: Meticulously weave in every single yarn tail using your tapestry needle. For baby items, double-knot initial slip knots and ensure all ends are completely secured to prevent unraveling and discomfort against delicate skin.
- Blocking: This is essential for baby garments.
- Gently wet the finished garment (or steam it).
- Carefully lay it out flat on blocking mats, shaping it to the correct measurements according to your pattern’s schematic. Use T-pins to hold it in place.
- Allow to dry completely. Blocking evens out stitches, relaxes the fabric, opens up lace patterns, and sets the final shape and drape of your bodysuit or romper.
- Attach Closures: Sew on buttons, or apply snaps, securely following your pattern’s instructions.
Tips for Two-Needle Success
- Don’t Skimp on the Gauge Swatch: This cannot be overstressed. An accurate gauge is the difference between a perfectly fitting garment and one that’s too big or too small.
- Choose a Well-Written Pattern: Especially for your first two-needle garment, select a pattern with clear instructions, good schematics, and positive reviews.
- Quality Yarn is Key: Invest in soft, baby-friendly yarn. It makes a huge difference in comfort and drape.
- Practice Seaming: Before seaming your actual garment, practice the Mattress Stitch on scrap pieces to get a feel for it. Neat seams elevate your finished project.
- Weave in Ends Meticulously: Loose ends are a no-no for baby clothes.
- Block Your Finished Garment: It’s truly transformative and makes your hard work shine.
- Take Breaks: Don’t be afraid to put the project down and come back to it with fresh eyes, especially during shaping sections.
Caring for Your Knitted Baby Bodysuit/Romper
Proper care ensures your handmade garment lasts:
- Follow Yarn Label Instructions: Always refer to your specific yarn’s care guidelines.
- Machine Wash (if yarn allows): Many baby yarns are superwash and machine washable on a gentle cycle with cool water. Use a mesh laundry bag for extra protection.
- Hand Wash (Recommended for Delicates): For lace patterns or non-superwash wools, hand wash gently in cool water with a mild detergent.
- Reshape and Lay Flat to Dry: Never wring, twist, or hang a wet knitted garment, as this will stretch and distort its shape. Gently squeeze out excess water (rolling in a towel helps), reshape the garment to its original dimensions, and lay it flat on a clean towel or a mesh drying rack to air dry completely.
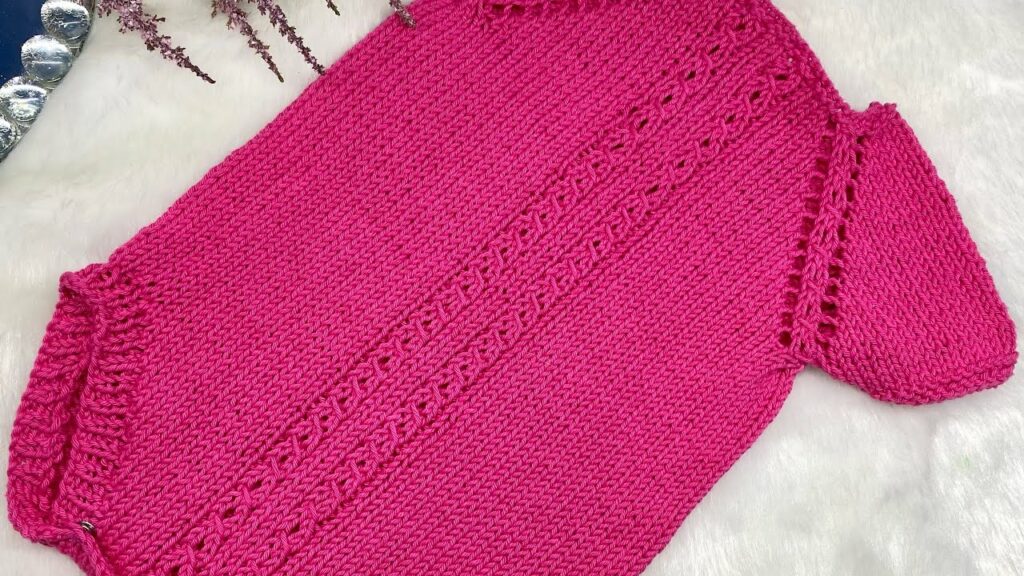
Conclusion
Knitting a baby bodysuit or romper on two needles is a deeply rewarding project that proves you don’t need fancy techniques to create beautiful, functional baby garments. It’s an opportunity to hone your fundamental knitting skills, meticulously shape fabric, and pour your love into every stitch. The result is a unique, cherished garment that will wrap a little one in warmth and handmade affection, celebrating the magic of knitted stitches. Happy knitting!
Video Tutorial ;;