 by
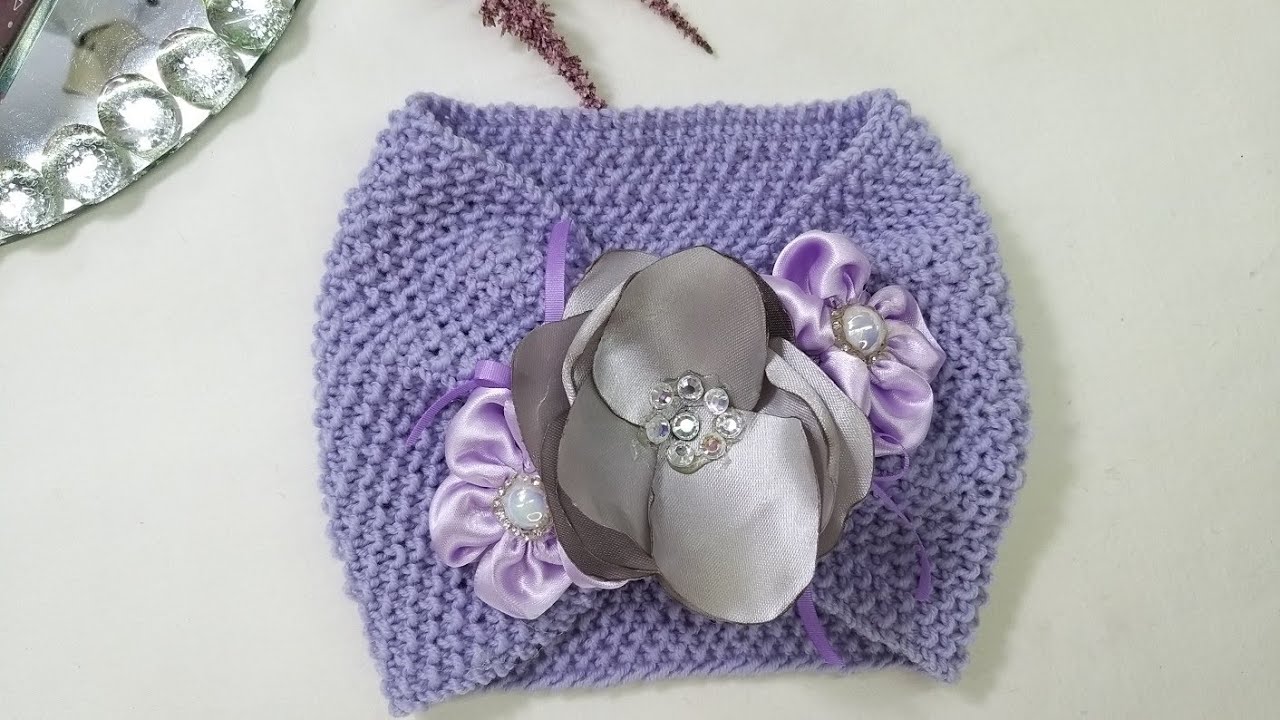
by The knitted headband is a humble yet mighty accessory. It’s a fantastic entry point for new knitters to practice fundamental skills, and for seasoned crafters, it offers a quick, satisfying project for self-expression or thoughtful gifting. When knitted specifically with two needles (often implying working flat and then seaming), it opens up a world of texture, color, and design possibilities, resulting in a versatile piece that’s both practical and stylish.
This detailed article will guide you through everything you need to know about knitting the perfect headband using just two needles, transforming a simple rectangle into a cherished accessory.
The Enduring Appeal of the Knitted Headband
- Versatile Accessory: Headbands serve many purposes – from keeping ears warm in a chilly breeze and taming “bad hair days,” to simply adding a pop of color or texture to an outfit.
- Beginner-Friendly Project: For those new to knitting, a headband is an excellent project to practice casting on, knitting, purling, creating basic stitch patterns, binding off, and the crucial skill of seaming.
- Quick Gratification: Most headbands can be completed in a few hours or over a weekend, providing a satisfying sense of accomplishment without a long-term commitment.
- Customizable Canvas: With a wide array of yarn choices, stitch patterns, and finishing techniques, the design possibilities are virtually endless.
- Thoughtful Gift: A handmade knitted headband is a cozy, personalized, and much-appreciated present for friends and family.
Designing Your Ideal Headband: Key Considerations
Before casting on, a little planning goes a long way in creating a headband you’ll love.
- Purpose:
- Fashion Statement: Focus on unique stitch patterns, trendy colors, or decorative elements.
- Ear Warmer: Opt for warmer fibers like wool or alpaca, and denser stitch patterns for better insulation.
- Hair Control: Consider snugger ribbing or elastic to keep hair in place.
- Width:
- Narrow (1-2 inches): Subtle, more like a hair band.
- Medium (3-4 inches): Classic headband size, good for both fashion and moderate warmth.
- Wide (5+ inches): Provides maximum warmth over the ears and forehead, or creates a bold, turban-style look.
- Yarn Choice:
- Fiber:
- Wool/Acrylic Blends: Excellent for warmth, elasticity, and ease of care. A popular choice for ear warmers.
- Cotton/Linen: Breathable and absorbent, ideal for spring/summer headbands or for those with sensitive skin.
- Alpaca/Merino: Luxurious softness and warmth, but may require more delicate care.
- Weight:
- DK (Double Knitting) or Worsted: Most common, offering a good balance of warmth and working speed.
- Chunky/Bulky: For a very quick, thick, and cozy headband.
- Fingering/Sport: For delicate, finer headbands, often with lace or intricate textures.
- Colors: Solid, variegated, self-striping, or contrasting colors for specific designs.
- Fiber:
- Stitch Pattern (Stretch is Key!):
- Ribbing (K1P1, K2P2, etc.): Highly recommended! Ribbing is incredibly stretchy, ensuring the headband fits snugly without slipping, yet remains comfortable. It’s also reversible.
- Garter Stitch: Easy to knit, reversible, lies flat, and has good stretch width-wise. Provides a classic, bumpy texture.
- Stockinette Stitch: Creates the classic “V” knit fabric. While smooth, it tends to curl at the edges, so it’s often paired with garter or ribbed borders, or used for headbands that will be seamed into a tube.
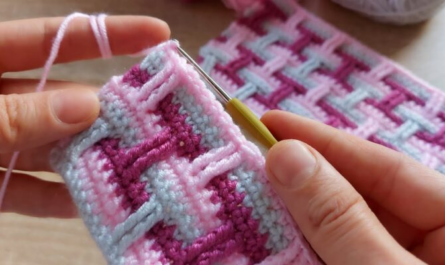
- Textured Stitches: Seed stitch, moss stitch, basketweave – add visual interest and slight texture.
- Cables: Create beautiful raised patterns, adding warmth and sophistication.
- Lace: For delicate, openwork designs, more for fashion than warmth.
- Closure/Style:
- Seamless Join: Knitting a flat rectangle and then seaming the ends together neatly (often with mattress stitch) to form a continuous loop. Most common for simple headbands.
- Tapered Tie: The ends are shaped to be narrower, allowing them to be tied in a knot.
- Button & Loop/Buttonhole: One end has a buttonhole, the other a button for adjustable closure.
- Twist/Knot Detail: A very popular style achieved by twisting the rectangle once or twice before seaming the ends.
Materials: Your Headband Knitting Kit
- Yarn: Your chosen fiber, weight, and color(s). One skein (typically 50-100g) is often sufficient.
- Knitting Needles (Two Needles!): The size recommended by your yarn or pattern, typically straight needles.
- Notions:
- Stitch Markers: Useful for marking the beginning/end of repeats or specific sections.
- Tapestry Needle (or Blunt Yarn Needle): Essential for weaving in ends and, most importantly, for seaming your headband.
- Scissors.
- Measuring Tape: Crucial for measuring head circumference and checking your work against your gauge.
- Button (Optional): If making a button-closure headband.
- Elastic Thread (Optional): Can be knitted in or threaded through the finished edge for extra staying power.
Essential Knitting Techniques for Headbands
You’ll practice fundamental knitting skills that form the backbone of most projects:
- Casting On: Choose a flexible cast-on method (e.g., long-tail cast-on) that won’t make the edge too tight.
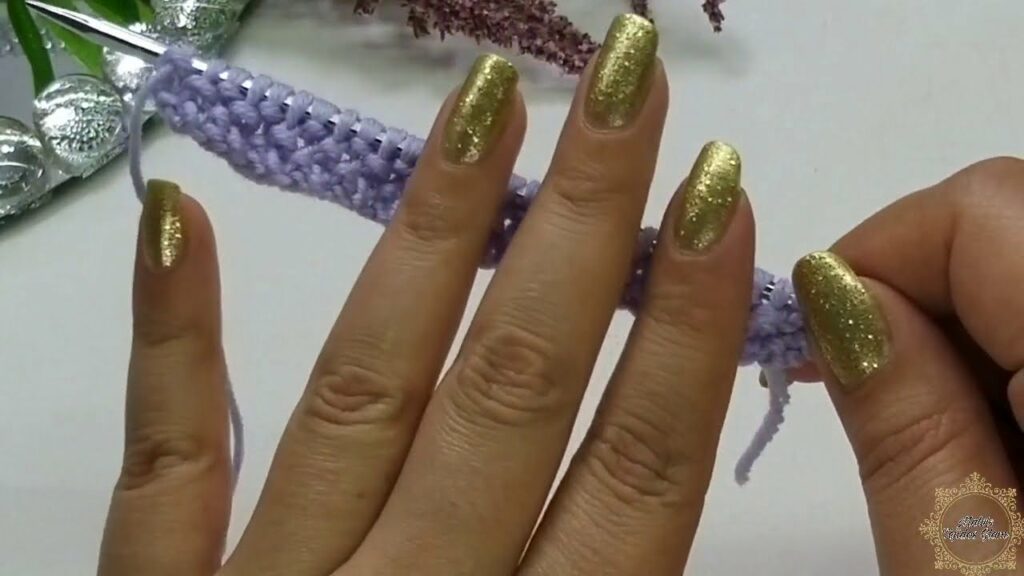
- Knit Stitch (K): The basic building block.
- Purl Stitch (P): Creates the reverse of the knit stitch.
- Basic Stitch Patterns: Master garter, stockinette, and especially ribbing for headbands.
- Binding Off: Use a flexible bind-off method (e.g., standard bind-off, tubular bind-off for ribbing) that won’t create a tight edge.
- Seaming (Crucial for Two Needles!):
- Mattress Stitch: The gold standard for creating a virtually invisible vertical seam, perfect for joining the ends of your headband into a continuous loop.
- Whip Stitch: A simpler seaming method, creates a slightly more visible seam but is quick.
- Increases/Decreases (for shaping): If tapering ends or creating specific shaping.
- Increases: Knit Front and Back (KFB), Make One (M1L/M1R).
- Decreases: Knit Two Together (K2tog), Slip, Slip, Knit (SSK).
- Buttonholes (if applicable): Creating small openings within your knitted fabric for buttons.
Planning Your Headband Project
- Sizing:
- Head Circumference: Measure the wearer’s head circumference where the headband will sit.
- Desired Fit (Negative Ease): For a headband to stay on snugly without slipping, it typically needs “negative ease,” meaning it should be 1-3 inches (2.5-7.5 cm) smaller than the actual head circumference when un-stretched. Ribbing, in particular, accommodates significant negative ease.
- Gauge Swatch (Small but Important!):
- Knit a small swatch (e.g., 4×4 inches / 10×10 cm) in your chosen stitch pattern and needle size.
- Crucial: Measure its stretched and un-stretched width, especially if using ribbing, to accurately calculate how many stitches you’ll need.
- Yarn Quantity: Most headbands require only a small amount of yarn, often just 50-100 yards (45-90 meters).
Construction Journey: Bringing Your Headband to Life (Common Approaches)
Most two-needle knitted headbands begin as a simple rectangle.
Method 1: The Simple Rectangle Headband
- Cast On: Cast on the number of stitches determined by your desired width and gauge.
- Knit in Pattern: Work in your chosen stitch pattern (e.g., K2P2 rib, garter stitch, stockinette with garter edges) until the piece measures the desired length (your head circumference minus your negative ease).
- Bind Off: Bind off all stitches, ensuring the bind-off edge is as elastic as your cast-on edge.
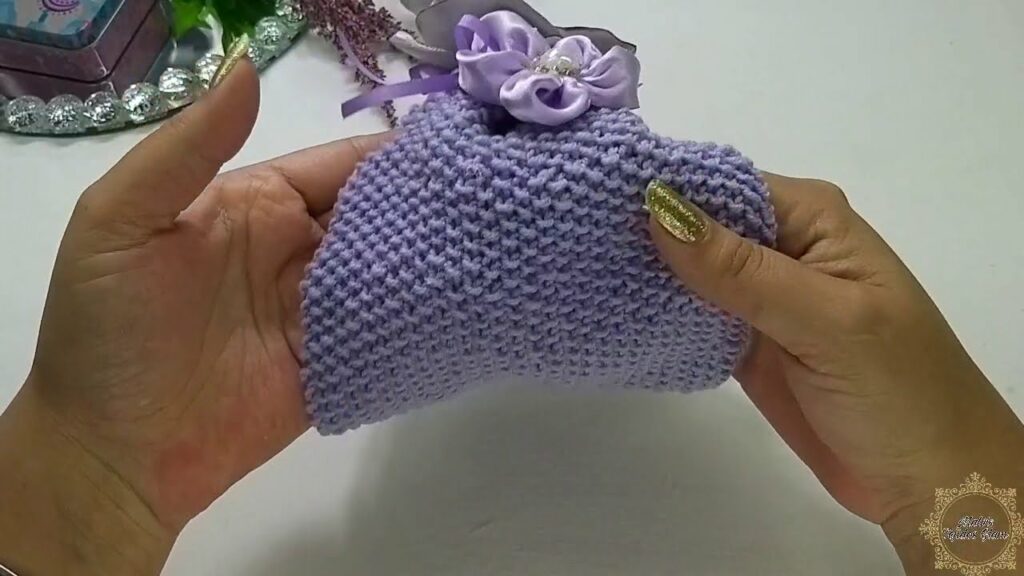
- Seam: Bring the two short ends of your knitted rectangle together. Use a tapestry needle and the Mattress Stitch to seam them, creating an invisible, seamless loop. Weave in any remaining yarn tails.
Method 2: The Twisted Headband
- Knit the Rectangle: Follow steps 1-3 from “The Simple Rectangle Headband.”
- Create the Twist: Before seaming, lay the rectangle flat. Take one end and twist it once (or twice, for a tighter twist).
- Seam the Twisted Ends: Bring the two short ends together, now overlapping in a twisted configuration. Carefully align the stitches and use the Mattress Stitch to seam all four layers (two from each end) together. This might sound complicated but creates a very neat and stylish twist. Weave in ends.
Method 3: Headband with Tapered Ends (for ties or button closure)
- Cast On: Cast on a smaller number of stitches for the narrowest point of one tapered end.
- Increase for Taper: Work increases evenly over several rows/rounds until the headband reaches your desired full width.
- Knit Main Section: Work in your chosen stitch pattern until the main body of the headband is long enough to cover the forehead/ears, before shaping the other tapered end.
- Decrease for Taper: Work decreases evenly over several rows/rounds until you reach the desired narrowness for the tie or button tab.
- Create Buttonhole (if applicable): If using a button closure, create a small buttonhole near the bind-off edge.
- Bind Off: Bind off all stitches.
- Finishing: Weave in ends. Attach a button to the opposite tapered end if using a buttonhole, or leave ends long for tying.
Finishing Touches: The Polish
- Weaving in Ends: Use your tapestry needle to meticulously weave in all yarn tails. For flat projects like headbands, neat weaving is essential for a clean, professional appearance and durability.
- Seaming: As highlighted, a neat seam makes all the difference in comfort and aesthetics. Practice the mattress stitch for invisible joins.
- Blocking: Even small items benefit from blocking. Gently wet your finished headband, reshape it to its ideal dimensions (pinning if necessary), and let it air dry completely. Blocking evens out stitches, relaxes the fabric, and helps the headband lay beautifully.
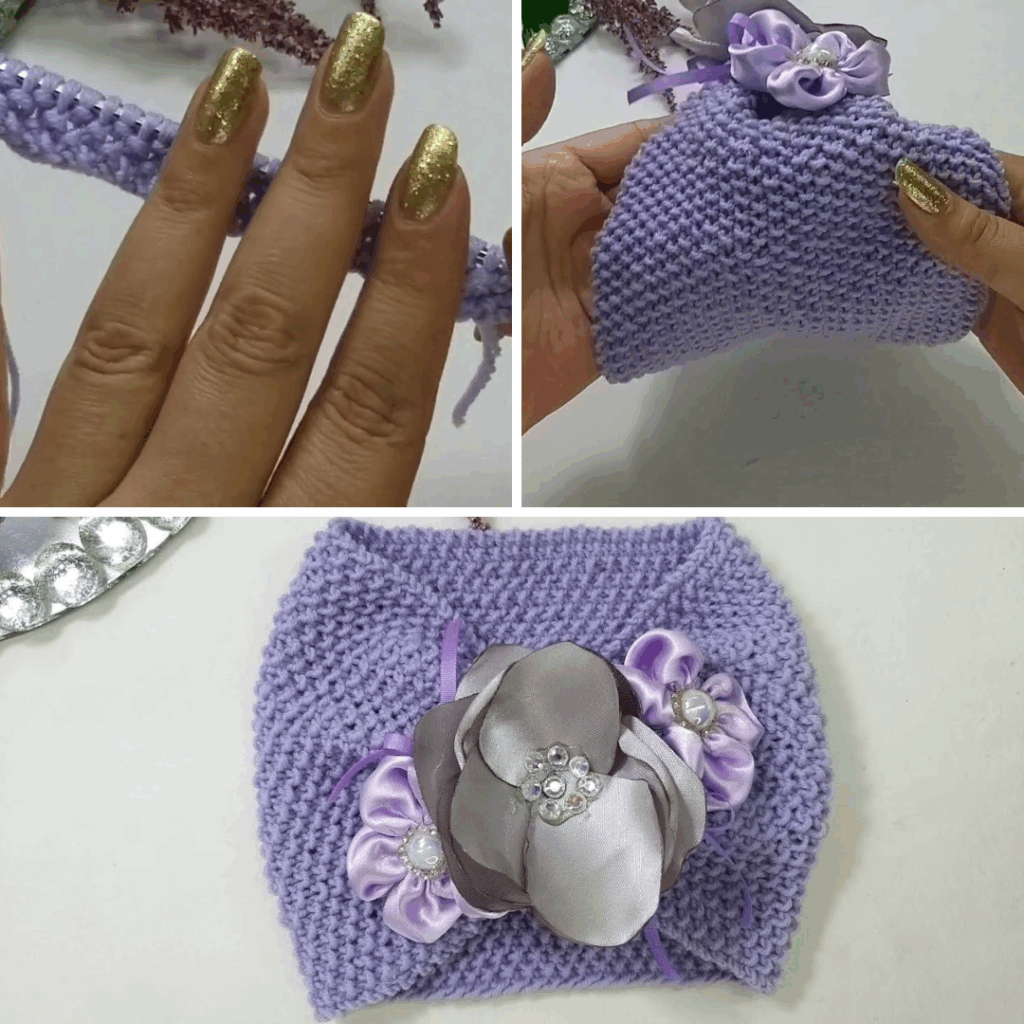
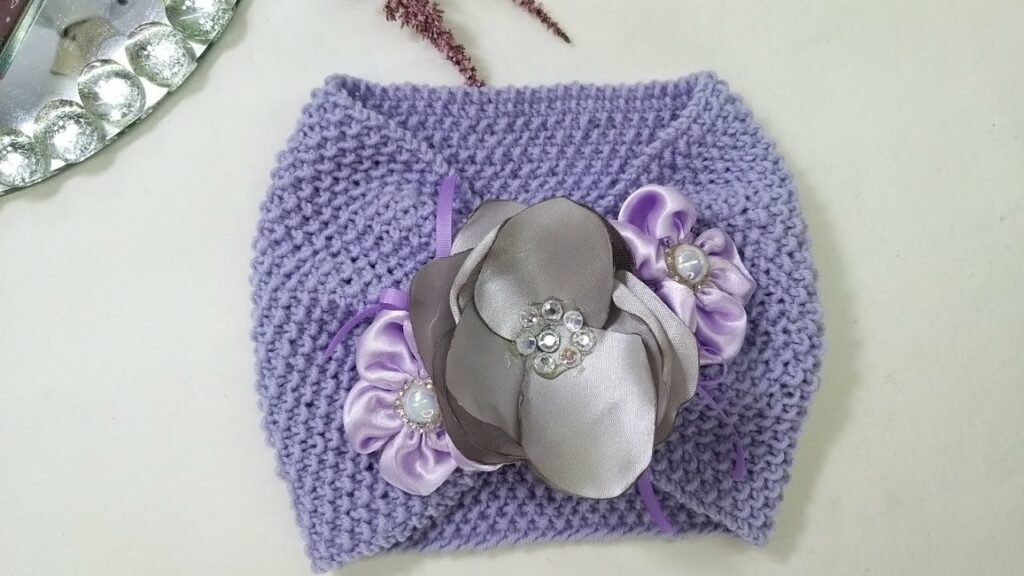
- Adding Closures/Embellishments: Securely sew on any buttons, or attach decorative elements like crocheted flowers or embroidered details.
Tips for Headband Success
- Measure Accurately: Head circumference is key. Remember negative ease for a good fit.
- Embrace Ribbing: If you want a stretchy, stay-put headband, ribbing is your best friend.
- Practice Seaming: A neatly seamed headband looks far more polished. Watch video tutorials for the mattress stitch!
- Blocking is Your Friend: It can transform a slightly wonky piece into a professional-looking accessory.
- Don’t Be Afraid to Experiment: Once you’ve mastered the basic rectangle, try out different stitch patterns, widths, and twist techniques.
Caring for Your Knitted Headband
- Follow Yarn Label Instructions: Always refer to your specific yarn’s care guidelines.
- Gentle Wash: Most knitted headbands benefit from gentle hand washing in cool water with a mild detergent. If your yarn is superwash, machine wash on a gentle cycle in a mesh laundry bag.
- Reshape and Lay Flat to Dry: Never wring, twist, or hang a wet knitted item, as this can cause stretching and distortion. Gently squeeze out excess water, reshape the headband to its original dimensions, and lay it flat on a clean towel or a mesh drying rack to air dry completely.
Knitting a headband with two needles is a deeply satisfying creative endeavor. It’s quick, customizable, and results in a cozy, stylish accessory that adds a handmade touch to any outfit or makes a warm, heartfelt gift. Sources
Video Tutorial ;