 by
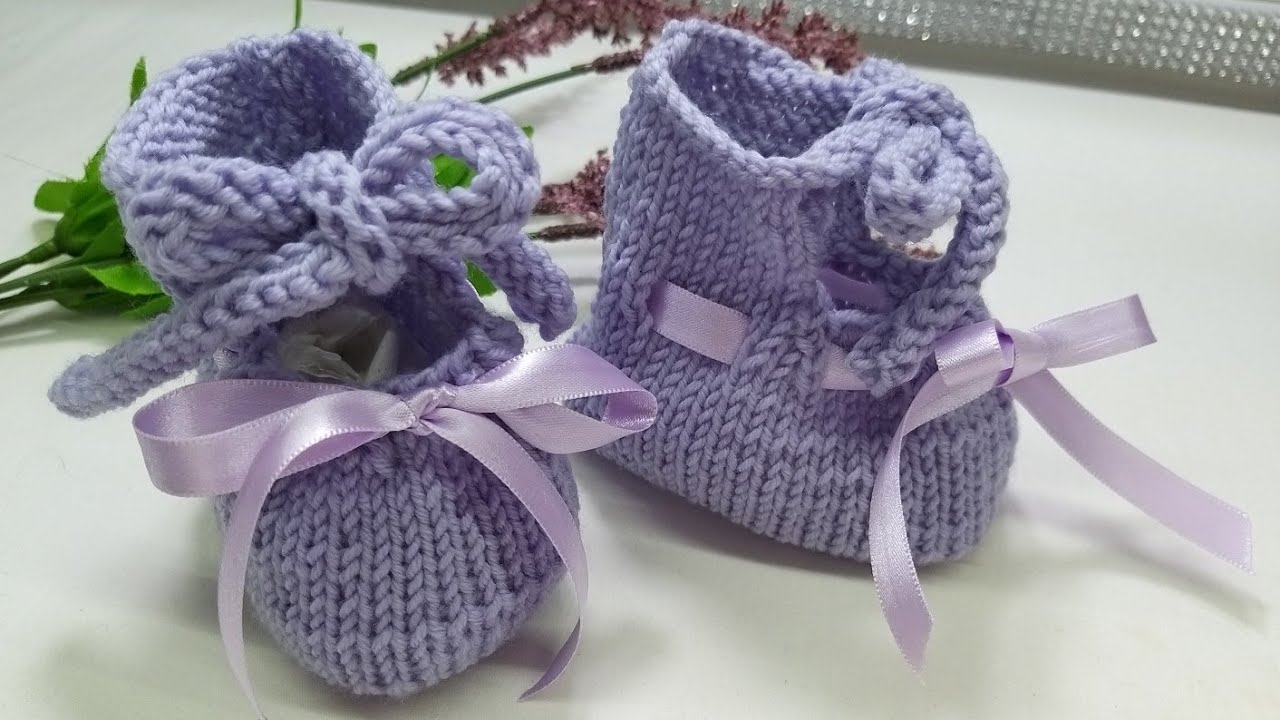
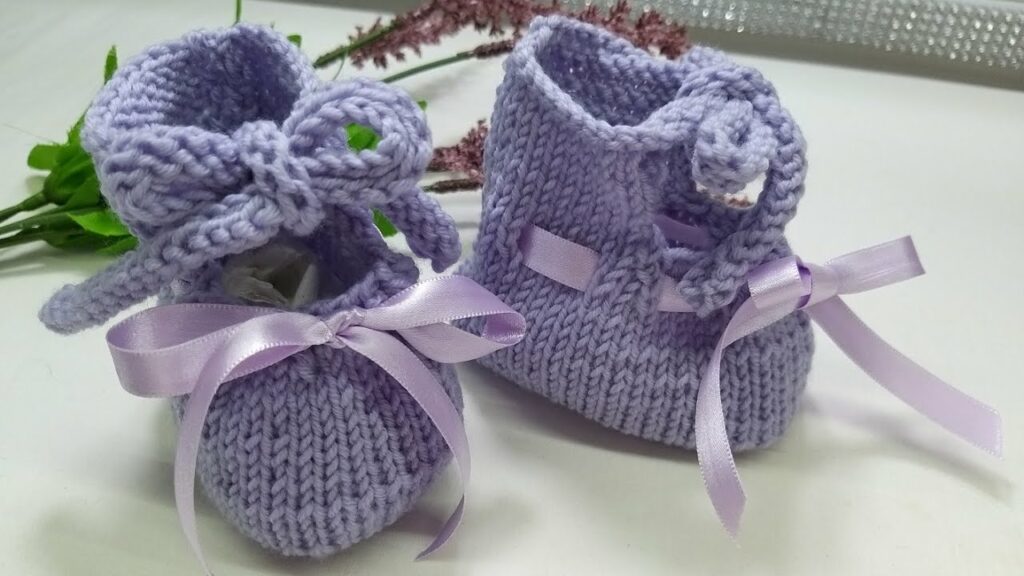
by There’s an undeniable tenderness in tiny baby shoes, and when they’re handmade with the soft, pliable fabric of knitting, they become truly special. The term “Lilí shoes” (often evoking images of delicate lilies or simply a sweet, feminine charm) captures the essence of these knitted treasures: small, elegant, and exquisitely comfortable footwear designed for the most precious little feet. Unlike crochet, knitting with two needles creates a unique fabric with inherent stretch and drape, making it ideal for shoes that need to conform gently to a baby’s developing foot.
This detailed article will guide you through the delightful process of knitting Lilí shoes, exploring their design philosophy, the essential tools and techniques of two-needle knitting, and the joy of creating a functional, beautiful, and heartfelt gift.
Unveiling “Lilí Shoes”: A Knitted Dream
The “Lilí” aesthetic is characterized by:
- Delicate Simplicity: Often featuring clean lines, classic shapes like Mary Janes, simple slip-on booties, or tied ankle designs, with minimal fuss.
- Sublime Softness: The inherent stretch and drape of knitted fabric, especially when combined with high-quality baby yarn, creates an incredibly soft and pliable shoe.
- Elegant Details: Perhaps a subtle texture from a seed stitch border, a delicate picot edge, or a simple i-cord tie, adding a touch of refined charm without being overly elaborate.
- Unrivaled Comfort: Knitting naturally produces a fabric with excellent give, allowing the shoe to gently hug the foot without restricting movement.
Why Knit Lilí Shoes with Two Needles?
- Superior Stretch & Fit: Knitted fabric is inherently more elastic than crocheted fabric, providing a snug yet comfortable fit that adapts well to a baby’s rapidly growing foot.
- Soft Drape: Knitting creates a softer, more fluid fabric, which is crucial for shoes that need to move with tiny, delicate feet.
- Warmth & Breathability: Depending on yarn choice (e.g., merino wool), knitted shoes offer excellent temperature regulation, keeping feet warm without overheating.
- Classic Aesthetic: The smooth, even texture of stockinette or the gentle bumps of garter stitch provide a timeless look.
- Skill Development: A relatively small project, knitting baby shoes is perfect for practicing fundamental knitting techniques and learning shaping.
- Heartfelt Gift: Handmade knitted shoes are a treasured keepsake, symbolizing the love and care poured into their creation.
Key Characteristics of Knitted Lilí Shoes
- Supreme Softness: Achieved through fiber choice and knitting’s pliable fabric.
- Flexibility: Allows unrestricted movement, crucial for foot development.
- Simplicity with Elegance: Designs are often understated, letting the quality of the knitting and yarn shine.
- Practicality: Designed to stay on tiny feet, with features like snug cuffs, ties, or straps.
- No Irritating Seams (if carefully seamed): The goal is a smooth interior for maximum comfort.
Materials: Your Toolkit for Tiny Knitwear
- Yarn (The Heart of Softness):
- Fiber:
- Superwash Merino Wool: Often considered the gold standard for baby items due to its exceptional softness, warmth, elasticity, and machine washability.
- High-Quality Cotton or Organic Cotton: Breathable, absorbent, durable, and wonderfully soft for warmer climates.
- Bamboo Blends: Known for their silky sheen, incredible softness, and excellent drape.
- Premium Baby Acrylics: Hypoallergenic, easy to care for, and specifically manufactured for supreme softness.
- Weight: Fingering (Category 1) or Sport (Category 2) are frequently chosen for their delicate feel and ability to create intricate details. DK (Double Knitting, Category 3) can also work for a slightly plumper, cozier shoe.
- Colors: Soft pastels (pale pink, baby blue, mint green, lavender), creamy whites, ivory, or gentle muted tones that enhance the delicate “Lilí” aesthetic.
- Fiber:
- Knitting Needles (Two Needles!):
- Size: Choose the size recommended by your pattern to achieve gauge. For fingering to DK weight yarns, this is typically between 2.75mm and 4.0mm (US 2 to 6).
- Type: Straight needles are perfect for most Lilí shoe patterns, as many are worked flat and then seamed. Short circular needles can also be used if working small sections in the round using the Magic Loop method, but the core request emphasizes “two needles” which typically implies flat knitting.
- Notions (Your Essential Helpers):
- Stitch Markers: Useful for marking increases, decreases, or specific sections.
- Tapestry Needle (or Blunt Yarn Needle): Absolutely essential for weaving in ends neatly and for seaming the knitted pieces together.
- Scissors.
- Measuring Tape/Ruler: Crucial for checking gauge and ensuring the correct size.
- Small, Flat Buttons (Optional): For Mary Jane straps or simple closures. Ensure they are securely sewn and large enough not to be a choking hazard.
- Ribbon or Cord (Optional): For decorative ties around the ankle.
- Elastic Thread (Optional): Can be knitted in or threaded through a finished cuff to help shoes stay on.
Essential Knitting Techniques for Lilí Shoes
You’ll utilize fundamental knitting skills and some key shaping techniques:
- Casting On: Various methods exist (long-tail, knitted cast-on). Choose one that provides a flexible edge.
- Knit Stitch (K): The foundational stitch.
- Purl Stitch (P): Creates the reverse of the knit stitch.
- Basic Stitch Patterns:
- Garter Stitch: Every row knitted; creates a bumpy, reversible fabric that lies flat and has good stretch.
- Stockinette Stitch: Knit one row, purl one row (or knit every round if working in the round); creates the classic “V” pattern with a smooth front and bumpy back. Tends to curl, so often paired with a garter or ribbed border.
- Seed Stitch: Alternating knits and purls in a checkerboard pattern; creates a textured, reversible fabric that lies flat.
- Simple Ribbing (K1P1, K2P2): Alternating knits and purls within a row; creates a very stretchy, often vertical-textured fabric ideal for cuffs.
- Binding Off: To finish your work and create a neat, stable edge.
- Increases:
- Knit Front and Back (KFB): Creates a new stitch from an existing one.
- Make One (M1L/M1R): Creates a new stitch from the strand between two stitches.
- Decreases:
- Knit Two Together (K2tog): Decreases by knitting two stitches as one.
- Slip, Slip, Knit (SSK): Creates a left-leaning decrease.
- Seaming (Crucial!):
- Mattress Stitch: The gold standard for virtually invisible vertical seams, creating a clean, professional finish crucial for a comfortable interior.
- Whip Stitch: A simpler seaming method, creates a more visible seam but can be neat for edges.
- Buttonholes: Creating small openings for buttons within your knitted fabric.
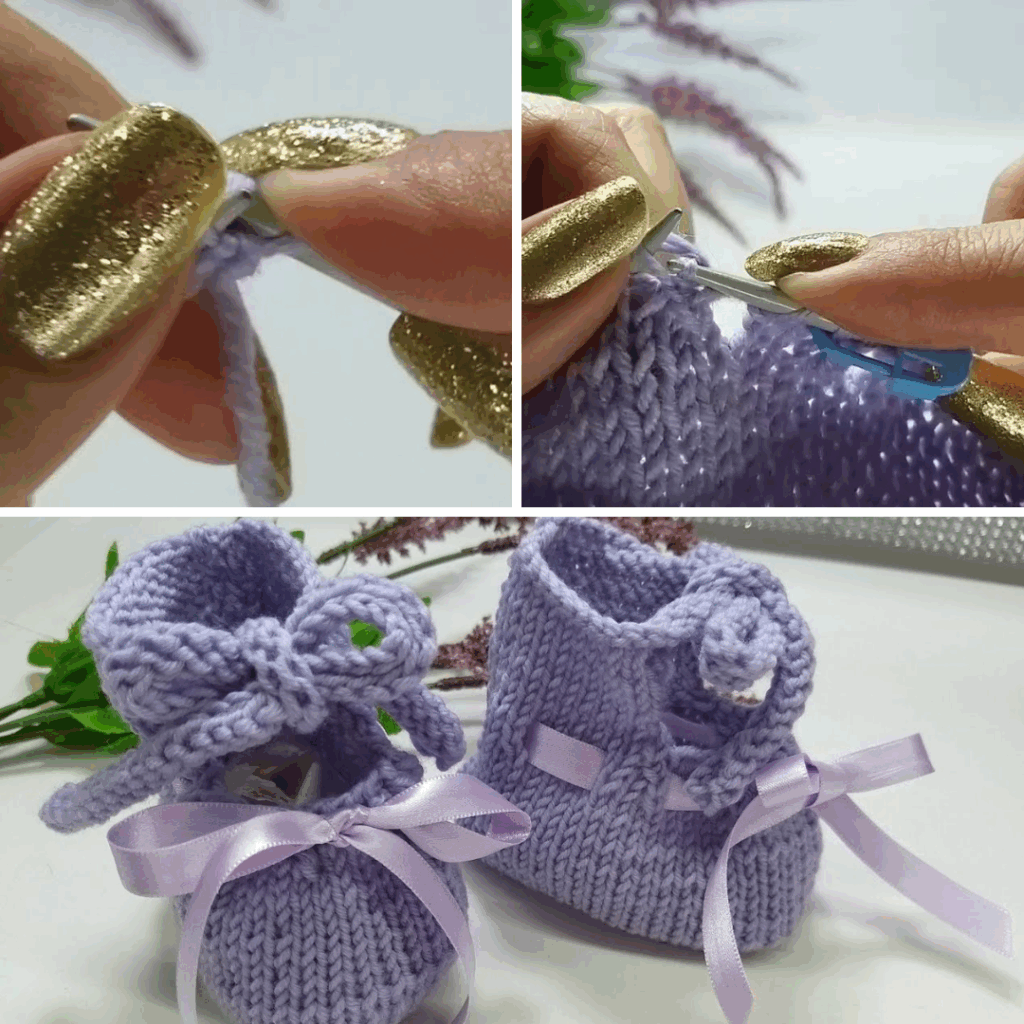
Construction Journey: Step-by-Step (Conceptual Guide for a common Lilí style)
Many two-needle knitted baby shoes are constructed by knitting a relatively flat piece and then seaming it, or by knitting a sole and picking up stitches around it. Here’s a general conceptual flow:
- Preparation:
- Sizing: Accurately measure the baby’s foot length from heel to longest toe. Add 0.5 to 1 cm (0.2 to 0.4 inches) for growth room. Many patterns provide measurements for specific age ranges (e.g., 0-3 months, 3-6 months).
- Gauge Swatch (Absolutely Critical!): Knit a swatch (e.g., 4×4 inches / 10×10 cm) in the main stitch pattern using your chosen yarn and needles. Wash and block it as you plan to finish the shoes. Measure accurately to ensure your finished shoes will be the correct size.
- Step 1: Knitting the Sole/Base:
- Some patterns begin by knitting the sole flat, often as a rectangular piece with increases at the ends to create an oval shape.
- Other patterns may begin by knitting a simple rectangle that will form the sole and part of the upper later when folded and seamed.
- Step 2: Building the Sides/Upper:
- If you knitted a separate sole: You’ll pick up stitches along the edge of the finished sole and begin knitting upwards in rounds (if using circulars/DPNs) or flat in rows (if working in sections to be seamed).
- If you started with a single piece: You’ll continue knitting, incorporating shaping to curve the fabric around where the foot will sit.
- Step 3: Shaping the Toe & Heel:
- This is achieved through a series of carefully placed decreases. For the toe, decreases are usually centered to create the rounded tip. For the heel, shaping might involve short rows or specific decrease sequences to cup the back of the foot.
- Step 4: Creating the Ankle/Cuff:
- Once the foot shaping is complete, you’ll knit the ankle opening or cuff. This section is often worked in ribbing (for stretch) or garter stitch (for a flat, non-curling edge) to ensure the shoe stays snugly on the baby’s foot.
- For Mary Jane styles, you’ll create the opening for the foot, leaving sections for the strap.
- Step 5: Adding Straps/Ties/Closures:
- Mary Jane Strap: Knit a separate narrow strip, creating a buttonhole at one end. This is then sewn securely to one side of the shoe.
- Ties: Knit simple i-cords or crochet thin chains to thread through eyelets around the ankle, or simply use ribbon.
- Buttonholes: Integrate small buttonholes into the knitted fabric if using a button closure.
- Step 6: Finishing Touches:
- Seaming (Crucial!): If your pattern involves knitting flat pieces, meticulously seam them together using the Mattress Stitch for an almost invisible seam. This is especially important for the inside of the shoe to ensure comfort against delicate skin.
- Attach Buttons: Securely sew on any small buttons.
- Weave in All Ends: Use your tapestry needle to carefully weave in every single yarn tail. For baby items, ensure these are absolutely secure and not poking through to irritate the skin.
Tips for Lilí Perfection
- Gauge is Paramount for Fit: A small difference in stitch or row count can drastically alter the size of a tiny shoe. Swatch, wash, block, and measure!
- Prioritize Softness: Always choose yarns specifically labeled “baby yarn” or known for their extreme softness.
- Seamless Seaming: Practice your Mattress Stitch. A well-executed seam is practically invisible and creates a smooth interior for maximum comfort.
- Making Them Stay On: This is a common challenge with baby shoes! Ensure cuffs are snug (but not tight), ties are functional, or elastic is incorporated if needed.
- Safety First: If using buttons or other small embellishments, ensure they are securely sewn with strong thread and are large enough not to be a choking hazard. No loose threads inside or out.
- Block Your Shoes: Gently wet and reshape your finished shoes, stuffing them lightly with paper towels or plastic bags to help them hold their shape as they dry. Blocking evens out stitches, relaxes the fabric, and gives them a polished, professional finish.
Customization Ideas
- Edging Variations: Experiment with different knitted edgings (picot, seed stitch, simple lace) for a personalized touch.
- Color Accents: Knit the sole in a contrasting color, or add a thin stripe of a different color on the cuff.
- Simple Knit-in Textures: Incorporate small sections of garter stitch or seed stitch for subtle textural interest.
- Ribbon or I-Cord Ties: Instead of a button strap, opt for knitted i-cords or delicate ribbon for charming ties.
Caring for Your Knitted Lilí Treasures
- Follow Yarn Label Instructions: Always refer to your specific yarn’s care guidelines for washing and drying.
- Gentle Wash Recommended: For delicate knitted items, hand washing in cool water with a mild, baby-friendly detergent is often best. If your yarn is superwash, machine wash on a gentle cycle in a mesh laundry bag.
- Reshape and Lay Flat to Dry: Never wring, twist, or hang a wet knitted item, as this will stretch and distort its shape. Gently squeeze out excess water, reshape the shoes, and lay them flat on a clean towel or a mesh drying rack to air dry completely.
Knitting Lilí shoes with two needles is a deeply rewarding project, creating tiny masterpieces of comfort and elegance. Each stitch carries the warmth of your hands and the love poured into making something truly special for the littlest feet. Sources
Video Tutorial ;