 by
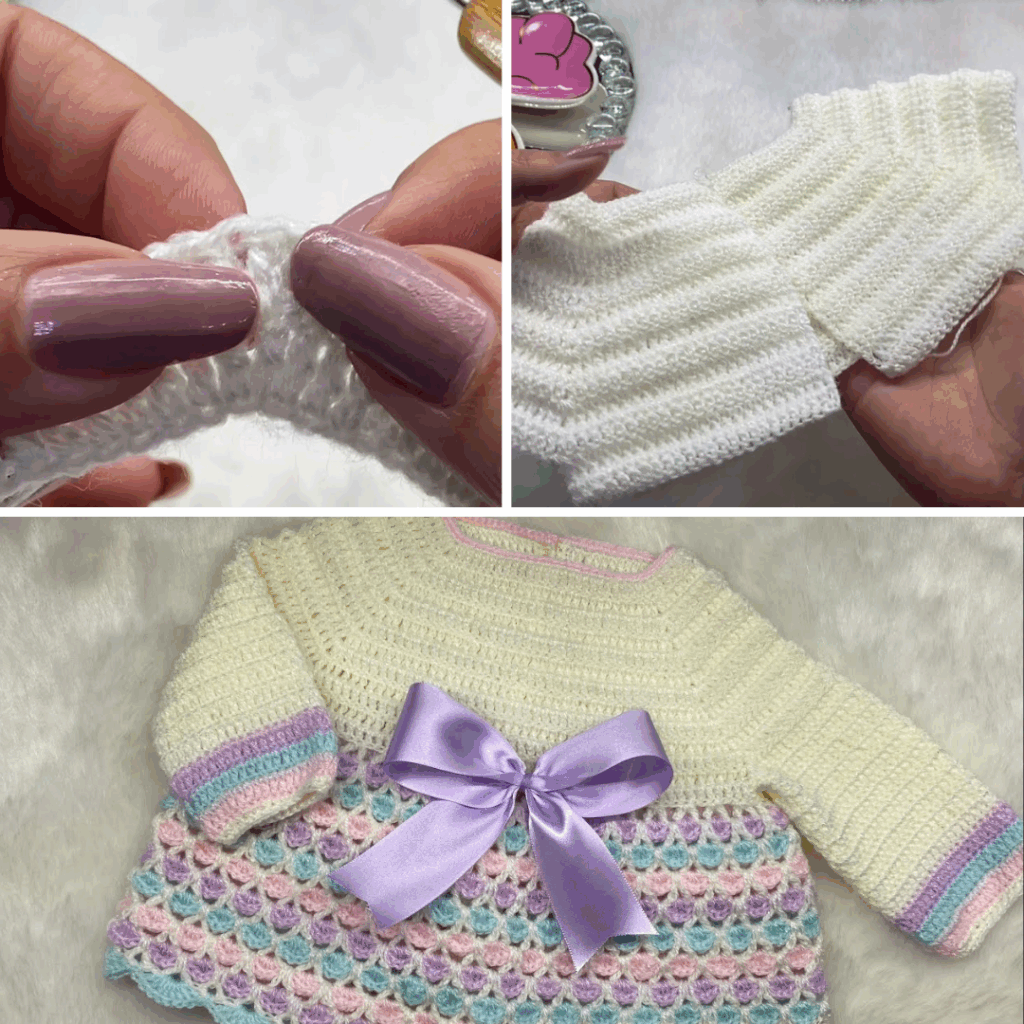
by Stitching a Rainbow: A Detailed Guide to Crocheting a Colorful Jacket 🦄
A colorful crocheted jacket is more than just a garment—it’s a wearable masterpiece of self-expression. Bursting with vibrant hues and captivating textures, it’s a project that brings joy to the maker and spreads happiness to everyone who sees it. While a jacket might seem like a complex undertaking, many designs are surprisingly achievable, allowing you to combine simple stitches with a riot of color to create a truly unique piece.
This detailed guide will inspire you to stitch your own rainbow, walking you through the design principles, yarn choices, and construction methods that make crocheting a colorful jacket a fun and rewarding adventure.
The Magic of a Colorful Crocheted Jacket
Why is a multicolored jacket such a fantastic project?
- Ultimate Personalization: You are the artist! You choose every color, every stitch, and every detail, resulting in a one-of-a-kind garment that reflects your personality.
- A Scrap Buster: It’s the perfect project for using up all those leftover yarn scraps and partial skeins from other projects, turning them into a beautiful, cohesive piece.
- Visually Stunning: The interplay of different colors, whether in stripes, squares, or motifs, creates a dynamic and eye-catching garment that feels like a work of art.
- Skill Builder: It’s a great project for mastering color changes, managing multiple yarn strands, and practicing different joining techniques.
Designing Your Colorful Jacket: Key Considerations
Before you begin, think about the style and color palette that will make your jacket uniquely yours.
1. Color Palette: The Soul of the Jacket
Your color choices will define the jacket’s vibe.
- Rainbow Brights: Use a full spectrum of vibrant colors for a cheerful, maximalist look. Think bright pinks, electric blues, sunshine yellows, and emerald greens.
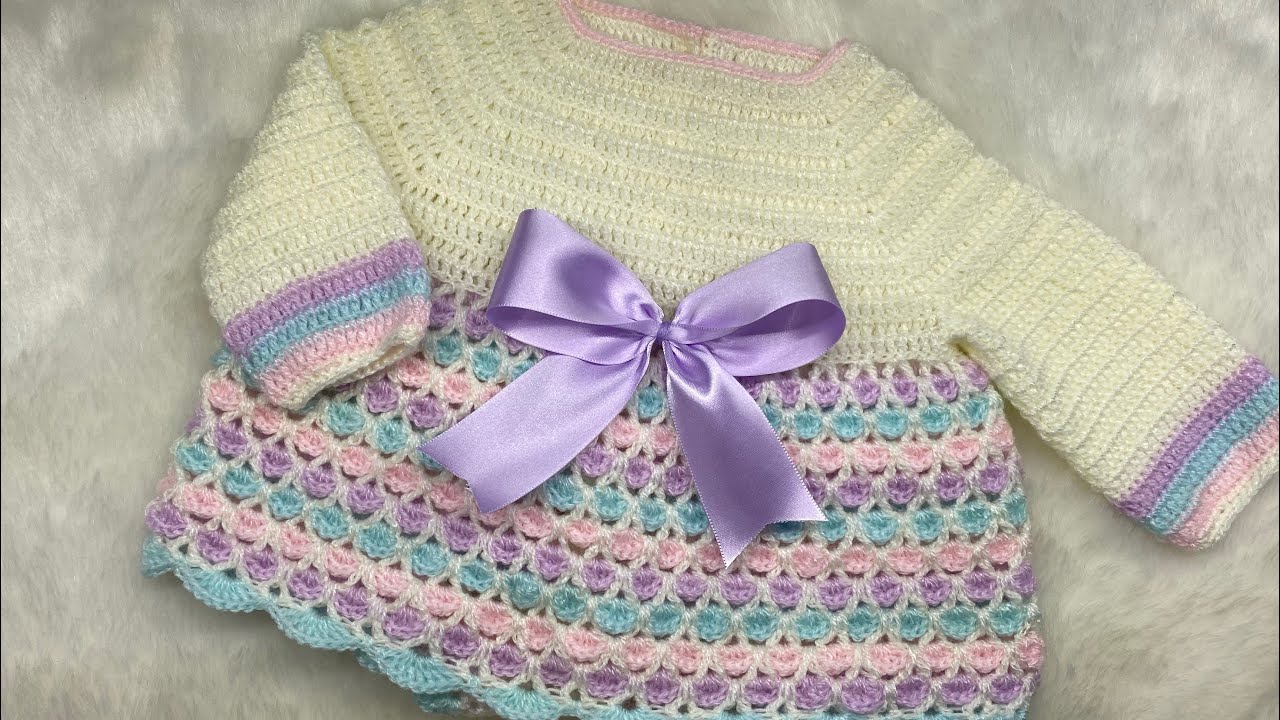
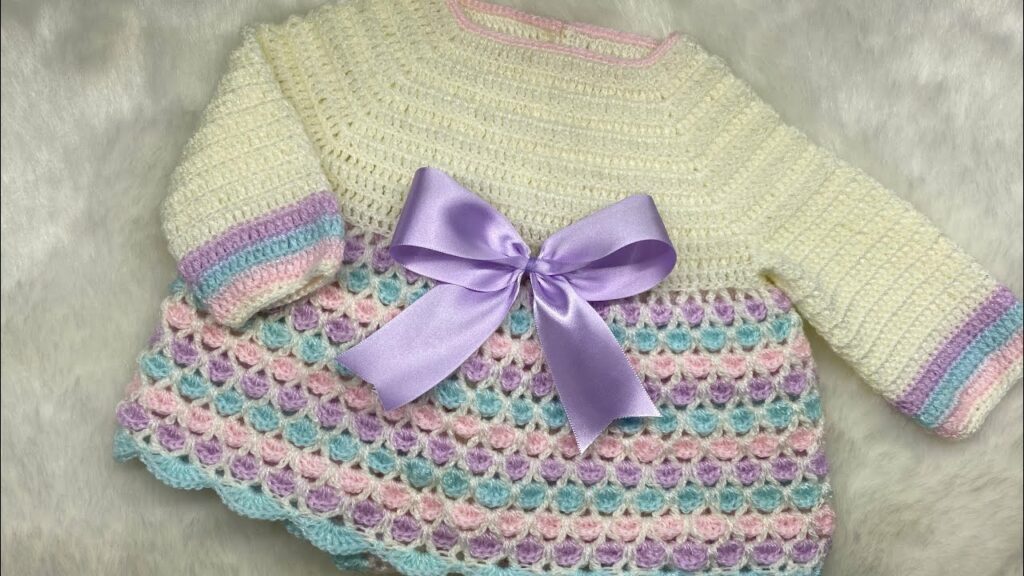
- Pastel Dream: Soft blues, lavender, mint, and peach create a delicate, dreamy, and whimsical aesthetic.
- Earth Tones: Olive green, terracotta, mustard, and rust offer a more rustic, bohemian feel.
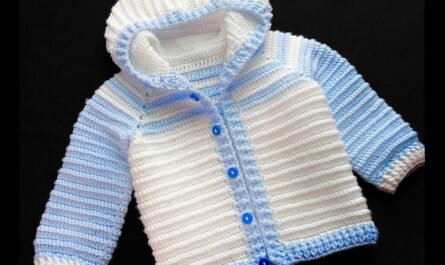
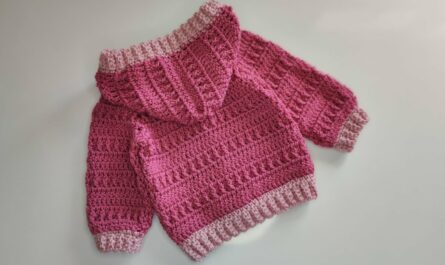
- Monochromatic: Use different shades and textures of the same color (e.g., light blue, sky blue, navy) for an elegant, subtle effect.
2. Construction Method: Building Your Masterpiece
The construction method dictates how your jacket comes together.
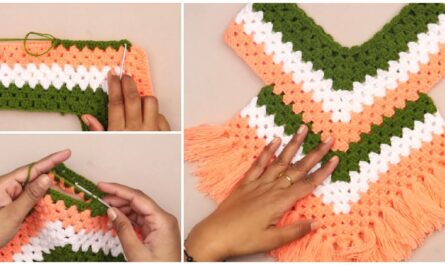
- Granny Square/Motif Jacket (Highly Recommended): This is the most popular and easiest method for a colorful jacket. You crochet a bunch of smaller squares, hexagons, or other motifs and then join them together to form the jacket shape.
- Pros: It’s a fantastic “on-the-go” project. You can make motifs anywhere, and it’s easy to customize the fit by adding or subtracting motifs. It’s also a perfect way to use scraps.
- Striped Jacket: You work back and forth in rows, changing colors every few rows to create stripes.
- Pros: Very easy for beginners, as you just work flat panels. You can create a simple, classic stripe pattern.
- Solid Panels with Colorwork: You work in solid panels (front, back, sleeves) but use techniques like tapestry crochet or intarsia to create color-blocked designs or repeating patterns within the fabric.
- Pros: Creates a seamless color design and a dense fabric.
- Cons: Can be more complex due to carrying or managing multiple yarn bobbins.
3. Stitch Pattern: The Texture of Color
- Granny Stitch: A classic for a reason! The iconic cluster of double crochets in the Granny Square is perfect for showcasing color and texture.
- Half Double Crochet (hdc): Works up quickly and creates a dense fabric, ideal for a striped jacket.
- Moss/Linen Stitch: A simple alternating single crochet and chain stitch that creates a beautifully textured, woven-like fabric, great for color changes.
Essential Materials You’ll Need
- Yarn: Your chosen yarn in a rainbow of colors! Worsted (Category 4) or DK (Category 3) weight is a good choice.
- Tip: If using scraps, ensure they are all roughly the same weight and fiber content to maintain a consistent drape.
- Crochet Hook: The size recommended on your yarn label for your chosen yarn weight.
- Stitch Markers: Invaluable for marking corners in squares or key stitches.
- Tapestry Needle (Yarn Needle): Essential for weaving in ends and seaming motifs together.
- Scissors.
- Measuring Tape: Crucial for checking your motif size and garment dimensions.
- Buttons or Zippers (Optional): For a front closure.
The Construction Journey: A Step-by-Step Guide
This guide will focus on the popular and versatile Granny Square/Motif construction method.
Step 1: The Gauge Swatch (Do Not Skip!)
Before you begin, crochet a single motif (e.g., a granny square). Block it by wetting it and laying it flat to dry. Measure the finished motif to ensure it matches the pattern’s size. If it’s too big, go down a hook size; too small, go up. This ensures all your squares will be uniform and your jacket will be the right size.
Step 2: Crochet Your Motifs
This is the fun part! Work on crocheting all your individual motifs. This is a great portable project—you can make a few squares at a time while commuting or watching TV. You can follow a specific color pattern or just use up your scraps randomly.
Step 3: Lay Out Your Design
This is where the magic happens! Lay all your finished motifs out on the floor or a large table according to the jacket’s pattern layout. This allows you to visualize the color placement and ensure you have enough motifs to create the front, back, sleeves, and collar.
Step 4: Join the Motifs
Once you’re happy with the layout, it’s time to join them! You can use a variety of joining methods:
- Join-as-you-go: A seamless method where you join the motifs with slip stitches as you crochet the final round of each square.
- Whip Stitch or Slip Stitch: You can join all the squares with a tapestry needle and yarn for a classic seam.
- Single Crochet Join: A simple sc seam creates a raised, decorative ridge.
- Tip: Use a neutral color like black or white for the joining yarn to make the colors of the squares really pop!
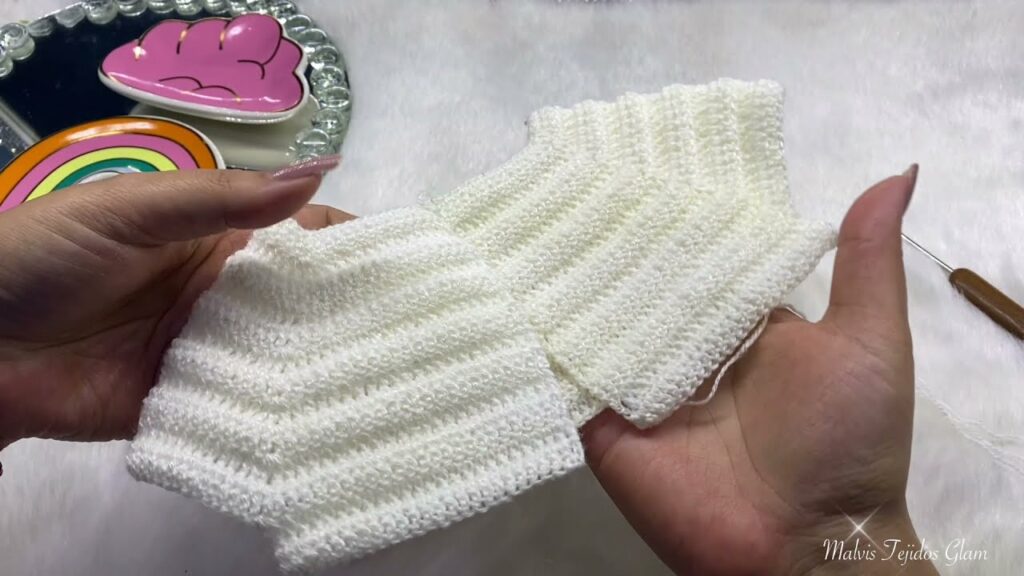
Step 5: Finish the Edges
Once the main body of the jacket is joined, it’s time to add a polished finish. Crochet a few rounds of a simple stitch like single crochet or ribbing around the neckline, cuffs, and bottom hem. This helps the garment lay flat and gives it a professional look.
Step 6: Weave in Ends & Block
For a colorful project, you’ll have a lot of yarn tails to weave in! Take your time to meticulously hide every end using a tapestry needle. Finally, give your finished jacket a gentle wash and block it by laying it flat, shaping it, and letting it dry completely. Blocking will even out your stitches and improve the jacket’s drape.
Pro Tips for a Vibrant Finish
- Embrace a Formula: For a balanced look, choose a main color (like white or black) for the final round of all your motifs. This will create a nice separation between the colors and tie everything together.
- Choose Contrasting Colors: Place contrasting colors next to each other to make them stand out.
- Don’t Fear the Chaos: Part of the charm of a colorful jacket is its vibrant, slightly chaotic look. Don’t worry about every square being perfect or every color being in the right place.
- Check the Fiber: Make sure all your scrap yarns have similar care instructions (e.g., all washable, all hand-wash only) to ensure your finished jacket can be laundered properly.
A colorful crocheted jacket is a bold and joyful statement piece. With a bit of planning and a willingness to play with color, you can create a unique garment that will brighten up any day. Happy hooking!
Video Tutorial :