by
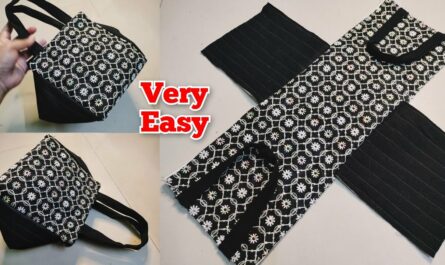
by A round bag is a stylish and practical accessory that can add a unique touch to any outfit. While its shape might seem intimidating to sew, it can be surprisingly simple with the right approach. This guide will walk you through the easiest way to sew a round bag, perfect for beginners and seasoned sewers alike.

Materials You’ll Need
Before you begin, gather your materials. Having everything ready will make the process much smoother.
- Main Fabric: A medium-weight fabric like cotton twill, canvas, or denim works well for structure. You’ll need enough for two circles (front and back) and a long strip for the side/gusset.
- Lining Fabric: A lighter-weight fabric like quilting cotton. You’ll need the same amount as your main fabric.
- Zipper: A zipper long enough to span a significant portion of your bag’s circumference. A dress zipper (non-separating) is usually sufficient. The length will depend on your desired bag size.
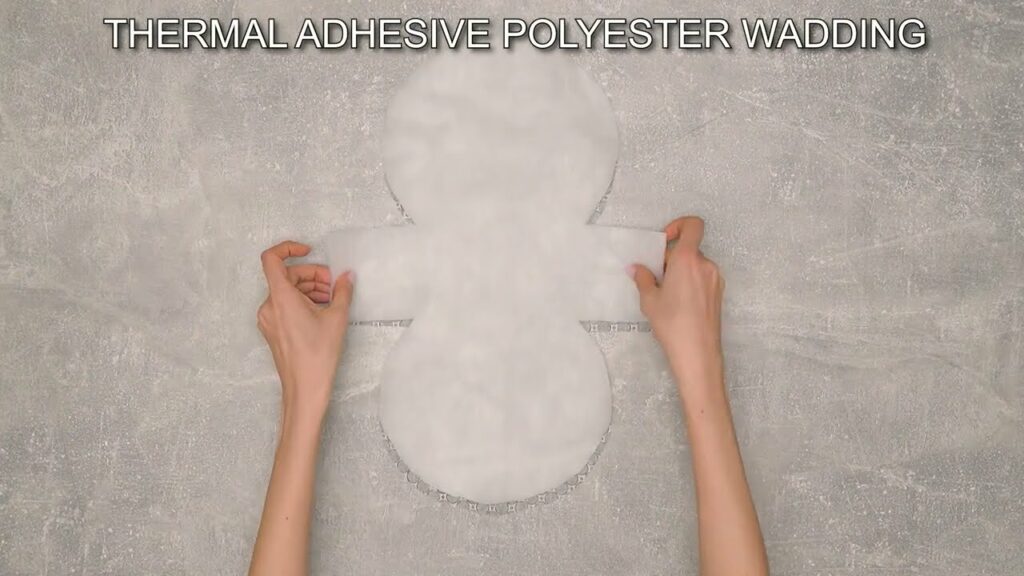
- Interfacing (Optional but Recommended): Fusible fleece or a medium-weight fusible interfacing will give your bag more body and durability.
- Matching Thread: Polyester all-purpose thread.
- Basic Sewing Supplies:
- Sewing machine
- Fabric scissors or rotary cutter and mat
- Pins or fabric clips
- Measuring tape or ruler
- Fabric marker or chalk
- Iron and ironing board
- Zipper foot for your sewing machine
Planning Your Bag Size
The beauty of a round bag is that you can make it any size you desire. To determine your fabric cuts, you’ll need two main measurements:
- Diameter of your circles: Decide how wide you want your bag to be. This will be the diameter of your front and back circular pieces.
- Width of your side strip (gusset): This will be the depth of your bag. A common width is 2-4 inches.
- Length of your side strip: This is the most crucial measurement. It needs to be the circumference of your circle plus seam allowance. The formula for circumference is C=πd (where C is circumference, π≈3.14, and d is diameter). So, if your diameter is 10 inches, your circumference will be approximately 3.14×10=31.4 inches. Add an extra 1-2 inches for seam allowance and ease.
Example: Let’s say you want a bag with a 10-inch diameter and a 3-inch depth.
- Circles: Two 10-inch diameter circles (main fabric), two 10-inch diameter circles (lining fabric), two 10-inch diameter circles (interfacing, if using).
- Side Strip: One strip 3 inches wide by (31.4 inches + 2 inches seam allowance) = 33.4 inches long (main fabric). One strip 3 inches wide by 33.4 inches long (lining fabric). One strip 3 inches wide by 33.4 inches long (interfacing, if using).
Cutting Your Fabric Pieces
- Circles: To cut perfect circles, you can use a plate or bowl as a template, a compass, or a circle cutter. Cut two circles from your main fabric, two from your lining fabric, and two from your interfacing (if using).
- Side Strips: Cut one long rectangular strip from your main fabric and one from your lining fabric based on your calculated dimensions. Cut a corresponding strip from your interfacing.
Step-by-Step Sewing Instructions
We’ll use a 1/2-inch seam allowance throughout, but you can adjust this as long as you’re consistent.
1. Prepare Your Fabrics
- Interfacing: If using fusible interfacing, fuse it to the wrong side of your main fabric circles and main fabric side strip according to the manufacturer’s instructions. This will give your bag structure.
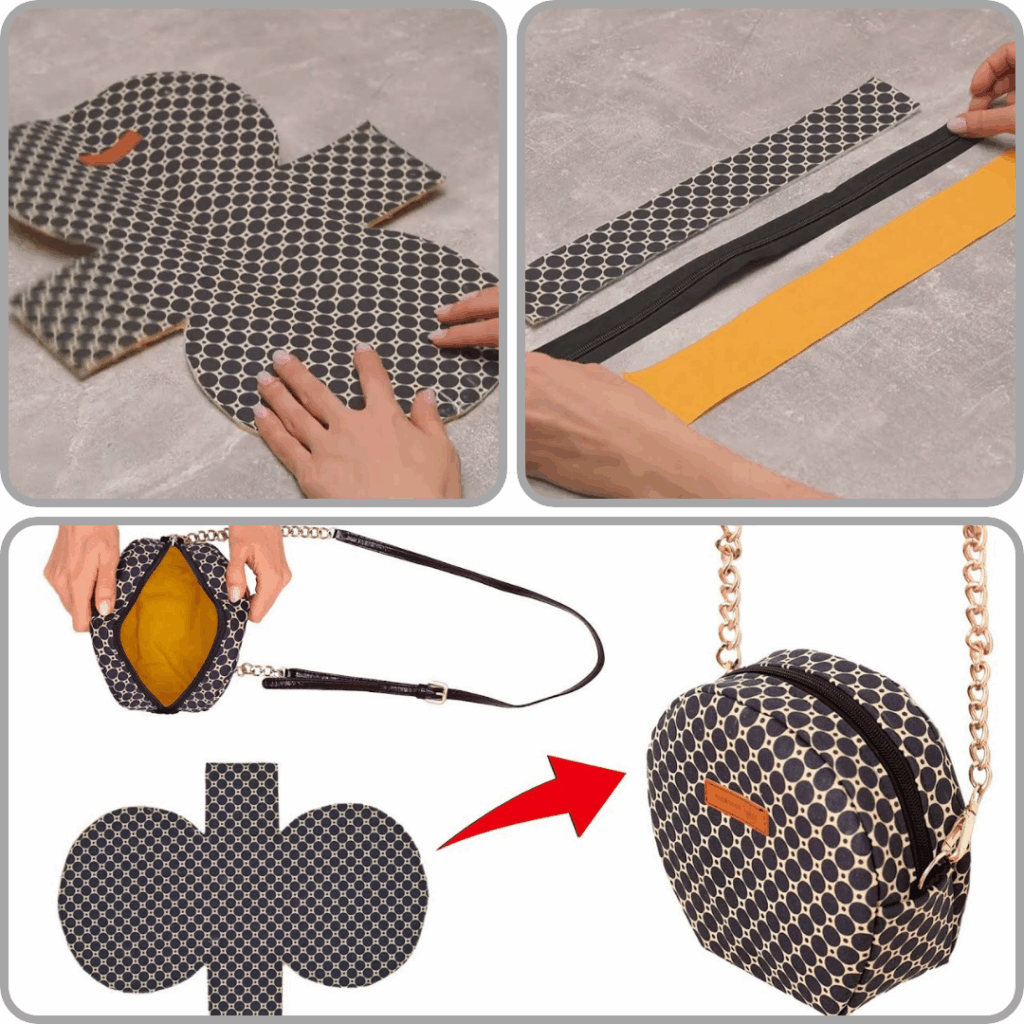
2. Install the Zipper
This is often the trickiest part, but we’ll simplify it.
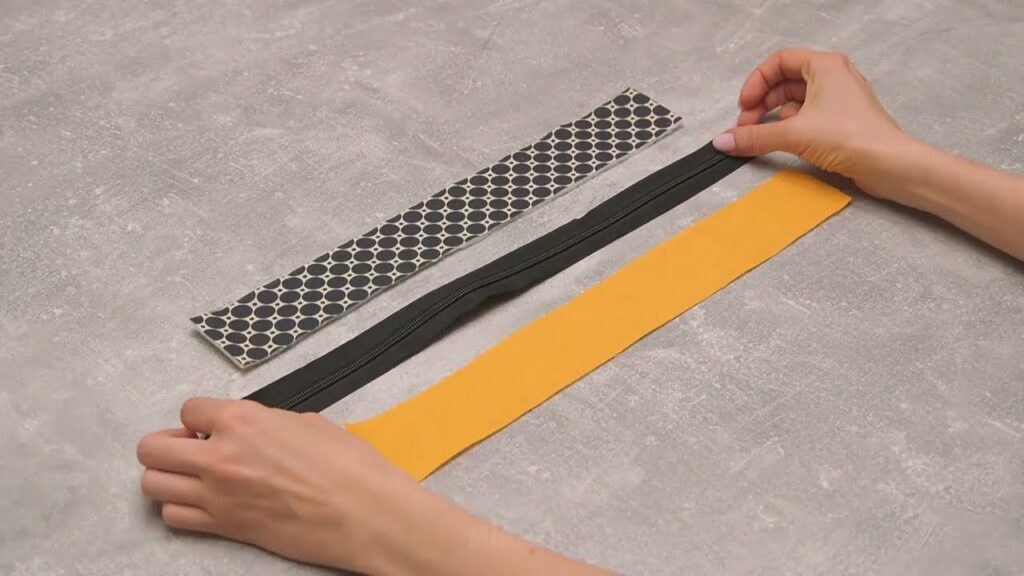
- Cut the Side Strips: Take your main fabric side strip and your lining fabric side strip. Cut each of them in half lengthwise. You will now have four strips: two main fabric and two lining fabric.
- Attach Zipper to Main Fabric: Take one main fabric half-strip and one main fabric circle. Place the zipper right side down along one long edge of the main fabric half-strip. Pin in place.
- Attach Lining Fabric: Place one lining fabric half-strip right side down on top of the zipper, aligning it with the main fabric strip. The zipper tape will be sandwiched between the main fabric and the lining.
- Sew: Using your zipper foot, sew along the edge of the zipper, securing all three layers (main fabric, zipper, lining).
- Press and Topstitch: Open up the fabric so the main fabric and lining are facing wrong sides together, with the zipper exposed. Press the seam flat. Topstitch along the fabric edge, close to the zipper, to give it a neat finish and prevent the lining from getting caught in the zipper.
- Repeat for Other Side: Repeat steps 2-5 with the remaining main fabric half-strip, lining fabric half-strip, and the other side of your zipper. You should now have your zipper attached to two long strips of main fabric and two long strips of lining fabric, forming a continuous loop of fabric with the zipper in the middle.
3. Form the Bag Sides (Gusset)
- Sew Side Seams: With right sides together, match the short ends of your main fabric side strip (the one with the zipper attached) and sew them together, forming a loop. Press the seam open. Do the same for your lining fabric side strip, ensuring the seams align.
- Prepare the Zipper End: Open the zipper about halfway. This is crucial for turning the bag right side out later.
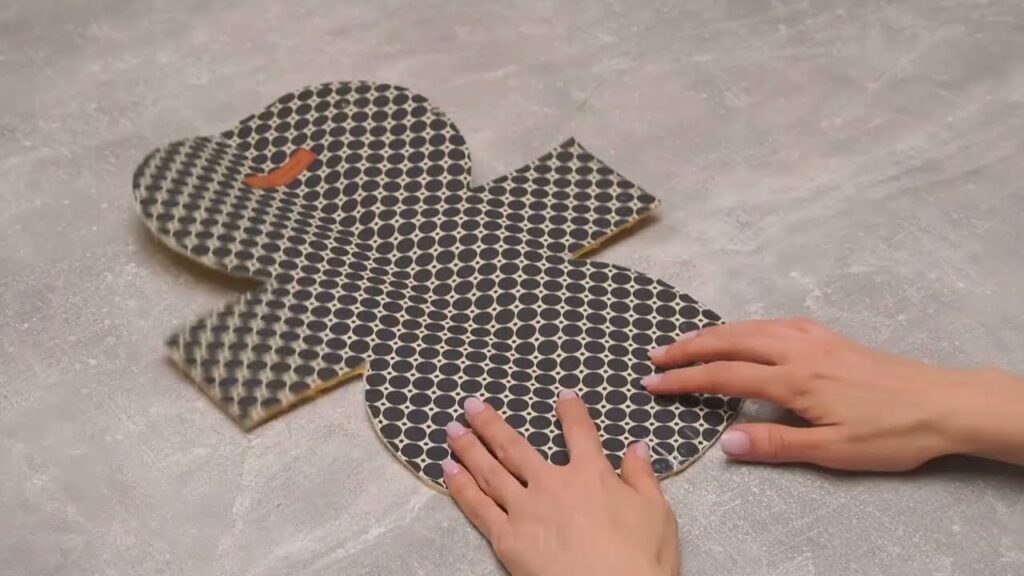
4. Attach Circles to the Gusset
This is where the magic happens and your bag takes shape.
- Mark Centers (Optional but helpful): On your main fabric circles, find and mark the top, bottom, and side quarter points. Do the same for your main fabric gusset (the side strip with the zipper). This helps with even distribution.
- Pin One Circle to Gusset: With right sides together, align one main fabric circle with one raw edge of your main fabric gusset. Pin meticulously all the way around, easing the fabric to fit the curve. Take your time with this step, as good pinning leads to a smooth finish.
- Sew: Using a 1/2-inch seam allowance, carefully sew all the way around the circle. Go slowly, especially around the curves, and pivot your fabric as needed. Trim any excess seam allowance.
- Repeat for Other Circle: Attach the second main fabric circle to the other raw edge of your main fabric gusset in the same way. You now have the outer shell of your bag!
5. Assemble the Lining
- Sew Lining Circles to Lining Gusset: Repeat step 4 to attach your two lining fabric circles to your lining fabric gusset. However, leave a 4-6 inch opening along one of the lining seams (either one of the circle seams or the side seam of the gusset). This opening will be used to turn the bag right side out.
6. “Bagging Out” (Putting it All Together)
- Insert Outer Bag into Lining: Turn your main fabric bag shell right side out. Carefully insert this into your lining bag, which should still be wrong side out.
- Align Raw Edges: Align the top raw edge of the outer bag with the top raw edge of the lining bag. Pin securely all around the zipper opening. Make sure your zipper is still open at least halfway.
- Sew: Sew all the way around this opening, attaching the outer bag to the lining bag.
7. Finishing Touches
- Turn Right Side Out: Reach through the opening you left in the lining. Gently pull the entire bag right side out through this opening.
- Poke Out Curves: Use a blunt object (like a turning tool or a chopstick) to gently push out the curves of the bag to ensure they are smooth and well-defined.
- Close the Lining Opening: Hand-stitch the opening in the lining closed using a ladder stitch (invisible stitch) for a neat finish, or machine stitch it very close to the edge.
- Press: Give your finished bag a good press with an iron to set the seams and give it a polished look.
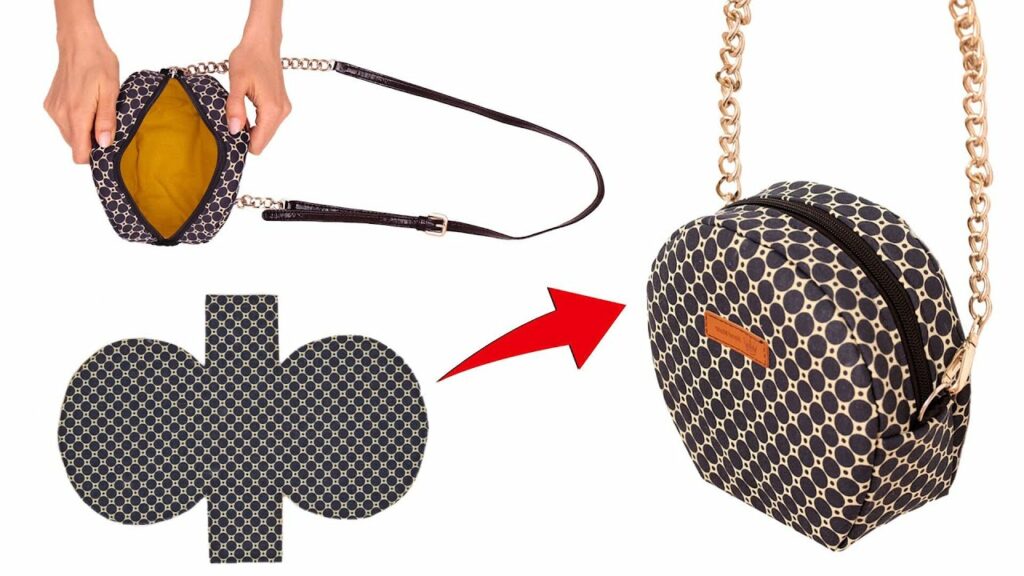
Adding a Strap (Optional)
You can easily add a strap to your round bag.
- Fabric Strap: Cut a long strip of fabric (main or contrasting). Fold it lengthwise, press, and stitch the raw edges together. Turn it right side out. Attach D-rings or strap connectors to the sides of your bag during the “Attach Circles to the Gusset” stage, and then attach your finished strap to these connectors.
- Adjustable Webbing Strap: Use cotton or polyester webbing and strap hardware (sliders and rings) for an adjustable strap. Attach the webbing to the sides of the bag in the same way you would a fabric strap.
Tips for Success
- Go Slow on Curves: Sewing curves can be tricky. Reduce your machine speed and take your time, especially when attaching the circles to the gusset.
- Clip Curves: After sewing the circles, clip the seam allowance (make small cuts perpendicular to the seam line, but not through the stitches) around the curves. This helps the fabric lay flat and creates a smoother curve when turned right side out.
- Press, Press, Press: Pressing your seams at each step makes a huge difference in the final appearance of your bag.
- Practice Zippers: If you’re new to zippers, consider practicing on scrap fabric first.
- Don’t Be Afraid to Unpick: If a seam isn’t perfect, unpick it and re-sew. It’s better to fix it now than to be unhappy with the finished product.

Sewing a round bag might seem complex at first glance, but by breaking it down into these simple steps, you can create a beautiful and functional accessory. Enjoy the process and the satisfaction of making something unique with your own hands!
Video tutorial: