by
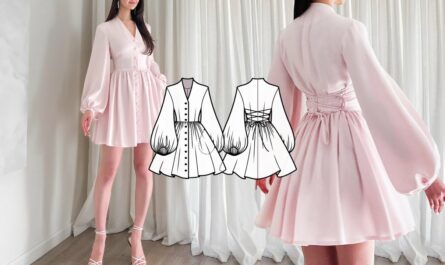
by There’s something inherently romantic and effortlessly chic about a maxi tiered ruffle skirt. With its graceful movement and comfortable fit, it’s a wardrobe staple that can be dressed up or down for any occasion, from beach strolls to garden parties. The best part? Creating your own is surprisingly accessible, even for adventurous beginner sewers.
This detailed article will walk you through designing your own simple pattern and sewing a beautiful, easy maxi tiered ruffle skirt, allowing you to embrace your personal style with a handmade touch.
Why a DIY Maxi Tiered Ruffle Skirt?
- Custom Fit: No more ill-fitting waistbands or awkward lengths! You create a skirt that perfectly suits your measurements.
- Fabric Freedom: Choose exactly the fabric you love – from lightweight cottons to luxurious rayons, the possibilities are endless.
- Personalized Style: Control the number of tiers, the fullness of the ruffles, and the overall length to match your aesthetic.
- Comfort & Versatility: Maxi skirts are inherently comfortable, allowing for freedom of movement. They can be dressed down with a t-shirt and sandals or elevated with a blouse and heels.
- Beginner-Friendly: While it looks impressive, the construction often involves straightforward rectangular pieces and gathering, making it a great project for building sewing confidence.
Materials You’ll Need:
- Fabric: The key to a flowy skirt!
- Recommended: Lightweight wovens with good drape.
- Cotton Lawn/Voile: Breathable, crisp, great for summer.
- Rayon Challis/Viscose: Excellent drape, soft, luxurious feel.
- Linen/Linen Blends: Breathable, natural texture, can be slightly crisp.
- Double Gauze: Soft, breathable, beautiful texture.
- Lightweight Poplin: Good for a more structured ruffle.
- Quantity: This will depend on your measurements and desired fullness. As a general guide, you’ll need approximately 3-5 yards (2.7 – 4.5 meters) of 44-45″ (112-114 cm) wide fabric. Wider fabric (e.g., 54-60″ / 137-152 cm) may require less yardage. We’ll detail calculations below.
- Recommended: Lightweight wovens with good drape.
- Matching All-Purpose Thread: Polyester is durable and suitable.
- Elastic: Non-roll elastic, 1-1.5 inches (2.5-3.8 cm) wide. You’ll need a length equal to your waist measurement.
- Measuring Tape: Essential for accurate body measurements and pattern drafting.
- Fabric Scissors: Sharp!
- Pins: For securing fabric pieces.
- Sewing Machine: With a regular sewing foot.
- Iron and Ironing Board: Crucial for crisp seams and a professional finish.
- Safety Pin or Bodkin: For threading elastic.
Designing Your Simple Sewing Pattern & Calculating Fabric:
The beauty of a tiered ruffle skirt is that its “pattern pieces” are essentially just rectangles. You’ll draft measurements directly onto your fabric.

Step 1: Take Your Measurements
- Natural Waist Circumference: Measure around the narrowest part of your torso.
- Desired Skirt Length: Measure from your natural waist down to where you want the hem to fall (e.g., top of your foot for a true maxi, or just above the ankle).
Step 2: Determine Your Tiers
You can choose 2, 3, or even 4 tiers. More tiers generally mean more ruffles and more fabric, but also a more dramatic, flowy look. For an “easy” start, 3 tiers is a great balance.
- Calculation: Divide your
Desired Skirt Lengthby the number of tiers. This gives you the approximate finished height of each tier.- Example: Desired length = 36 inches. For 3 tiers, each tier will be approximately 12 inches high.
Step 3: Calculate Tier Dimensions (Adding Seam Allowances & Hem)
For each tier, you’ll need to account for:
- Seam allowance: 1/2 inch (1.25 cm) for the top and bottom of each tier (where they join).
- Hem allowance: For the very bottom tier.
- Gathering ratio: This determines how full your ruffles will be. A common ratio is 1.5x to 2x.
- 1.5x: Subtle gathers.
- 1.75x: Medium gathers (a good starting point).
- 2x: Full, voluminous gathers.
Let’s break it down for a 3-tier skirt using a 1.75x gathering ratio:
- Tier 1 (Top Tier – Waistband):
- Finished Height:
(Desired Skirt Length / Number of Tiers) + 2 inches(for elastic casing)- Example: 12 inches + 2 inches = 14 inches
- Cutting Height:
Finished Height + 1 inch(for 1/2″ seam allowances at top and bottom)- Example: 14 inches + 1 inch = 15 inches
- Cutting Width:
Your Waist Circumference x 1.75(you’ll cut this into two pieces for the back seam)- Example: 30 inches x 1.75 = 52.5 inches. Cut two pieces: 26.25 inches wide.
- Number of Pieces: Cut TWO rectangles for Tier 1.
- Finished Height:
- Tier 2 (Middle Tier):
- Finished Height:
Desired Skirt Length / Number of Tiers- Example: 12 inches
- Cutting Height:
Finished Height + 1 inch(for 1/2″ seam allowances at top and bottom)- Example: 12 inches + 1 inch = 13 inches
- Cutting Width:
(Width of Tier 1 x 1.75)(orYour Waist Circumference x 1.75 x 1.75)- Example: 52.5 inches x 1.75 = 91.875 inches. You’ll likely need to cut multiple widths and join them to achieve this. Plan to use 2-3 panels, making each panel
Total Width / Number of Panelswide.
- Example: 52.5 inches x 1.75 = 91.875 inches. You’ll likely need to cut multiple widths and join them to achieve this. Plan to use 2-3 panels, making each panel
- Number of Pieces: Cut enough rectangles to achieve the total width.
- Finished Height:
- Tier 3 (Bottom Tier – Hem):
- Finished Height:
Desired Skirt Length / Number of Tiers- Example: 12 inches
- Cutting Height:
Finished Height + 1 inch (for top seam allowance) + 1 inch (for hem allowance)- Example: 12 inches + 1 inch + 1 inch = 14 inches
- Cutting Width:
(Width of Tier 2 x 1.75)(orYour Waist Circumference x 1.75 x 1.75 x 1.75)- Example: 91.875 inches x 1.75 = 160.78 inches. Again, cut multiple widths and join them.
- Number of Pieces: Cut enough rectangles to achieve the total width.
- Finished Height:

Step 4: Total Fabric Calculation
Add up the total Cutting Height for all tiers. This is your approximate fabric length. Remember to account for the number of widths you’ll need.
- Example Total Cutting Height: 15″ (Tier 1) + 13″ (Tier 2) + 14″ (Tier 3) = 42 inches.
- If your fabric is 45″ wide, you might fit a Tier 1 piece across the width. For wider tiers, you’ll need to cut multiple panels and join them.
- Always round up when buying fabric!
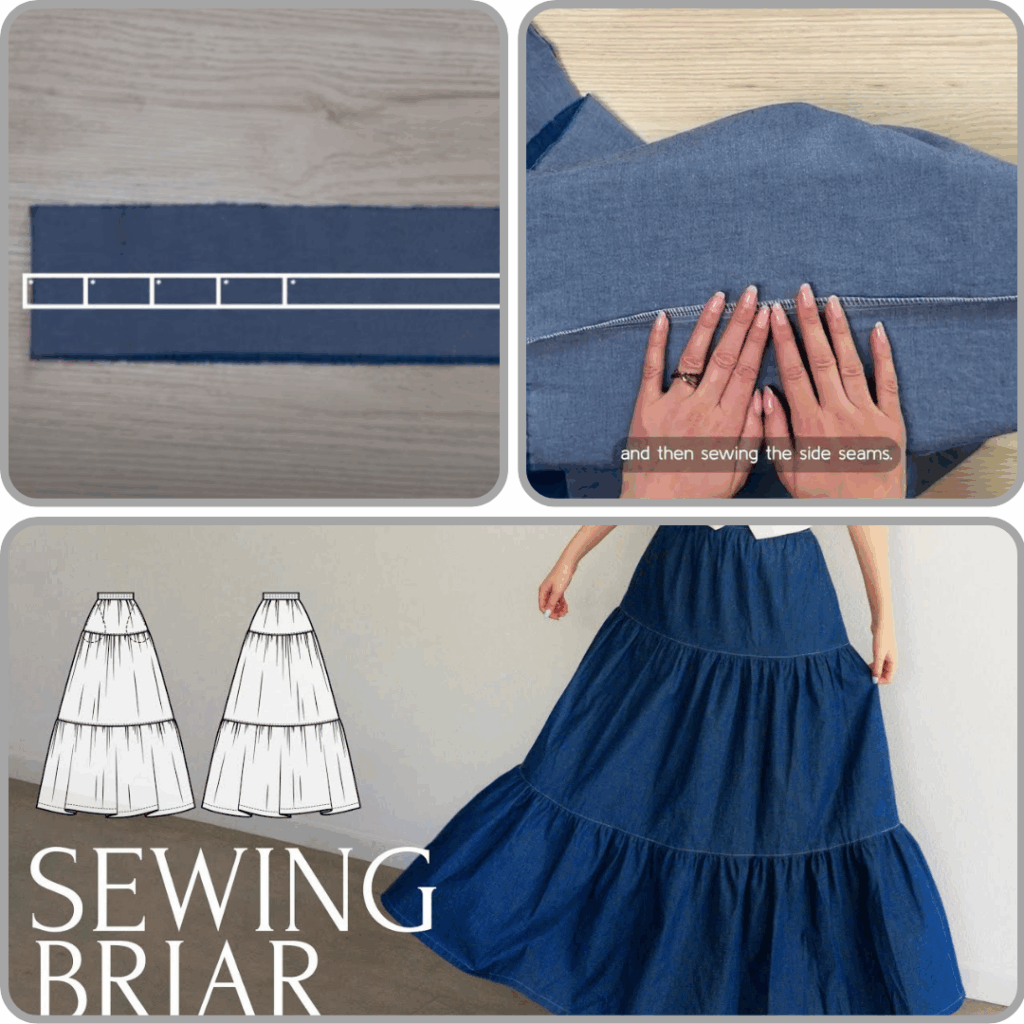
Sewing Your Maxi Tiered Ruffle Skirt:
Preparation:
- Pre-wash & Dry Fabric: This is crucial to prevent shrinkage later.
- Cut All Fabric Pieces: Carefully cut your calculated rectangles for each tier.
- Join Panels (if necessary): For Tiers 2 and 3, you’ll likely have multiple panels to achieve the desired width. With right sides together (RST), sew these panels along their short edges using a 1/2″ (1.25 cm) seam allowance. Press seams open and finish edges (zigzag or serge) to prevent fraying. You will now have one long rectangle for Tier 2 and one for Tier 3.
Sewing Steps:
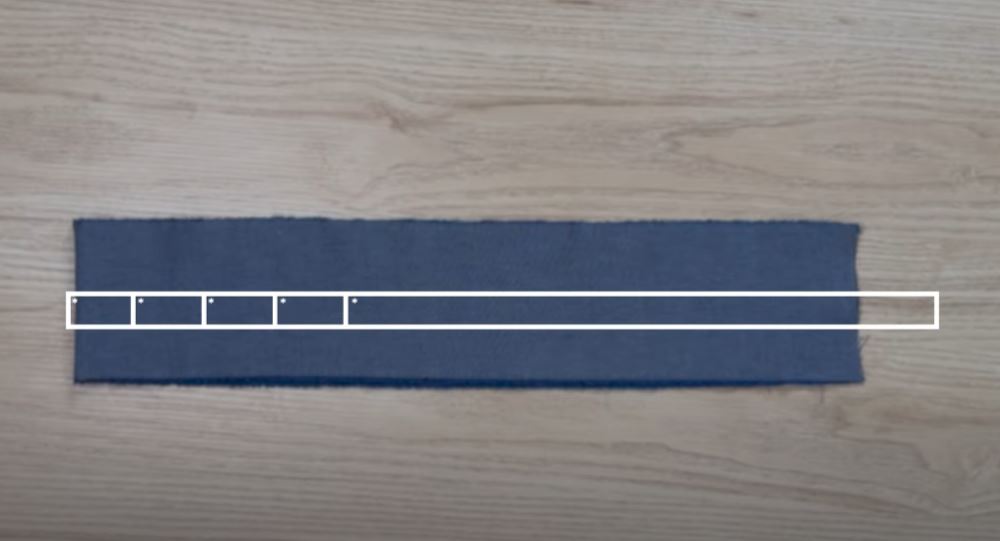
1. Create the Top Tier (Waistband Casing): * With RST, sew the two Tier 1 pieces together along one short edge using a 1/2″ seam allowance. Press seam open. You now have one long rectangle. * Join the short ends of this long rectangle (RST) to form a loop, using a 1/2″ seam allowance. Leave a 2-inch opening unsewn at the top of this seam for threading the elastic. Press seam open. * Press the top edge of this loop down by 1/4″ (0.6 cm), then press down again by 1.25″ (3.2 cm) to form the elastic casing. Stitch along the inner edge of this fold, leaving the 2-inch opening unse sewn. * Thread your elastic through the casing using a safety pin or bodkin. Overlap the elastic ends by 1 inch and zigzag stitch them together securely. Stitch the 2-inch opening closed.

2. Attach Tier 2 to Tier 1: * With RST, sew the short ends of your Tier 2 rectangle together to form a loop. Press seam open. * Run two rows of gathering stitches along one long edge of Tier 2 (the edge that will attach to Tier 1). Set your machine to a long stitch length (e.g., 4.0-5.0). Stitch one row at 1/4″ from the raw edge and another at 1/2″ from the raw edge. Do NOT backstitch at the beginning or end. Leave long thread tails. * Gently pull the bobbin threads of your gathering stitches to gather Tier 2 until its circumference matches the bottom circumference of Tier 1. Distribute the gathers evenly. * Pin Tier 2 (right side out) to the bottom edge of Tier 1 (right side out), aligning raw edges and side seams. The gathered edge of Tier 2 is facing up. * Stitch these two tiers together using a 1/2″ seam allowance. * Press the seam allowance up towards Tier 1. Finish raw edges.
3. Attach Tier 3 to Tier 2: * With RST, sew the short ends of your Tier 3 rectangle together to form a loop. Press seam open. * Run two rows of gathering stitches along one long edge of Tier 3 (the edge that will attach to Tier 2), just as you did for Tier 2. * Gently pull the bobbin threads to gather Tier 3 until its circumference matches the bottom circumference of Tier 2. Distribute gathers evenly. * Pin Tier 3 (right side out) to the bottom edge of Tier 2 (right side out), aligning raw edges and side seams. * Stitch these two tiers together using a 1/2″ seam allowance. * Press the seam allowance up towards Tier 2. Finish raw edges.
4. Hem the Bottom Tier: * Press the bottom raw edge of Tier 3 up by 1/4″ (0.6 cm). * Press up again by 3/4″ (1.9 cm) for a clean, sturdy hem. * Stitch the hem in place, sewing close to the inner folded edge.
5. Final Touches: * Give your entire skirt a good press. This will make all the seams crisp and help the ruffles lay beautifully. * Trim any stray threads.
Tips for Success:

- Gathering: Take your time with gathering. Distribute the fabric evenly for the best drape. If your fabric is very long, gather in sections.
- Seam Finishes: Finishing your raw edges (with a zigzag stitch on a regular machine or a serger) is highly recommended, especially for lightweight fabrics that fray easily. This will give your skirt a professional, long-lasting finish.
- Needle Choice: Use a universal needle appropriate for your fabric weight. A fresh needle is always a good idea.
- Thread Color: Always use matching thread for the best results.
- Fabric Direction: Pay attention to the grainline if your fabric has one. For rectangles, cutting along the cross-grain is usually fine for flow.
- Muslin/Test: If you’re unsure about the fullness, quickly baste or pin a small section of a gathered tier to the one above to get a feel for the ruffle density before cutting all your main fabric.
Video Tutorial :
Congratulations! You’ve just created a beautiful, custom-made maxi tiered ruffle skirt. This versatile piece will become a go-to in your wardrobe, a testament to your growing sewing skills and unique style. Enjoy the flow and the compliments!