 by
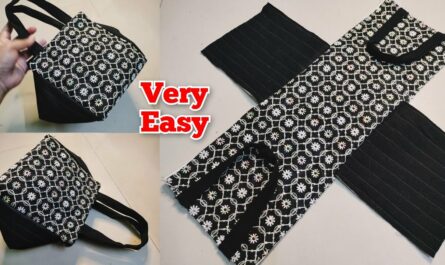
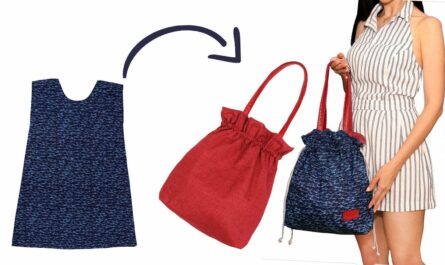
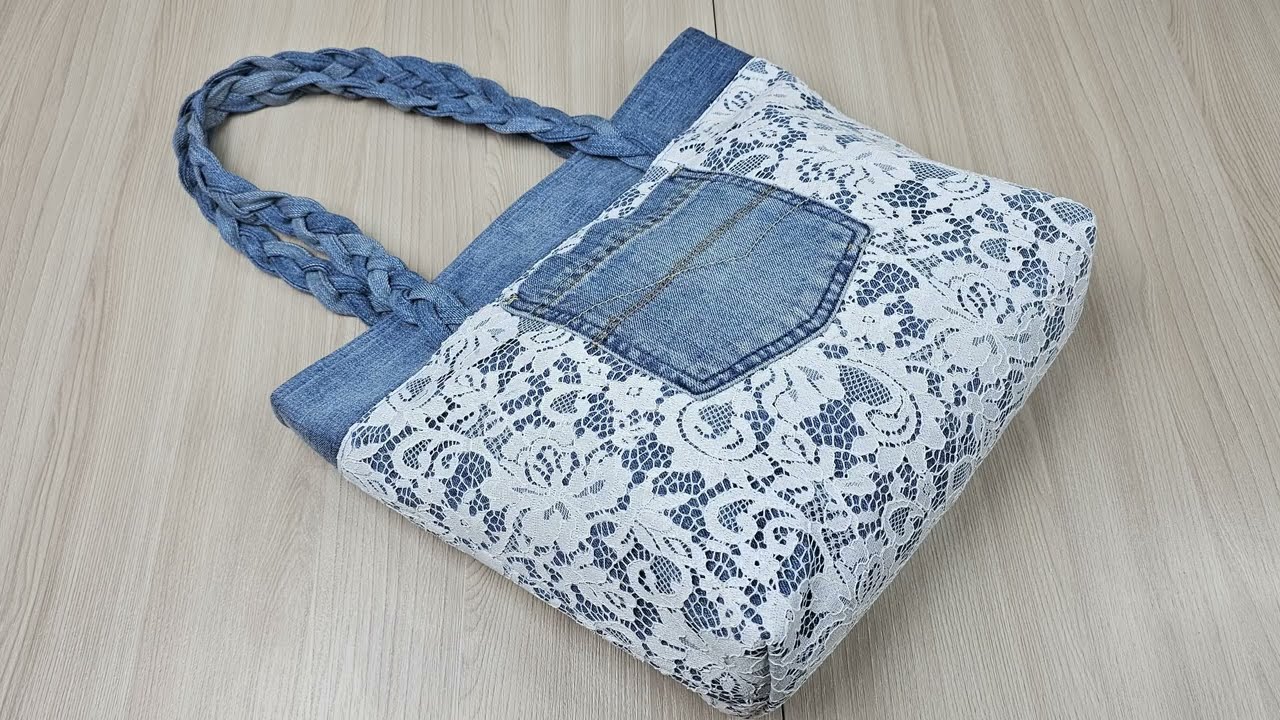
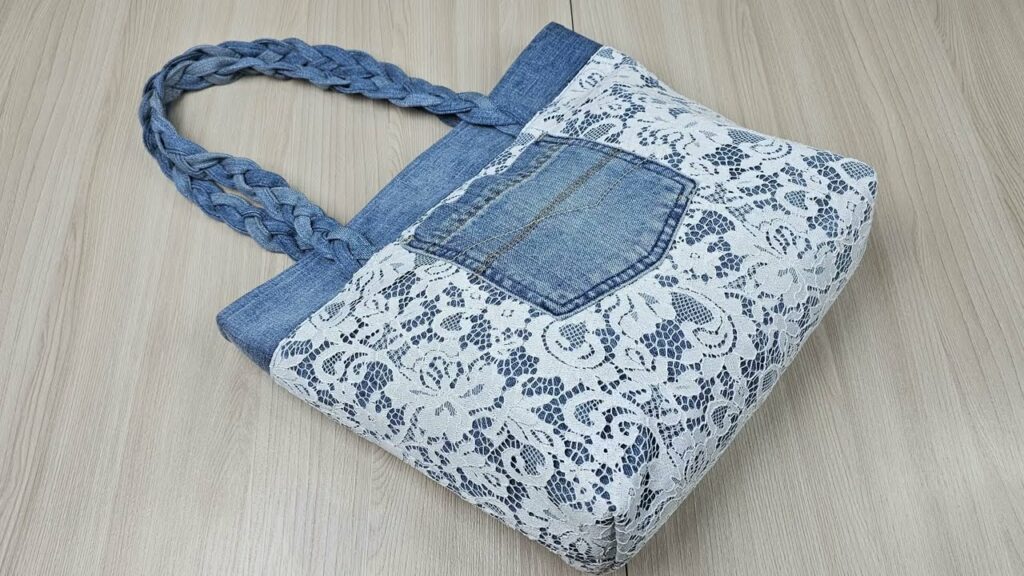
by The combination of rugged denim and delicate lace creates a unique and beautiful aesthetic, perfect for a one-of-a-kind bag. Repurposing old jeans not only gives them a new life but also provides a durable and stylish base for your creation. This article will guide you through the process of sewing a stunning bag from jeans and lace, allowing you to craft a truly personalized accessory with your own hands.
Materials You’ll Need
Before you begin, gather all your supplies. Having everything organized will make the process smoother and more enjoyable.
- Old Jeans: One or two pairs of old jeans (depending on the desired size of your bag and the amount of denim you need). The darker washes often provide a good contrast with lighter lace.
- Lace Fabric/Trim: Various types of lace can be used:
- Lace fabric: For larger panels or overlays.
- Lace trim: For edgings, decorative strips, or appliqués.
- Doilies: Lace doilies can be beautiful focal points.
- Lining Fabric: A medium-weight cotton or polyester fabric that complements your denim and lace. This will give your bag a finished look and add durability.
- Zipper (Optional): If you want a zippered closure for your bag.
- Magnetic Snap or Button (Optional): For a different type of closure.
- Interfacing (Optional but Recommended): Fusible fleece or a medium-weight fusible interfacing will give your bag more structure and body.
- Matching Thread: Polyester all-purpose thread in colors that blend with your denim and lace.
- Basic Sewing Supplies:
- Sewing machine
- Fabric scissors or rotary cutter and mat
- Pins or fabric clips
- Measuring tape or ruler
- Fabric marker or chalk
- Iron and ironing board
- Seam ripper (essential for deconstructing jeans)
- Denim needle for your sewing machine (stronger for thick fabric)
- Zipper foot (if using a zipper)
- Optional: Decorative elements like beads, embroidery floss, fabric paint, patches.
Design Considerations & Planning
Before cutting, think about the design of your bag.
- Bag Style: Tote bag, shoulder bag, cross-body, clutch? The simplest style for beginners is often a basic tote.
- Size: Determine the desired dimensions of your bag.
- Lace Placement: Will you use lace as an overlay, an accent strip, pockets, or as a focal appliqué? Sketching out your ideas can be very helpful.
- Jeans Features: Do you want to incorporate existing seams, pockets, or even the waistband of the jeans into your design? This can add character.
Step-by-Step Sewing Instructions
We’ll outline a simple tote bag style, which can be adapted. Adjust seam allowances as needed (a 1/2-inch seam allowance is common).
1. Deconstruct the Jeans
- Wash and Dry: Wash and dry your jeans to pre-shrink them and ensure they are clean.
- Cut Off Legs: Cut off the legs of the jeans. The amount you cut depends on the size of your bag. You’ll likely use the upper part of the jeans (with the pockets) or the leg sections.
- Open Seams (Optional): Use a seam ripper to carefully open up the inner leg seams and potentially the outer leg seams if you need flat pieces of denim. Be careful not to damage the fabric. Press the denim flat.
2. Cut Your Fabric Pieces
Based on your design and desired bag size, cut the following pieces. Remember to add seam allowances to all measurements.
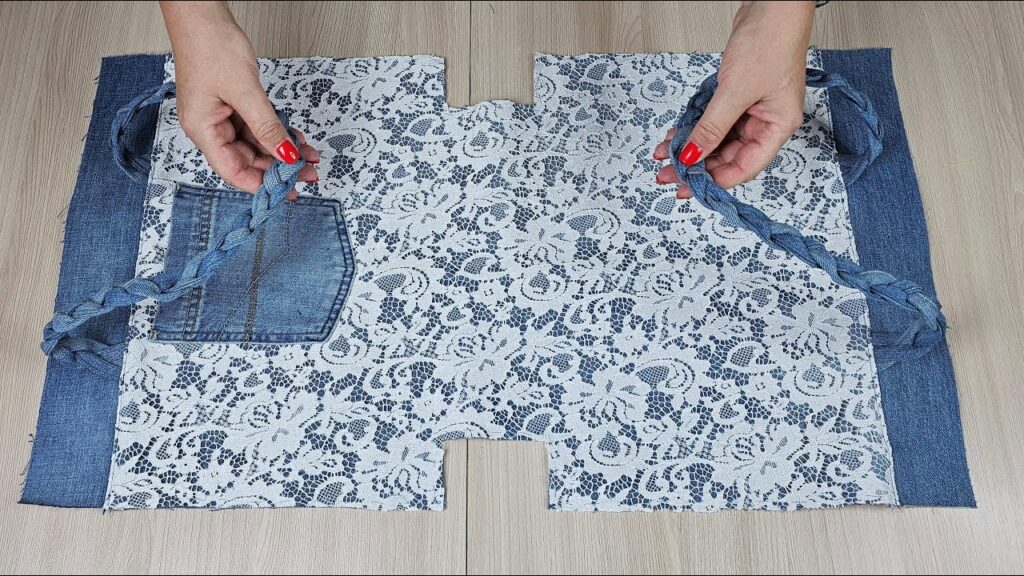
- Main Bag Panels (Denim): Cut two rectangles for the front and back of your bag. If using the upper part of the jeans, you might keep the existing pockets.
- Side/Bottom Gusset (Denim): One long strip for the bottom and sides (if making a rectangular bag with a separate gusset). Alternatively, you can create a boxed bottom by folding the main panels.
- Strap(s) (Denim or Webbing): One or two strips for the handles/strap.
- Lining Fabric: Cut pieces identical in size to your main denim panels and gusset (if applicable).
- Interfacing: Cut pieces identical to your main denim panels and gusset (if applicable).
3. Prepare Denim & Add Interfacing
- Iron Denim: Press all your denim pieces flat.
- Fuse Interfacing (If Using): If using fusible interfacing, fuse it to the wrong side of your main denim panels and gusset pieces according to the manufacturer’s instructions. This will give your bag structure and help it hold its shape.
4. Incorporate Lace Elements
This is where your creativity shines!
- Lace Overlays: If using lace fabric as an overlay, place it over your denim panels. Pin it securely and stitch it in place along the edges, or quilt it to the denim for a more integrated look.
- Lace Appliqués: Cut out motifs from lace fabric or doilies. Pin them to your denim panels and carefully stitch them in place using a narrow zigzag stitch or a straight stitch around the edges.
- Lace Strips: Apply lace trim along seams, across the top, or as vertical accents. Stitch down both edges of the lace trim.
- Pockets: If using the original jean pockets, consider adding a lace overlay or trim to the pocket itself.

Tips for Working with Lace:
- Use a fine needle on your sewing machine.
- Go slow, as lace can be delicate and shift easily.
- Consider using a temporary fabric adhesive spray to hold lace in place before stitching, especially for larger pieces.
- Test your stitches on a scrap piece of lace and denim first.
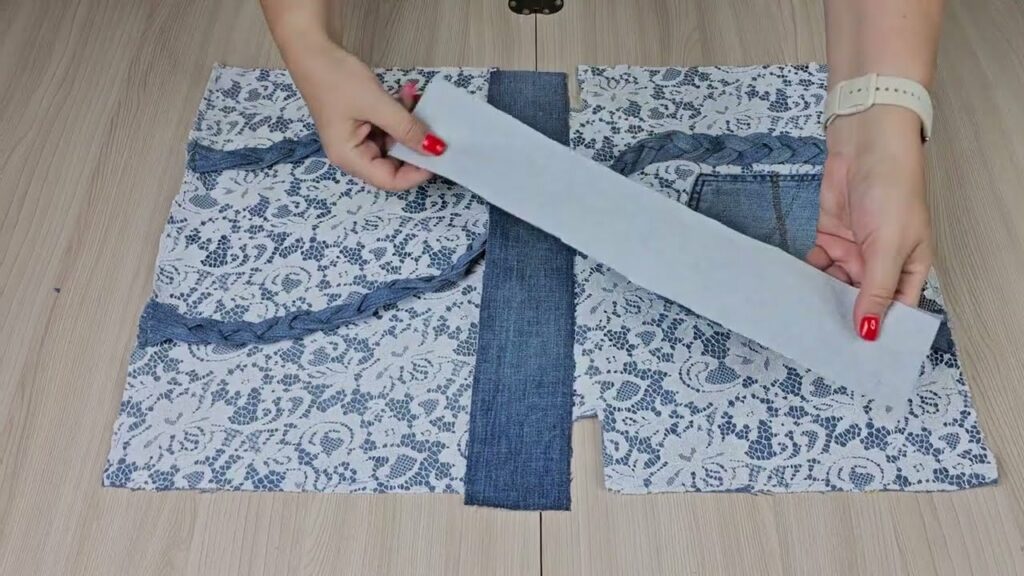
5. Assemble the Outer Bag
- Sew Side and Bottom Seams: Place your two main denim panels right sides together. If you’re creating a simple tote, stitch along the two side seams and the bottom seam. If you have a separate gusset piece, sew it to one main panel, then to the other, forming the bag shape.
- Box Corners (Optional): To create a flat bottom for your bag, “box” the corners. At each bottom corner of your bag, bring the side seam and bottom seam together to form a triangle. Measure in from the point of the triangle (e.g., 1-2 inches) and stitch across. Cut off the excess triangle. Repeat for the other corner.
- Press Seams: Press all seams open for a neat finish.
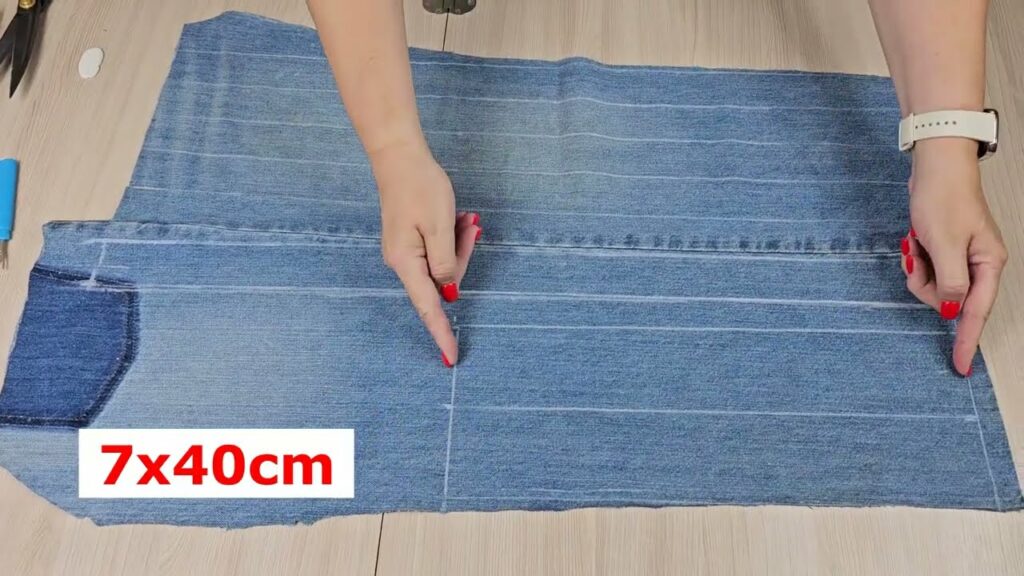
6. Create the Straps
- Cut Strap Fabric: Cut your denim strap pieces (e.g., 4 inches wide by desired length).
- Fold and Press: Fold the strap fabric in half lengthwise, right sides together, and press. Stitch along the long raw edge.
- Turn Right Side Out: Turn the strap right side out using a loop turner or safety pin. Press flat.
- Topstitch: Topstitch along both long edges of the strap for durability and a finished look.
- Attach to Outer Bag: Pin the straps to the top edge of your outer denim bag shell. Position them evenly. Stitch them in place with a strong reinforcing stitch (e.g., a square or ‘X’ stitch) within the seam allowance.

7. Assemble the Lining
- Sew Lining Pieces: Repeat the steps from “Assemble the Outer Bag” using your lining fabric. Stitch the side and bottom seams (and box corners if you did for the outer bag).
- Leave an Opening: Crucially, leave a 4-6 inch opening along the bottom seam of your lining. This opening will be used to turn the bag right side out.
- Press Seams: Press all lining seams open.
8. Add Closure (Zipper, Snap, Button – Optional)
- Zipper: If adding a zipper, install it now before joining the lining and outer bag. This typically involves attaching the zipper to the top edges of the main bag panels, then attaching the corresponding lining pieces. This is an advanced step; there are many tutorials specifically for zipper installation in bags.
- Magnetic Snap/Button: Install your magnetic snap or sew on a button and loop to the top edge of your outer bag and/or lining before joining the two.
9. “Bagging Out” (Joining Outer Bag and Lining)
- Insert Outer Bag into Lining: Turn your outer denim bag shell right side out. Carefully insert this into your lining bag, which should still be wrong side out.
- Align Top Edges: Align the top raw edge of the outer bag with the top raw edge of the lining bag. Make sure your straps are tucked neatly inside. Pin securely all around the top opening.
- Sew Top Seam: Stitch all the way around this opening, joining the outer bag to the lining.
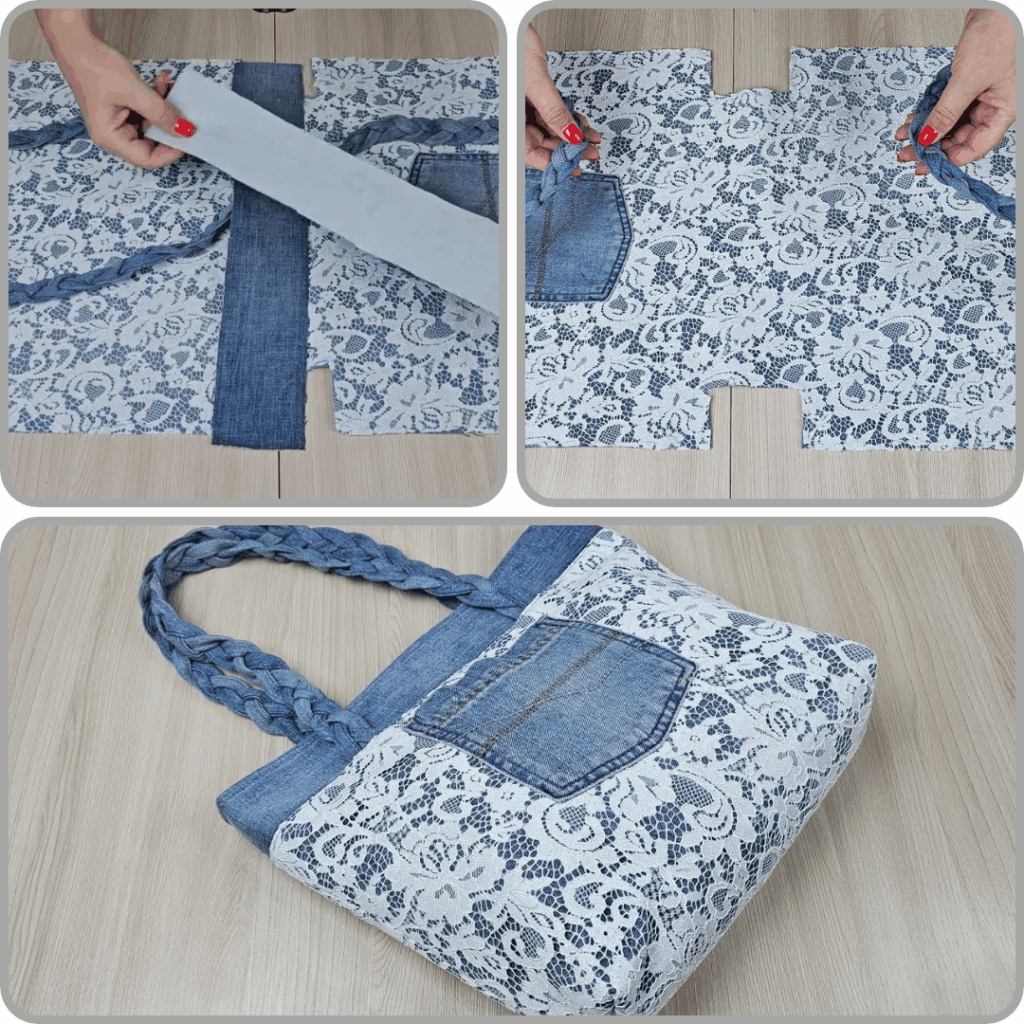
10. Finishing Touches
- Turn Right Side Out: Reach through the opening you left in the lining’s bottom seam. Gently pull the entire bag right side out through this opening.
- Poke Out Corners: Use a blunt object (like a turning tool or a chopstick) to gently push out the corners of the bag to ensure they are crisp.
- Close Lining Opening: Hand-stitch the opening in the lining closed using a ladder stitch (invisible stitch) for a neat finish, or machine stitch it very close to the edge.
- Topstitch Top Edge (Optional): For a professional finish, you can topstitch around the entire top edge of your bag, close to the seam. This helps the lining stay neatly inside and adds durability.
- Final Press: Give your finished bag a good press with an iron to set the seams and give it a polished look.
Video tutorial:
Tips for Success
- Use a Denim Needle: This is crucial! Regular needles can break or skip stitches when sewing through multiple layers of denim.
- Go Slow: Especially when working with thick denim, or when stitching lace precisely, slow down your machine.
- Press Often: Pressing your seams after each step makes a significant difference in the final appearance and makes subsequent steps easier.
- Test Stitches: Always test your stitch length and tension on scrap pieces of denim and lace before sewing on your actual bag.
- Don’t Be Afraid to Experiment: The beauty of handmade items is their uniqueness. Try different lace patterns, denim washes, and embellishments.
- Add Pockets: Consider adding interior pockets to your lining for organization.
- Embellish Further: Once the bag is complete, you can add more decorative elements like beads, embroidery, fabric paint, or even small charms to the zipper pull.
Creating a bag from jeans and lace is a rewarding project that combines sustainability with artistic expression. With patience and attention to detail, you’ll end up with a beautiful, durable, and truly unique accessory that reflects your personal style.