 by
by Imagine the joy of seeing a little one snug and warm in a sweater you knitted yourself! It’s a gift of love, skill, and warmth. For beginner knitters, tackling a baby sweater might feel like a big leap from scarves and dishcloths, but rest assured, it’s a perfectly achievable and incredibly rewarding project. Its small scale allows you to master garment-making basics without a huge time commitment or a significant investment in yarn.
This guide will break down the essential steps, considerations, and tips to ensure your first baby sweater is a triumph.
Why a Baby Sweater is the Perfect Beginner Project:

- Quick Gratification: Being small, baby sweaters knit up relatively fast. You’ll see progress quickly, keeping your motivation high.
- Less Yarn: They don’t require much yarn, making them budget-friendly and great for using up leftover skeins.
- Lower Stakes: If you make a mistake, it’s easier to fix or even start over without feeling like you’ve wasted days of work or expensive yarn.
- Fundamental Skills: You’ll learn core garment knitting techniques like shaping (increases/decreases), working ribbing, and finishing, which are transferable to larger projects.
- Heartfelt Gift: A handmade baby sweater is a truly cherished present, demonstrating your love and effort.
Essential Considerations Before You Cast On:
Success begins before you even pick up your needles!
- Yarn Choice (Crucial for Babies!):
- Fiber:
- Superwash Merino Wool: Often the gold standard for baby items. It’s incredibly soft, warm, breathable, and best of all, machine washable (a must for baby clothes!).
- Cotton: Excellent for warmer climates or babies with sensitive skin. Choose soft, mercerized cotton for durability and drape.
- Acrylic: A good hypoallergenic and budget-friendly option. Always choose high-quality, soft acrylics specifically designed for babies to avoid scratchiness or pilling.
- Weight:
- DK (Double Knitting): This is often the ideal choice for beginners. It’s not too thin (so it knits up quicker) and not too thick (so it’s not bulky).
- Worsted: Another great option, slightly thicker than DK, making for an even quicker knit.
- Color: Have fun! Pastels are classic, but cheerful brights, subtle speckles, or even playful variegated yarns can be charming.
- Key Takeaway: Prioritize softness and machine washability.
- Fiber:
- Needle Size:
- Your chosen pattern will recommend a needle size. Use this as your starting point.
- Crucial Note: Your actual needle size might differ based on your knitting tension (how tightly or loosely you knit). This leads us to the most important step…
- Gauge Swatch (NON-NEGOTIABLE for Garments!):
- What it is: A small knitted square (usually 4×4 inches or 10×10 cm) made in the main stitch pattern of your sweater.
- Why it’s vital: Your gauge (the number of stitches and rows per inch/cm) determines the finished size of your sweater. If your gauge is off, your sweater will be too big or too small.
- How to knit it:
- Cast on about 10 stitches more than the pattern’s stated stitch gauge.
- Knit in the main stitch pattern for about 6 inches (15 cm).
- Bind off.
- Wash and block your swatch exactly as you plan to wash and block the finished sweater. This is essential, as yarns can change size after washing.
- Once dry, lay the swatch flat. Using a ruler, count the number of stitches in 4 inches (10 cm) and the number of rows in 4 inches (10 cm).
- What to do if your gauge is off:
- Too many stitches per inch (your knitting is too tight): Go up a needle size (e.g., from US 7 to US 8).
- Too few stitches per inch (your knitting is too loose): Go down a needle size (e.g., from US 7 to US 6).
- Knit another swatch with the new needles and re-measure. Repeat until you match the pattern’s gauge.
- Sizing:
- Most baby sweater patterns will offer multiple sizes (e.g., Newborn, 0-3 months, 3-6 months, 6-12 months).
- Remember babies grow quickly! If you’re knitting for a gift, consider knitting one size up (e.g., if the baby is 3 months old, knit the 6-month size) to ensure they get more wear out of it.
Recommended Construction Methods for Beginners:
For your first baby sweater, focus on patterns that use these approachable construction styles:
- Top-Down Raglan (Seamless):
- How it works: You start at the neck, knitting in the round. Increases are made along “raglan lines” (diagonal lines from the neck to the underarm) to form the shoulders and sleeves simultaneously. The body and sleeves are then separated and knit downwards.
- Why it’s great for beginners:
- No Seaming! This is a huge bonus, as seaming can be tedious and tricky.
- Try On as You Go: You can easily hold the sweater up to a baby (or a doll/template) to check the length as you knit.
- Easier to Adjust: Simple to add or subtract length from the body or sleeves.
- Introduces basic increases (like KFB – Knit Front and Back, or M1 – Make One).
- Needs: Circular needles (and potentially DPNs – Double Pointed Needles, or the Magic Loop method for sleeves).
- Flat Pieces & Seamed (Simple Stitches):
- How it works: The front, back, and two sleeves are knit as separate flat rectangles. These pieces are then sewn together (seamed) at the shoulders, sides, and underarms.
- Why it’s great for beginners:
- Only requires straight needles (or circulars used flat).
- Focuses purely on knit and purl stitches.
- Needs: Mastering a neat seaming technique (like mattress stitch
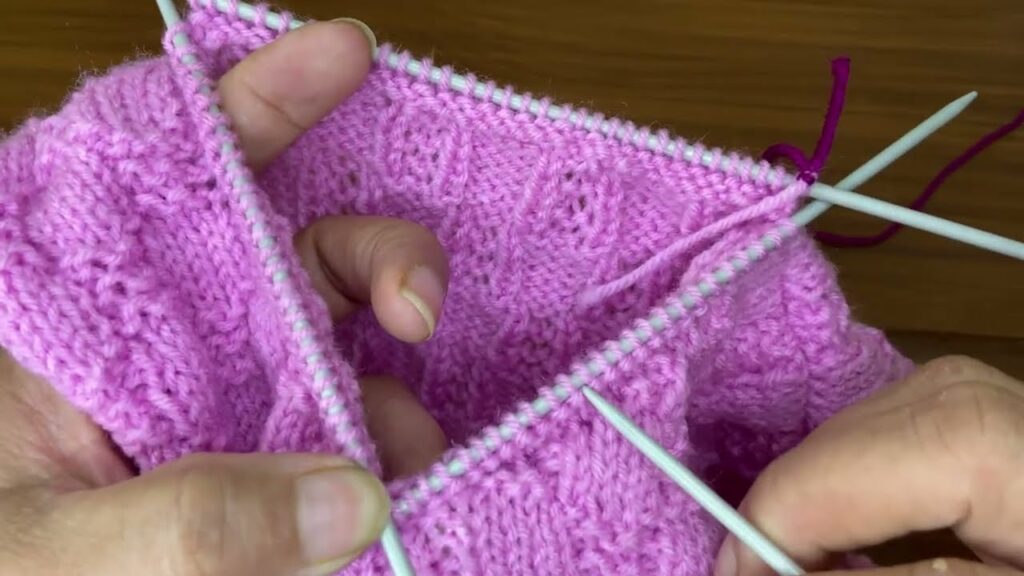
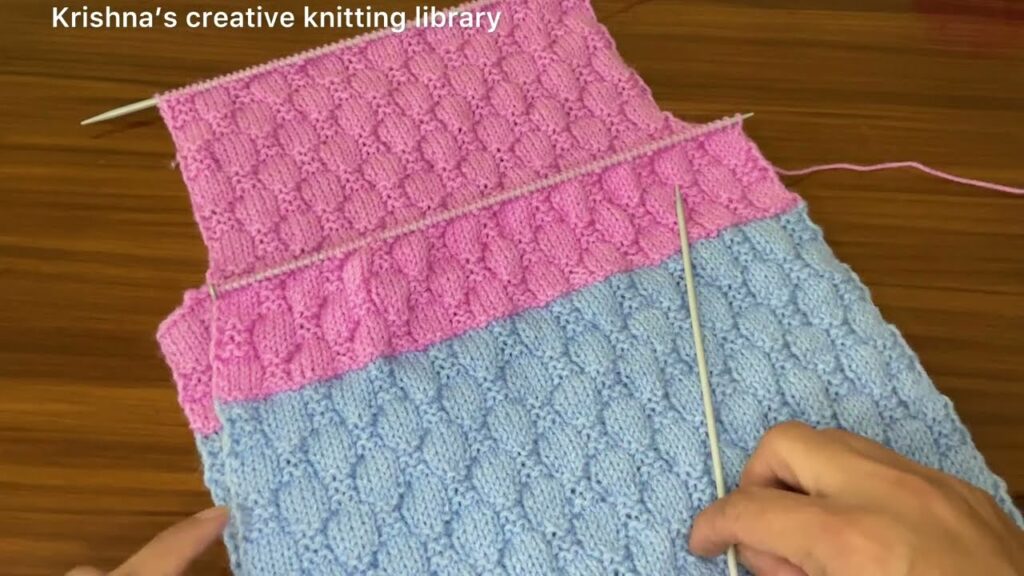
Video tutorial Part 1 :
Basic Elements of a Beginner-Friendly Baby Sweater Pattern:
Look for a pattern that teaches these core stitches and concepts:
- Cast On: How to begin your stitches (e.g., Long-Tail Cast On).
- Knit Stitch (K): The fundamental stitch.
- Purl Stitch (P): The complement to the knit stitch.
- Garter Stitch: Created by knitting every row (flat) or every round (in the round). Forms a squishy, reversible fabric.
- Stockinette Stitch: Created by knitting one row and purling the next (flat), or knitting every round (in the round). Forms the smooth, V-shaped fabric.
- Ribbing (1×1 or 2×2): Alternating knit and purl stitches (e.g., K1, P1, K1, P1…) for stretch and elasticity at cuffs, hems, and necklines.
- Bind Off: How to finish your stitches.
- Simple Increases (e.g., KFB, M1L/R): For shaping the raglan yoke or adding width.
- Simple Decreases (e.g., K2tog, SSK): For shaping necklines or armholes if needed.
- Weaving in Ends: Making your finished work neat.
- Blocking: The magic final step!

Simplified Outline: Knitting a Top-Down Raglan Baby Sweater (Example)
This is a general guide. Your specific pattern will have exact stitch counts and instructions.
- Cast On: Using your chosen yarn and smaller needles (for ribbing), cast on the specified number of stitches for the neck.
- Neckline Ribbing: Work in K1, P1 ribbing for about 1 inch (2.5 cm).
- Switch to Main Needles: Change to your larger needles (main body needles).
- Establish Raglan Markers: On the first row/round, you’ll divide your stitches for the back, first sleeve, front, and second sleeve, placing stitch markers to designate the four raglan lines.
- Knit Yoke (Increase Rounds): Continue knitting in the main stitch pattern. On designated “increase rounds,” work increases around each of your raglan markers. This creates the growing yoke (shoulders/upper chest). Knit plain rounds in between increase rounds. Repeat until the yoke reaches the desired depth.
- Separate for Body & Sleeves: Once the yoke is complete, you’ll put the stitches for the sleeves onto scrap yarn or a stitch holder. The remaining stitches will form the front and back of the sweater.
- Knit Body: Join the front and back stitches and continue knitting in the round (or flat, then seam) until the body reaches the desired length. Finish with a few rounds of ribbing and bind off.
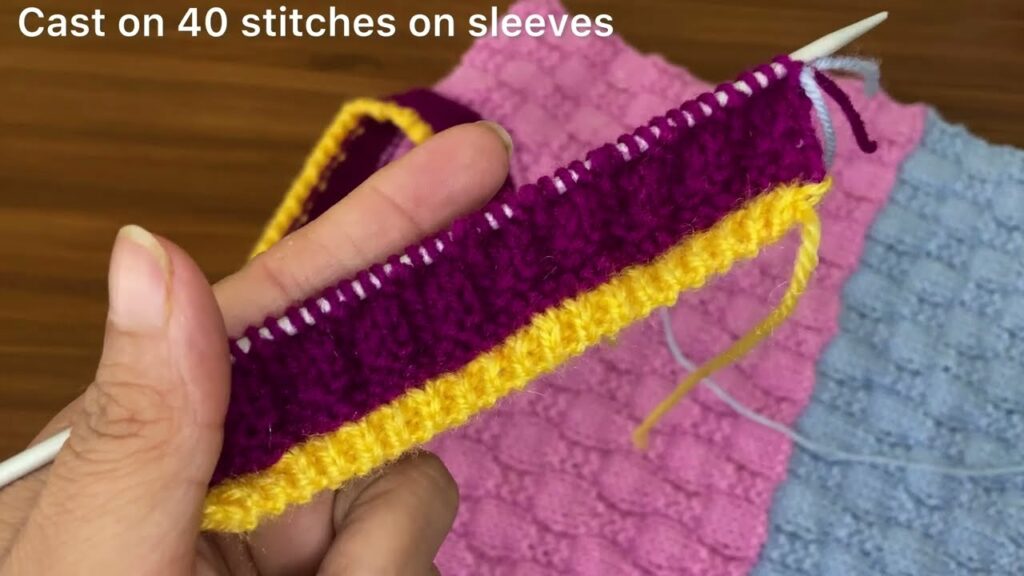
- Knit Sleeves: Return to the held sleeve stitches. Pick up any stitches under the armhole (these are usually cast on when separating). Knit each sleeve in the round (or flat, then seam) to the desired length, finishing with ribbing and binding off.
- Finishing:
- Weave in Ends: Use a tapestry needle to neatly weave in all loose yarn tails.
- Block: Gently wash your sweater according to your yarn’s care instructions. Gently squeeze out excess water, then lay it flat on a towel or blocking mats, shaping it to the correct dimensions. Let it air dry completely. This step makes a huge difference!
Tips for Beginner Success:
- Read the Whole Pattern First: Seriously, read it cover to cover before you start. This helps you understand the flow and anticipate any tricky parts.
- Watch Videos: If a technique is unfamiliar (like KFB, Magic Loop, or Mattress Stitch), search for video tutorials online. Seeing it done can be incredibly helpful.
- Use Stitch Markers! They are your best friends for tracking raglan lines, repeats, or the beginning of a round.
- Don’t Be Afraid of the Seam Ripper: Everyone makes mistakes. It’s better to undo a few rows and fix an error than to have a finished sweater you’re unhappy with. Think of it as a learning opportunity.
- Embrace Blocking: It’s not just for advanced knitters! Blocking evens out your stitches, opens up your fabric, and helps your garment lay beautifully and conform to its intended size.
- Enjoy the Process: This is a labor of love. Savor the experience of creating something truly special with your own hands.
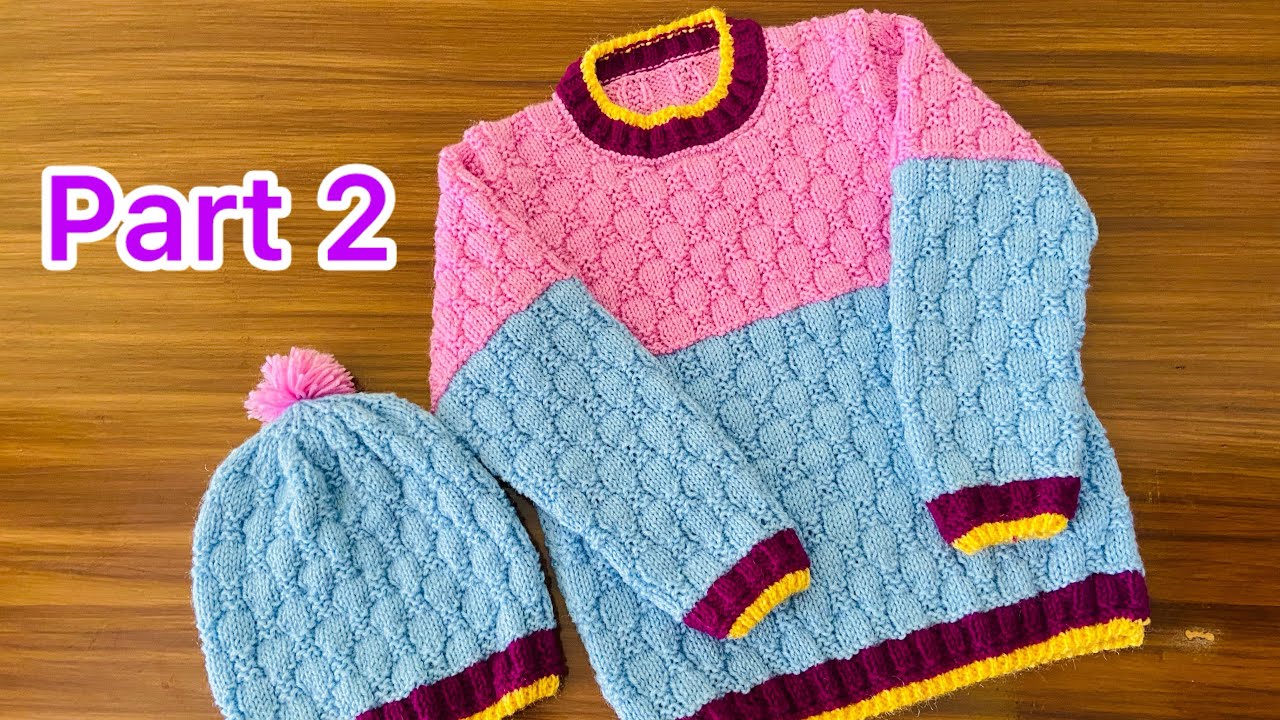
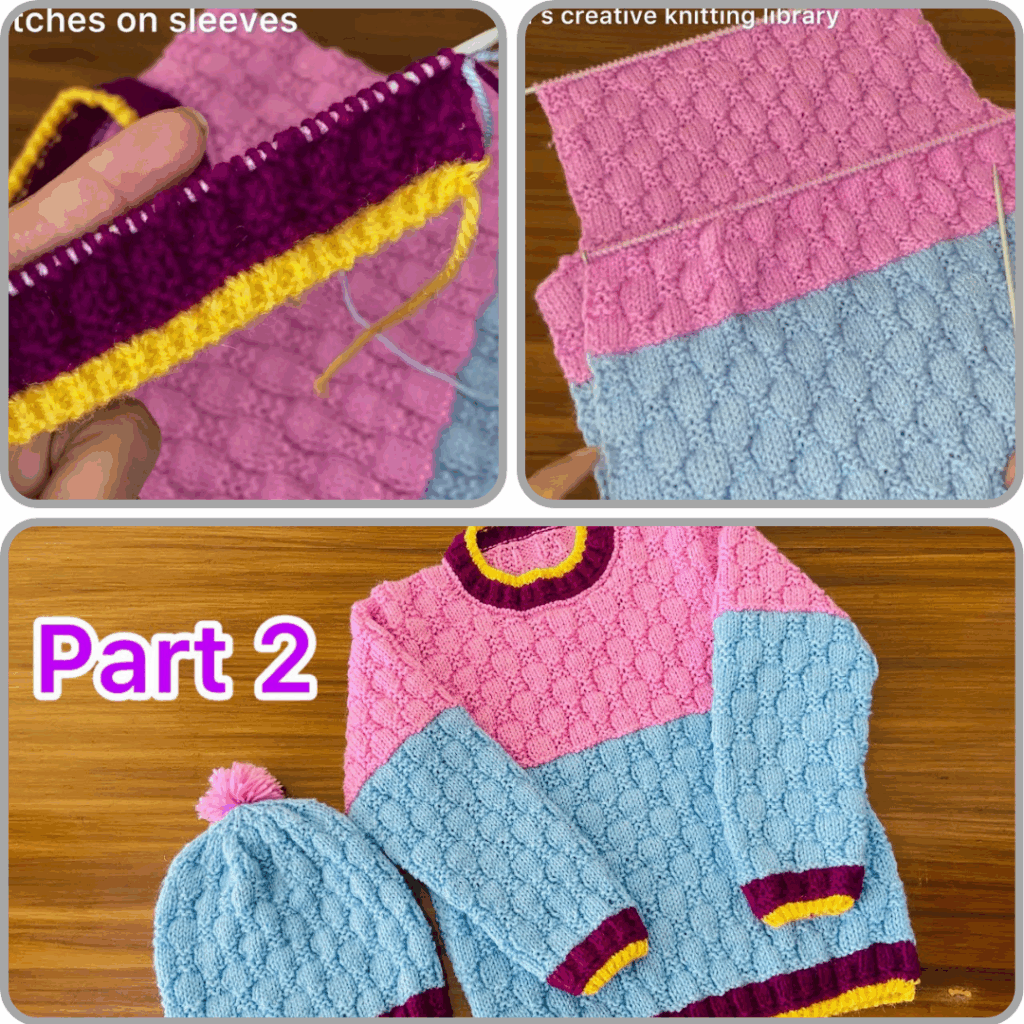
Video Tutorial part 2 ;
Knitting a baby sweater is a fantastic first garment project that will teach you invaluable skills and leave you with a beautiful, handmade item. Take your time, trust the process, and soon you’ll be wrapping a tiny human in your cozy creation!