 by
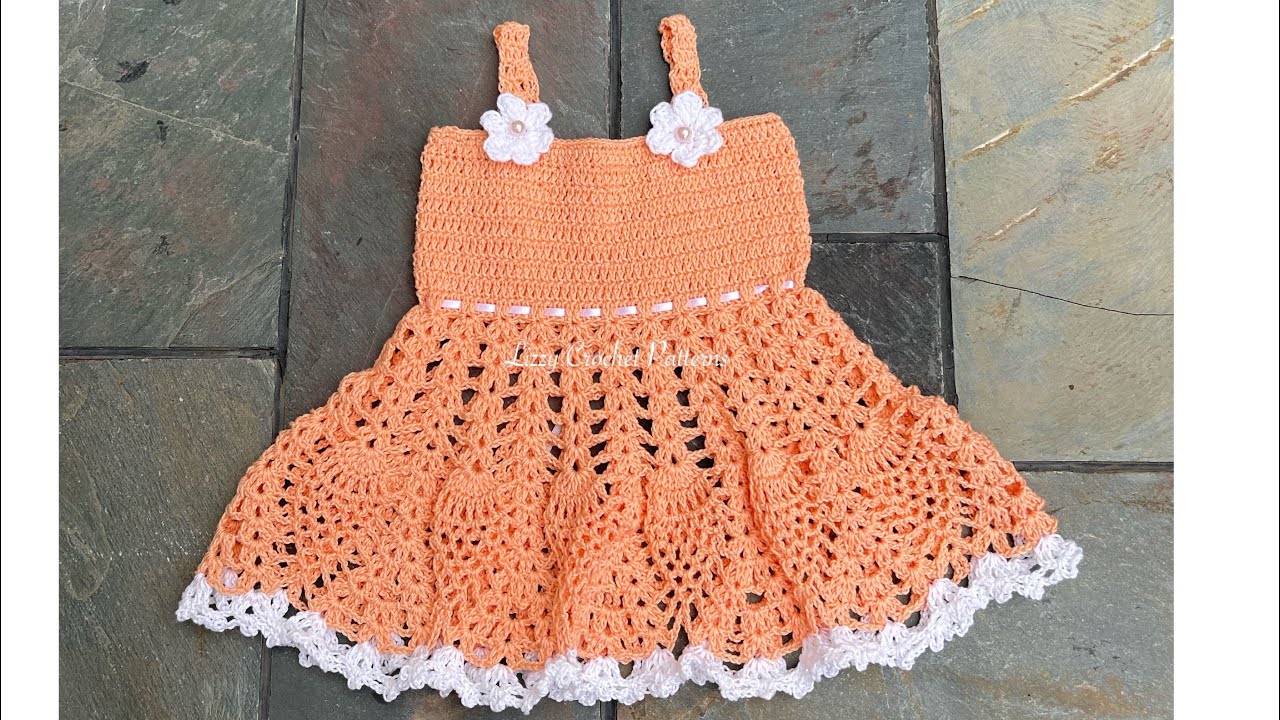
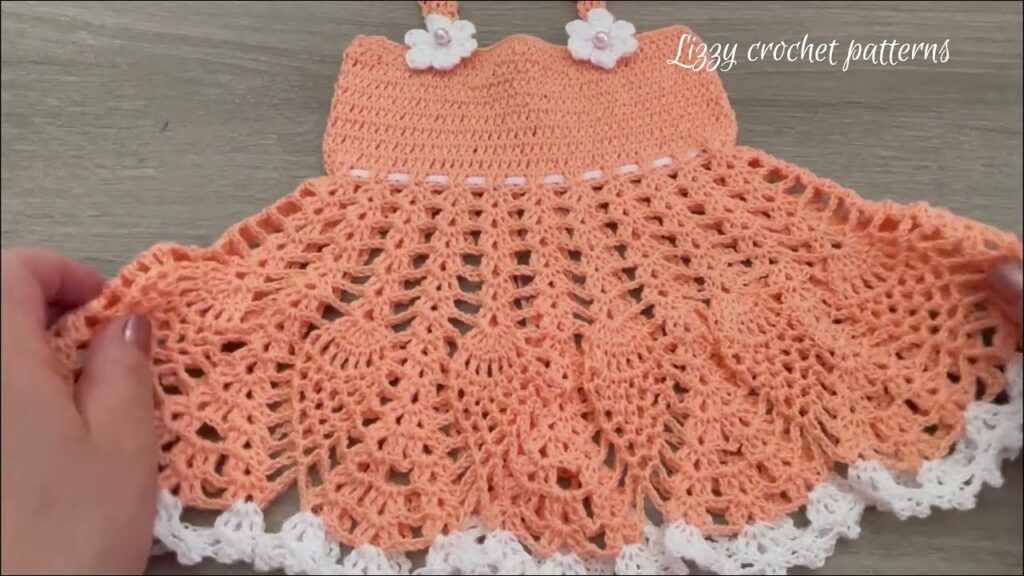
by There’s something truly special about creating a handmade baby dress – a tangible expression of love, stitch by delicate stitch. And the beauty of crochet is its incredible versatility, allowing you to craft a perfectly fitted garment for any little one, from the tiniest newborn to a bustling toddler. While exact stitch counts will always come from a specific pattern for your chosen size, understanding the fundamental construction process will empower you to tackle any baby dress project with confidence.
This detailed guide will walk you through the universal steps of crocheting a beautiful baby dress, focusing on the highly adaptable top-down, seamless raglan yoke construction. This method is a favorite among crocheters for its comfortable fit, lack of bulky seams, and ease of customization for various sizes and lengths.
The Anatomy of a Versatile Baby Dress
At its core, a top-down, seamless raglan yoke dress is composed of three main parts:
- The Yoke: This is the upper section that covers the neck and shoulders. It’s worked first, with increases along specific “raglan lines” to shape the shoulders and upper chest. This is the most crucial part for sizing, as its depth determines how the dress fits across the chest.
- The Body/Skirt: Once the yoke is complete, the stitches for the sleeves are put on hold, and the remaining stitches are joined to form the main body of the dress. This section is then worked downwards to the desired length, often with increases to create a gentle A-line or fuller skirt.
- The Sleeves (Optional): After the body is complete (or at any point you wish), the held sleeve stitches are worked in the round to the desired sleeve length.
- Edgings & Closures: Finishing touches that add polish and functionality.
The magic of this method for “all sizes” lies in its scalability: by adjusting the starting chain, the number of increase rows on the yoke, and the overall length, you can easily adapt the same basic pattern structure for different age groups.
Essential Preparations: Tools & Materials for Any Size
Before you begin, gather your supplies. Your yarn choice will significantly impact the dress’s look and feel.
- Yarn:
- Fiber: Prioritize softness, washability, and breathability.
- Superwash Merino Wool: Excellent for softness, warmth, and ease of care.
- Baby-Specific Acrylic: Often very soft, durable, hypoallergenic, and machine washable.
- Cotton or Cotton Blends: Breathable, absorbent, great for warmer climates, and provides crisp stitch definition.
- Weight:
- DK (Double Knitting) or Sport Weight: These are highly versatile for most baby sizes, offering a good balance of reasonable working speed and a lovely drape.
- Fingering/4-ply: For very delicate, lacy dresses, though they will take longer.
- Worsted/Aran: For quicker, warmer, or chunkier dresses, but might be too bulky for newborns.
- Quantity: This varies greatly by dress size, yarn weight, and desired length. For a typical dress, expect anywhere from 200-800 yards (approx. 180-730 meters). Always check your specific pattern for exact amounts.
- Fiber: Prioritize softness, washability, and breathability.
- Crochet Hook:
- Your yarn label will suggest a hook size (e.g., 3.5mm-5.0mm).
- Crucial: The correct hook size for your gauge is more important than the label’s suggestion. You’ll likely need to go up or down a hook size to match the pattern’s gauge.
- Other Notions:
- Stitch Markers: Absolutely essential for marking raglan lines and the beginning of rounds.
- Tapestry Needle: For neatly weaving in ends.
- Scissors: For cutting yarn.
- Buttons: 3-7 small, flat buttons (size appropriate for the dress and baby). Choose elegant ones (pearl, wood, matching color).
- Measuring Tape: Indispensable for checking gauge and garment dimensions.
The Cornerstone of Success: Sizing & Gauge (The Ultimate Key for “All Sizes”)
This is the most critical section for crocheting a dress for any size. Getting your gauge right is the only way to ensure your dress fits the intended baby correctly.
Understanding Baby Sizing (Average Chest Circumference & Yoke Depth):
While every baby is different, here are common average finished chest measurements and corresponding yoke depths (from neckline to underarm) for various sizes:
- Newborn: 16-18 inches (40-45 cm) chest; ~4.5 inches (11.5 cm) yoke depth
- 0-3 Months: 17-19 inches (43-48 cm) chest; ~5 inches (12.5 cm) yoke depth
- 3-6 Months: 18-20 inches (45-50 cm) chest; ~5.5 inches (14 cm) yoke depth
- 6-12 Months: 19-21 inches (48-53 cm) chest; ~6 inches (15 cm) yoke depth
- 12-18 Months: 20-22 inches (50-56 cm) chest; ~6.5 inches (16.5 cm) yoke depth
- 18-24 Months: 21-23 inches (53-58 cm) chest; ~7 inches (17.5 cm) yoke depth
Disclaimer: These are averages. Always refer to the specific pattern’s size chart and finished measurements, and consider the baby’s actual measurements if known.
How to Make a Gauge Swatch (Do NOT Skip This!):
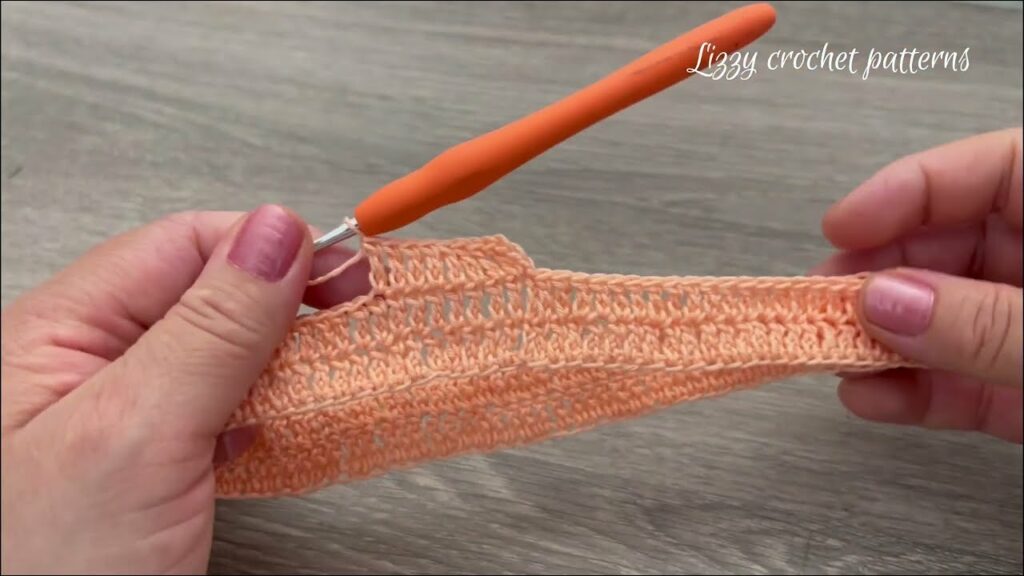
- Chain: Chain about 20-25 stitches, plus the turning chains (e.g., ch 3 for dc) as per your chosen main stitch.
- Work: Crochet a square of at least 6×6 inches (15×15 cm) in the main stitch pattern you’ll be using for the dress (e.g., double crochet rows). A larger swatch gives a more accurate measurement.
- Wash & Block: Fasten off your swatch. Crucially, wash and block your swatch exactly as you plan to treat the finished dress. This relaxes the fibers and shows the true stitch size and drape.
- Measure: Once dry, lay the swatch flat. Place a ruler over the center. Count how many stitches fit within 4 inches (10 cm) and how many rows fit within 4 inches (10 cm).
- Adjust:
- If you have more stitches per inch than the pattern states (your work is too tight), go up half a hook size and try again.
- If you have fewer stitches per inch than the pattern states (your work is too loose), go down half a hook size and try again.
- Repeat until your gauge precisely matches the pattern’s recommendation.
General Stitch Patterns for Versatility and Beauty:
- Main Body:
- Double Crochet (dc): Works up quickly, creates a soft, draped fabric, excellent for dresses.
- Half Double Crochet (hdc): Creates a slightly denser fabric with less drape but good warmth and structure.
- Edgings/Bands:
- Single Crochet (sc): Creates a firm, neat edge.
- Half Double Crochet (hdc): A slightly taller, neat edge.
- Ribbing: Achieved by alternating front post/back post double crochet (FPDC/BPDC) or by working in back loops only (BLO) for a stretchy, classic finish.
- Picot Stitch: (ch 3, sl st into 1st ch) creates a delicate, decorative scallop.
- Shell Stitch: Clusters of stitches (e.g., 5 dc in one st) create a lovely, open, scalloped border.
- Simple Decorative Stitches (for texture or subtle lace):
- V-Stitch: (dc, ch 1, dc in same st/sp) creates a simple openwork.
- Seed Stitch / Moss Stitch: (alternating sc, ch 1) creates a subtle, non-curling texture.
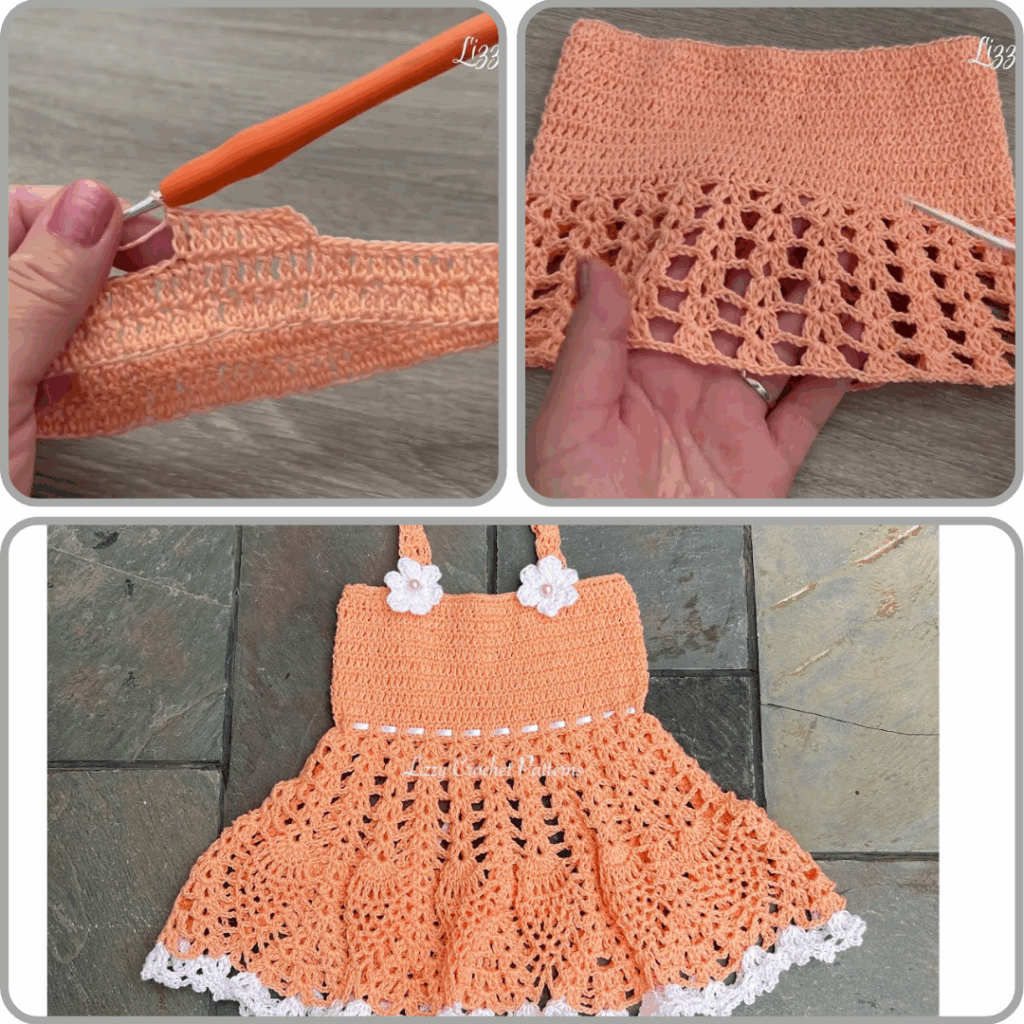
Step-by-Step Guide: Crocheting Your Baby Dress (Adaptable for All Sizes)
This outline provides the method. You will need a specific pattern for your chosen size for exact stitch counts at each stage.
Phase 1: The Yoke (The Foundation of Fit for Any Size)
The yoke determines the fit across the chest and shoulders.
- Step 1.1: Starting the Neckline & Back Opening
- Foundation Chain: Chain the number of stitches specified by your pattern for your chosen size. This chain will form the neckline. For a back opening, you will work flat (in rows).
- Neckband Rows: Ch 2 (counts as hdc or not, as per pattern). Work your chosen stitch (e.g., hdc or sc) in each chain across. Turn. Work 2-4 more rows of this stitch to create a stable neckband.
- Buttonholes (Placement): On one of the back opening edges (usually the wearer’s right side for girls, left for boys), you’ll need to create buttonholes at regular intervals (e.g., 1.5-2 inches or 4-5 cm apart).
- To make a simple horizontal buttonhole: Work to the desired buttonhole position, chain 2, skip the next 2 stitches, then continue working across. On the next row, work into the ch-2 space.
- Step 1.2: Establishing Raglan Yoke & Increases
- Divide Stitches: Take your total stitch count from the neckband. Your pattern will tell you how to divide these stitches for the Back Panel 1, Sleeve 1, Front, Sleeve 2, and Back Panel 2. You will have 4 raglan corners where increases occur.
- First Yoke Row (Setting Up Raglan – Worked Flat):
- Ch 3 (counts as first dc). Work dc in stitches for Back Panel 1.
- Raglan Corner 1: Work your increase (e.g., [2 dc, ch 2, 2 dc]) in the specified stitch. Place a stitch marker in the ch-2 space.
- Work dc in stitches for Sleeve 1.
- Raglan Corner 2: Work increase and place marker.
- Work dc in stitches for Front.
- Raglan Corner 3: Work increase and place marker.
- Work dc in stitches for Sleeve 2.
- Raglan Corner 4: Work increase and place marker.
- Work dc in stitches for Back Panel 2. Turn.
- Continuing Raglan Yoke Rows:
- Next Row: Ch 3. Work dc in each dc across, working your specified increase (e.g., [2 dc, ch 2, 2 dc]) into each ch-2 raglan space from the previous row. Move stitch markers up to the new ch-2 space. Turn.
- Key for All Sizes: Repeat these increase rows until the yoke reaches the desired depth for your chosen baby size. Refer back to the average yoke depths above, or follow your pattern’s specific measurement. This is how you scale the yoke for different sizes. Continue adding buttonholes on your placket if needed.
Phase 2: Body & Sleeves (Customizing Length and Fullness)
Once the yoke is complete, you’ll separate the body and sleeves.
- Step 2.1: Separating for Body and Sleeves
- Separation Row:
- Work stitches for Back Panel 1.
- Work into Raglan Corner 1 (e.g., 1 dc).
- Skip Sleeve 1: Skip all the dc stitches of Sleeve 1.
- Underarm Chain: Chain a few stitches (e.g., ch 2-4) to form the underarm space (your pattern will specify the exact number).
- Work into Raglan Corner 2 (e.g., 1 dc).
- Work dc in stitches for the Front Panel.
- Work into Raglan Corner 3 (e.g., 1 dc).
- Skip Sleeve 2: Skip all the dc stitches of Sleeve 2.
- Underarm Chain: Chain 2-4 stitches.
- Work into Raglan Corner 4 (e.g., 1 dc).
- Work dc in stitches for Back Panel 2. Turn.
- Sleeve Stitches: Place the skipped sleeve stitches onto a piece of scrap yarn or a stitch holder for later.
- Separation Row:
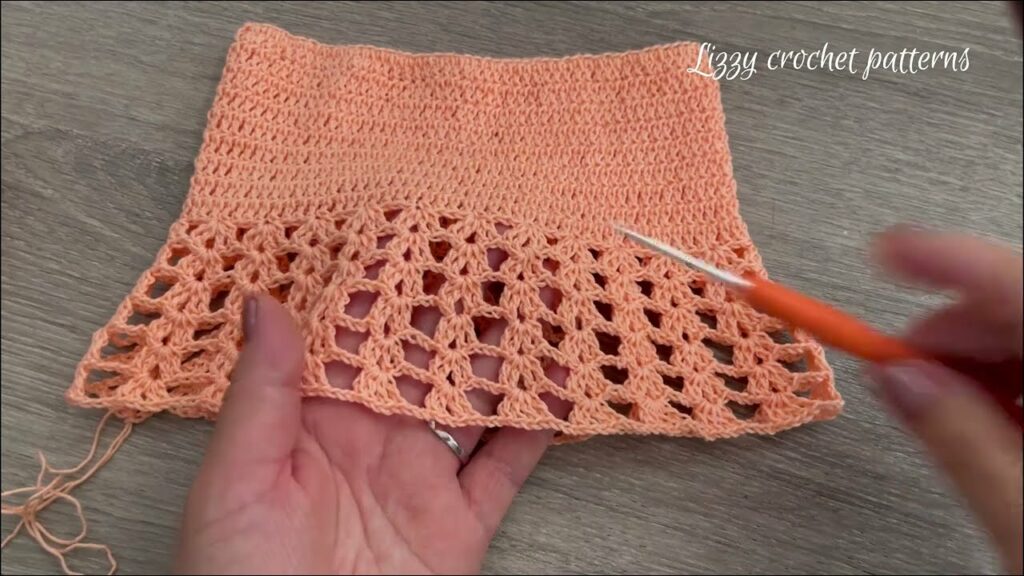
- Step 2.2: Crocheting the Body/Skirt
- First Body Row: Ch 3. Work dc in each dc across, including working 1 dc into each chain of the underarm chains. Turn.
- Continuing the Body: Continue working rows of dc (keeping the back opening flat).
- Adding Flare (Optional, for A-Line or Fuller Skirt): To create a beautiful A-line or fuller skirt, you’ll incorporate increases occasionally.
- Simple Flare: On every 5th or 6th row, work 2 dc into a randomly chosen stitch (or evenly spaced stitches) about 4-8 times across the row. This will gradually widen the skirt.
- Using a Flaring Stitch: Alternatively, your pattern might switch to a stitch pattern like shell stitch or fan stitch that naturally creates a lot of flare.
- Key for All Sizes (Length): Continue working rows until the dress reaches the desired length for your chosen baby size (e.g., to the knee or mid-calf).
- Hem: Work 2-3 rows of sc or hdc for a neat, stable hem. Fasten off. You can add a decorative edging here if desired.
- Step 2.3: Crocheting the Sleeves (Optional)
- Attach Yarn: With your dress right side out, attach yarn to one of the underarm corners of a skipped sleeve.
- Pick Up Stitches: Ch 3. Work dc into each dc stitch of the held sleeve stitches. Work 1 dc into each chain of the underarm chain. Join with a sl st to the top of the initial ch 3. You are now working in the round.
- Work Sleeve: Continue working dc rounds (or your desired sleeve stitch) until the sleeve reaches the desired length.
- Key for All Sizes (Sleeve Length): Continue until the desired sleeve length for your chosen baby size (e.g., 0.5-1 inch for a cap sleeve, 3-4 inches for short, 6-8 inches for long sleeves for 0-12 months).
- Cuff: Work 2-3 rounds of sc or hdc for a neat cuff. Fasten off. Repeat for the second sleeve.
Phase 3: The Finishing Touches (Polishing Your Work for Any Size)

This is where your dress truly comes to life and gains its beautiful, polished appearance.
- Step 3.1: Edgings
- Neckline: Reattach yarn to one corner of the neckline. Work 1-2 rounds of sc or hdc around the entire neckline for a clean finish. You can add a picot edging or a small shell border for a delicate touch.
- Back Opening/Button Bands: If you didn’t integrate buttonholes directly into a flat band (Step 1), now you can pick up stitches along both back opening edges. Work 2-3 rows of sc or hdc for each band. On one band, create your buttonholes (e.g., ch 2, sk 2 sts).
- Hem & Cuffs: Add any final decorative edgings here if you didn’t do so in previous steps.
- Step 3.2: Weaving in Ends: This is paramount for a professional, beautiful look. Use your tapestry needle to meticulously weave in all loose yarn tails, hiding them securely within the stitches on the wrong side of your work. No stray ends should be visible.
- Step 3.3: Blocking (Crucial for All Sizes!):
- Gently wash your finished dress according to your yarn’s care instructions (often lukewarm water and a gentle soap).
- Gently squeeze out excess water (do not wring or twist).
- Lay the dress flat on a clean towel or blocking mats. Gently shape it to the correct dimensions for your chosen size, smoothing out any unevenness and opening up any lace patterns. Use rust-proof pins to hold it in place if needed.
- Allow the dress to air dry completely. Blocking truly transforms the fabric, evening out stitches, setting the drape, and enhancing its overall beauty.
- Step 3.4: Attaching Buttons: Lay your dress flat and mark the positions for your buttons, aligning them with the buttonholes on the opposite placket. Securely sew on your chosen size-appropriate buttons. Ensure they are sewn on very, very tightly with strong thread to prevent any choking hazard for the baby.

General Tips for Success & Safety (Applicable to All Sizes)
- Read Your Pattern Thoroughly: This guide provides the method. A specific pattern for your chosen size will give you the exact stitch counts and unique design details. Read it entirely before you start.
- Use Stitch Markers Generously: They are invaluable for marking raglan corners, the beginning of rounds, buttonhole placements, and any tricky sections.
- Count Your Stitches Regularly: Especially on increase rows/rounds. Counting prevents mistakes that are harder to fix later.
- Maintain Consistent Tension: This comes with practice, but striving for even tension ensures your fabric has a uniform look and the correct drape.
- Take Breaks: Crocheting can be hard on the hands. Take frequent breaks to rest and stretch.
- Baby Safety First:
- Button Security: As mentioned, sew buttons on very securely. Check them regularly for looseness.
- Small Embellishments: Exercise extreme caution with small beads, tiny bells, or anything that could potentially detach and become a choking hazard. If unsure, omit them.
- No Long Ties: Avoid long drawstrings or ties around the neck or waist, as they can pose a strangulation risk.
Video Tutorial :
By understanding these steps and the principles of adaptability, you are well-equipped to crochet a beautiful baby dress for any size. Each stitch you create is a tiny piece of love, destined to become a cherished garment for a special little one. Happy crocheting!