 by
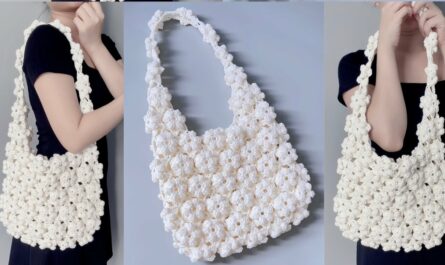
by Crocheting a garment for a little girl is a deeply rewarding experience, allowing you to infuse love into every stitch and create something truly unique. From cozy sweaters to versatile jackets and warm coats, each type of garment offers distinct benefits and construction challenges.
This detailed guide will explore how to crochet sweaters, jackets, and coats for girls, covering everything from planning to finishing, with a special emphasis on considerations for children’s wear.
Understanding the Garment Types for Girls
While often used interchangeably, “sweater,” “jacket,” and “coat” have distinct characteristics when crocheted:
- Sweater (Pullover):
- Description: A closed-front garment that is pulled over the head.
- Focus: All-over warmth and comfort, ideal for layering during colder months or as a standalone top.
- Common Styles: Crew neck, boat neck, often featuring ribbed cuffs and hems.
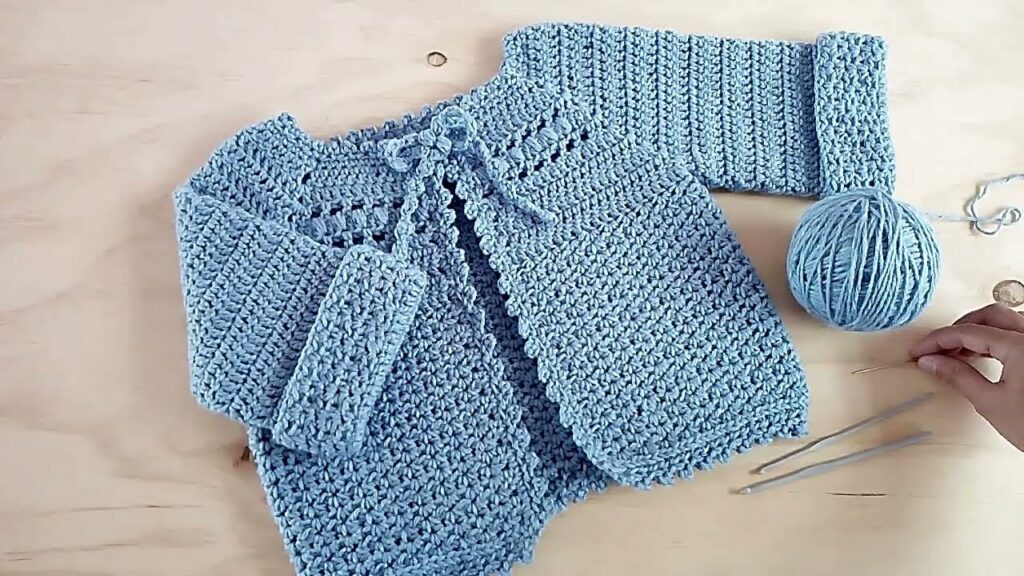
- Jacket (Cardigan):
- Description: An open-front garment, typically with a closure like buttons, snaps, or a tie.
- Focus: Versatility and ease of wear. Lighter than a coat, perfect for transitional weather, indoor layering, or adding a stylish touch. Cardigans are the most common type of crocheted jacket.
- Common Styles: Cardigans with various necklines (V-neck, round), often with ribbed bands.
- Coat:
- Description: An open-front garment with a closure, designed for maximum warmth and protection from colder weather. Generally heavier and often longer than a jacket.
- Focus: Outerwear, providing substantial warmth and durability.
- Common Styles: Chunky, textured designs, often with collars or hoods, and robust closures.
Why Crochet Garments for Girls?
- Unmatched Comfort & Softness: You have complete control over yarn selection, ensuring hypoallergenic, soft, and gentle fibers against a child’s sensitive skin.
- Perfect, Customizable Fit: Children grow at different rates. Handmade garments can be tailored to specific measurements, providing a better fit than mass-produced clothing.
- Unique Style & Personalization: Express your creativity with endless choices of colors, stitch patterns, and embellishments, creating a one-of-a-kind piece.
- Durability & Practicality: By choosing washable and hard-wearing yarns, you can create garments that stand up to active play and frequent laundering.
- Heirloom Potential: A cherished handmade sweater, jacket, or coat often becomes a treasured keepsake, carrying sentimental value for years to come.
- Rewarding Project: The immense satisfaction of seeing a functional and beautiful garment come to life under your own hands.
Planning Your Garment Project
Thorough planning is the cornerstone of a successful crochet garment.
- Size Selection:
- Crucial: Baby and children’s sizes (e.g., 0-3 months, 6-12 months, 2T, 4T, 6/8 years) are general guidelines. Always measure the child for the best fit.
- Key Measurements:
- Chest Circumference: The most important measurement for sweaters and jackets.
- Full Length: From the top of the shoulder to the desired hemline.
- Sleeve Length: From the top of the shoulder (or armpit, depending on construction) to the wrist.
- Head Circumference: Essential for pullover sweater necklines to ensure it slips on easily.
- Upper Arm Circumference: For proper sleeve fit.
- Ease: Garments need “ease” (space beyond the body measurements) for comfort and movement. Consider adding a bit more “positive ease” for children’s garments to allow for growth and layering.
- Pattern Selection (ESSENTIAL!):
- Absolute Must: A well-written crochet pattern is paramount. Look for patterns specifically designed for girls’ sweaters, jackets, or coats.
- What to Look For:
- Clear sizing charts and schematics with finished garment measurements.
- Precise stitch counts for each row/round and each size.
- Detailed shaping instructions (necklines, armholes, sleeves, button bands).
- CRUCIALLY, comprehensive gauge information (and how to achieve it).
- Clear photos and diagrams.
- Common Construction Methods:
- Top-Down (Seamless): Highly popular for sweaters and cardigans. You start at the neckline/yoke and work downwards. This method results in minimal seaming and allows you to try the garment on as you go.
- Bottom-Up (Seamless): Less common for full garments, but sometimes used for specific styles. You start at the hem and work upwards.
- Panel Construction (Seamed): Involves crocheting separate flat panels (front, back, sleeves) and then meticulously seaming them together. This method often provides a more structured fit, making it suitable for jackets and coats.
- Gauge Swatch (NON-NEGOTIABLE!):
- The Single Most Critical Step! This determines if your finished garment will match the pattern’s size.
- Crochet a large swatch (at least 6×6 inches / 15×15 cm) using your chosen yarn and hook in the main stitch pattern of the garment.
- Wash and block your swatch exactly as you would the finished garment. This accounts for any changes in the yarn after laundering (e.g., stretching, blooming, slight shrinkage).
- Measure your stitches and rows per inch/cm accurately. If your gauge doesn’t match the pattern’s, adjust your hook size (go up for fewer stitches per inch, down for more stitches per inch) until it does. A small discrepancy in gauge can lead to a significant difference in the final garment’s size.
Materials You’ll Need
- Yarn:
- Weight:
- Sweaters/Jackets: DK (Category 3) or Worsted (Category 4) are versatile choices, balancing warmth with good drape.
- Coats: Chunky (Category 5) or Super Bulky (Category 6) are ideal for maximum warmth and a substantial feel.
- Fiber:
- Baby/Kids Specific Acrylics: Soft, durable, hypoallergenic, and machine washable/dryable (a huge plus for children’s clothes!).
- Superwash Merino Wool: Excellent softness, warmth, breathability, and often machine washable.
- Cotton/Cotton Blends: Good for lighter sweaters/jackets, breathable, and provides good stitch definition. Less elastic than wool/acrylic.
- For Coats: Consider blends with some wool or alpaca for extra warmth, but always ensure it’s soft and not scratchy.
- Avoid: Mohair or other overly fuzzy yarns (can be irritating), delicate fibers like silk (difficult to wash for kids’ wear), or anything scratchy.
- Color: Bright, cheerful colors, soft pastels, or classic neutrals are always popular. Variegated yarns can add effortless color changes. Stripes or color blocks are easy ways to incorporate multiple hues.
- Quantity: Varies significantly based on garment type, size, and yarn weight (expect anywhere from 3-4 skeins for a small sweater to 10+ for a large coat).
- Weight:
- Crochet Hook(s): The size recommended by your pattern, adjusted based on your gauge swatch. You might need different hook sizes for specific elements like ribbing.
- Notions:
- Stitch Markers: Essential for marking beginnings of rounds, increase/decrease points, raglan lines, and pattern repeats.
- Tapestry Needle: For neatly weaving in all yarn ends and for seaming (if applicable).
- Scissors.
- Measuring Tape.
- Stitch Holders or Waste Yarn: To temporarily hold sleeve stitches if using a top-down construction.
- Buttons/Snaps/Zippers/Toggles: For jackets and coats. Choose sturdy, flat, baby-safe fasteners that can be securely attached.
- Pompom Maker/Tassel Maker (Optional): For fun embellishments.
- Blocking Mats & T-pins (Highly Recommended): For professional shaping and finishing.
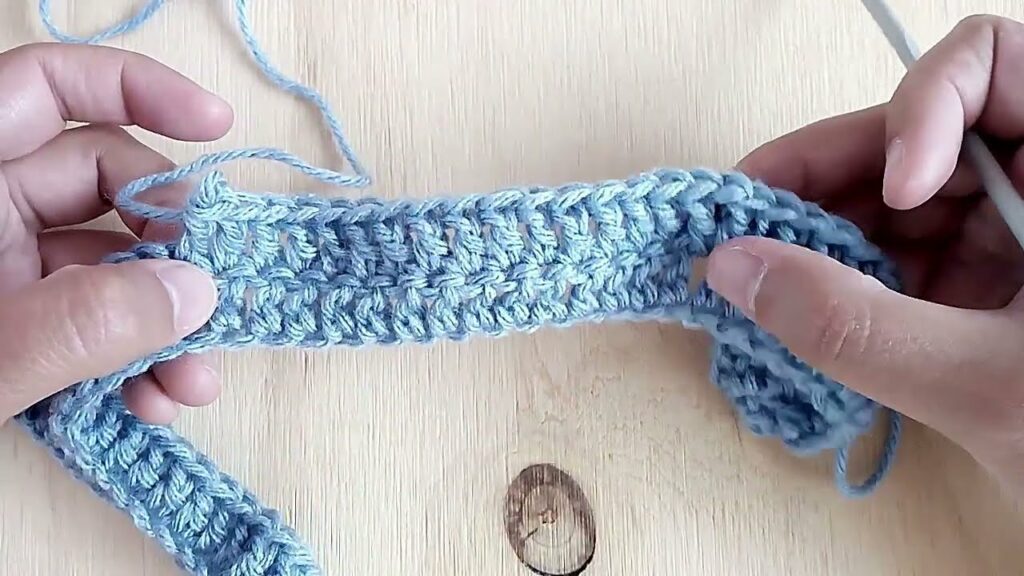
Key Crochet Techniques for Garments
Beyond basic stitches (chain, slip stitch, single crochet, half double crochet, double crochet), you’ll primarily use:
- Working in Rows: For creating flat panels (front, back, sleeves) or for button bands. You’ll turn your work at the end of each row.
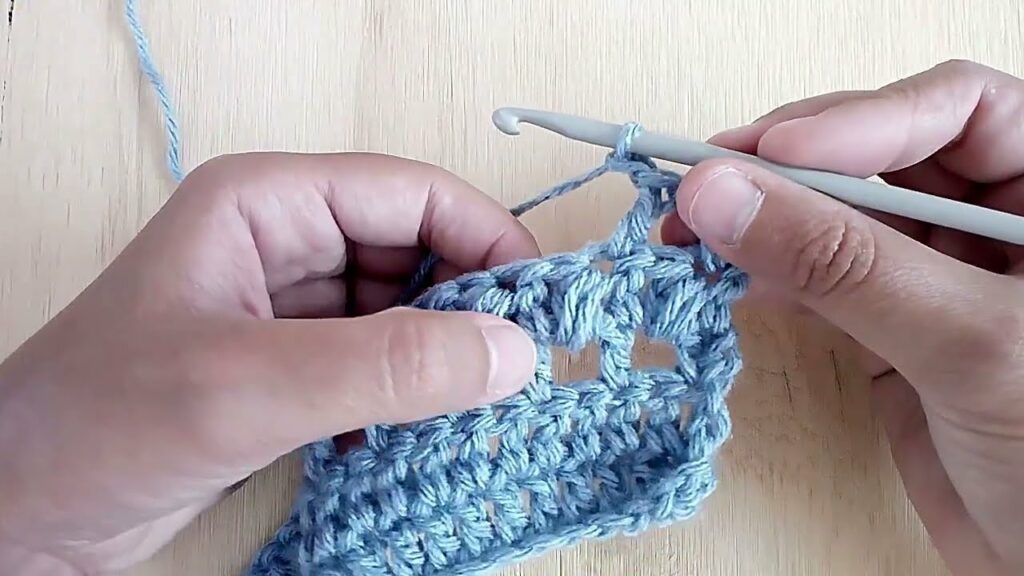
- Working in the Round: For seamless bodies and sleeves (common in top-down construction). You’ll join each round and continue in a continuous circle.
- Increasing Stitches: Crucial for shaping the garment (e.g., yoke, body flare, sleeve width). Your pattern will provide specific instructions (e.g., “2 dc in next st” or more complex increases).
- Decreasing Stitches: Used for shaping (e.g., armholes, necklines, sleeve tapering). Your pattern will specify these (e.g.,
sc2tog– single crochet two together,hdc2tog– half double crochet two together,dc2tog– double crochet two together). - Ribbing: Used for cuffs, hems, necklines, and button bands, providing elasticity, a neat finish, and preventing curling.
- Single Crochet in the Back Loop Only (SC in BLO): Creates a dense, horizontal rib.
- Front Post/Back Post Double Crochet (FPDC/BPDC): Creates a more elastic, knit-like vertical rib.
- Buttonholes:
- Chain-Space Buttonholes: The simplest and most common method (chain a few stitches, skip corresponding stitches, work into the chain space on the next row).
- One-Row Buttonholes: Integrated into the stitch pattern of a single row.
- Seaming (if using panels): The Mattress Stitch creates neat, almost invisible vertical seams. A slip stitch seam can be flatter but might be slightly more visible.
- Picking Up Stitches: For adding collars or finishing edges (like neckbands or button bands that aren’t worked simultaneously with the main panels).
- Hoods (for coats/some jackets): Usually worked flat in two pieces and seamed, or worked in one piece and then seamed, and finally attached to the neckline by picking up stitches.
Step-by-Step Construction Flows (Conceptual Guides)
Here are conceptual guides for the most common methods for each garment type:
A. Top-Down Sweater or Cardigan (Seamless Construction)
This method is highly popular for its seamlessness and ability to try on as you go.
- Preparation: Read pattern, make your gauge swatch (and wash/block it!), gather all materials.
- Crochet the Yoke (Neckline Start):
- Begin with the pattern’s specified foundation chain or starting ring for the neckline.
- Join in the round if making a sweater (pullover) or work in rows if making a cardigan (open front).
- Place stitch markers at the designated “raglan points” (four points for raglan yokes that mark front, back, and sleeve divisions) or evenly for a circular yoke.
- Work the yoke rows/rounds, making increases at the marked points according to your pattern (often every other row). This expands the yoke to shape the shoulders and upper body.
- Continue until the yoke reaches the appropriate circumference to fit around the child’s chest and upper arm.
- Separate Body & Sleeves:
- Carefully put the stitches designated for the sleeves onto stitch holders or waste yarn.
- Chain a few stitches under each arm (these are the underarm chains) to add ease and allow for comfortable movement.
- Join the front and back sections of the remaining stitches to form the main body of the garment.
- Crochet the Body:
- Continue working in the round (for a sweater) or in rows (for a cardigan) until the garment reaches the desired length from the underarm to the hem.
- Add the bottom ribbing or border according to your pattern.
- Crochet the Sleeves:
- Join your yarn at the center of the underarm of one set of held sleeve stitches.
- Work the sleeve in the round, following your pattern’s instructions for length and any tapering (decreases) towards the wrist.
- Add the cuff ribbing.
- Repeat for the second sleeve.
- Finishing (Cardigan Only):
- If your pattern didn’t integrate them, add button bands by picking up stitches along the front opening.
- Create buttonholes evenly spaced on one button band.
- Securely attach baby-safe buttons, aligning them with the buttonholes.
- Weave in Ends & Block: Meticulously weave in all loose yarn ends. Gently wash/wet and block the finished garment to shape and set stitches.
B. Panel Construction (Sweater, Jacket, or Coat – Seamed)
This method is straightforward for creating defined shapes.
- Preparation: Read pattern, make your gauge swatch (and wash/block it!), gather all materials.
- Crochet Back Panel:
- Cast on the specified number of stitches for the lower back hem.
- Work in your chosen stitch pattern (e.g., SC, HDC, DC).
- Shape the armholes by decreasing stitches or skipping stitches at the beginning/end of rows as per pattern.
- Shape the neckline (if applicable) and shoulder slope by decreasing or binding off stitches.
- Work until the panel reaches the desired shoulder height. Bind off.
- Crochet Front Panels (Two for Jacket/Coat, One for Sweater):
- Cast on stitches for the lower front hem (or split for two panels).
- Work in your chosen stitch pattern, shaping armholes identical to the back.
- Shape the neckline (V-neck, scoop, etc.) and shoulder slope.
- Work until shoulder height. Bind off.
- Crochet Sleeves (Two):
- Cast on stitches for the cuff.
- Work in your chosen stitch pattern, increasing evenly along the sides to achieve the desired arm width.
- Shape the sleeve cap (the top curve that fits into the armhole) if your pattern specifies.
- Work until the desired sleeve length. Bind off.
- Seaming:
- Lay all finished panels flat.
- Shoulder Seams: Seam the front and back panels together at the shoulders using the Mattress Stitch for an invisible seam.
- Side Seams: Seam the front and back panels together along the sides, leaving openings for the armholes.
- Sleeve Seams: Seam each sleeve lengthwise.
- Set in Sleeves: Carefully attach the finished sleeves into the armholes of the body of the garment, distributing the fabric evenly.
- Add Finishing Details:
- Neckline Band/Collar: Pick up stitches evenly around the neckline and work a few rows of ribbing or your chosen collar pattern.
- Button Bands (Jacket/Coat): If not worked as part of the front panels, pick up stitches along the front openings and work button bands, adding buttonholes.
- Hood (for coats/some jackets): Usually crocheted as a separate piece (or two pieces seamed) and then attached to the neckline.
- Attach Fasteners: Securely attach buttons, snaps, or a zipper.
- Weave in Ends & Block: Meticulously weave in all loose yarn ends. Gently wash/wet and block the finished garment to shape and set stitches.
Tips for Success
- Read the Pattern Meticulously: Understand every instruction, abbreviation, and diagram before starting. Don’t skim!
- Don’t Skip the Gauge Swatch! (It’s worth repeating multiple times because it truly is the most important step for garment fit.)
- Use Stitch Markers Religiously! They are invaluable for marking the beginning of rounds, increase/decrease points, raglan lines, and pattern repeats.
- Count Your Stitches! After every few rows or rounds, verify your stitch counts. Catching errors early saves immense frustration later.
- Choose Child-Friendly Yarn: Prioritize softness, durability, and ease of care. Babies and active girls need garments that can withstand frequent washing.
- Secure Fasteners: If using buttons or snaps, sew them on extremely securely to prevent them from becoming choking hazards. Double-stitch them.
- Weave in Ends Meticulously: Loose ends are not just untidy; they can be a safety concern for children. Ensure all ends are tightly woven in.
- Blocking is Your Best Friend: It makes a significant difference in the finished garment’s drape, stitch definition, and overall professional appearance. Don’t skip it!
Caring for Your Crocheted Garment
Proper care will ensure your handmade sweater, jacket, or coat stays beautiful and comfortable for years:
- Follow Yarn Label Care Instructions Strictly: This is your primary guide for washing and drying.
- Gentle Washing: Machine wash on a gentle/delicate cycle with cool water (if suitable for your yarn), or hand wash gently in cool water with a mild detergent.
- Reshape and Lay Flat to Dry: Gently squeeze out excess water (never wring or twist!). Reshape the garment back to its original dimensions (this is where blocking helps retain shape after washes) and lay it flat on a clean towel or a mesh drying rack to air dry completely.
- Never Hang Wet: The weight of a wet crocheted garment will cause it to stretch and distort significantly if hung.
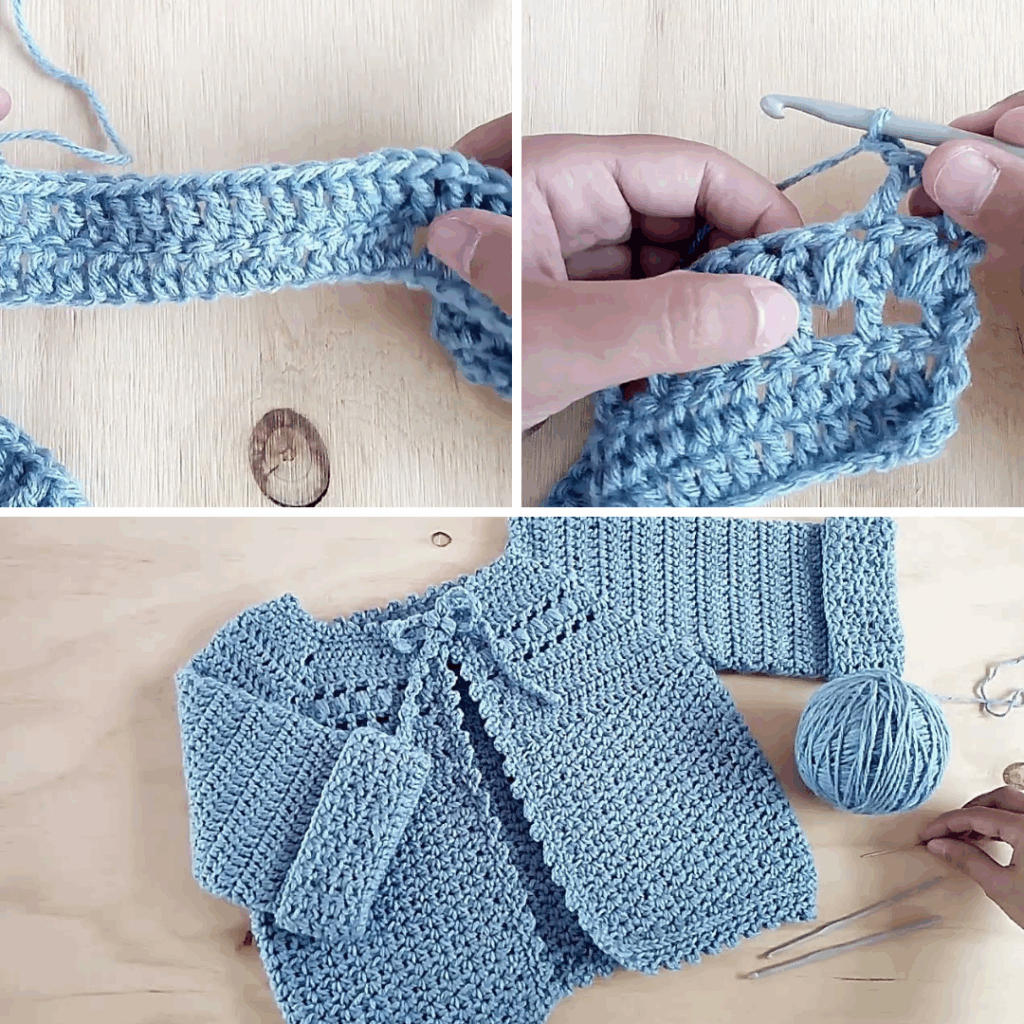
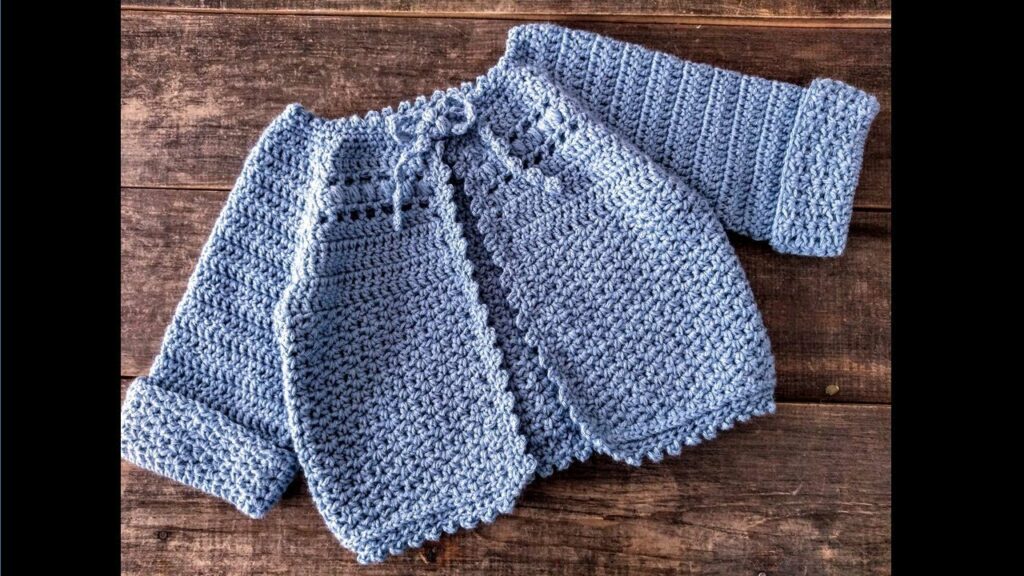
Video Tutorial ;
Crocheting sweaters, jackets, and coats for girls is a deeply satisfying journey that blends creativity with practicality. Each finished piece is a testament to your skill and a warm, unique expression of love for the special girl who wears it. Embrace the process, and enjoy creating these cherished garments!