 by
by Why “Two Needles” Is a Knitters’ Best Friend
Knitting on two straight needles is a traditional and highly effective method for garment construction. Here’s why it’s so great for a vest:
- Simple Flat Panels: This method involves knitting flat pieces (typically a front and a back panel) that are then seamed together. There’s no complex circular knitting or juggling multiple needles.
- Easy to Manage: You only ever have to worry about the stitches on two needles, making it less overwhelming than circular knitting or knitting in the round.
- Beginner-Friendly: It’s the perfect way to practice fundamental skills like casting on, knitting, purling, and binding off before moving on to more complex projects.
- Portable: Knitting a single flat panel is often easier to transport and work on than a full garment on circular needles.
Designing Your Vest: Charm in Simplicity
Even when using just two needles, you have a wealth of creative options to make your vest special.
1. Yarn Choice: Your Foundation
The yarn you choose will define the vest’s look and feel.
- Weight: For a quick and easy project, bulky (Category 5) or super bulky (Category 6) yarn is a fantastic choice. It works up in a flash and creates a cozy, substantial fabric. For a lighter, more drapey vest, worsted (Category 4) or DK (Category 3) yarn works well.
- Fiber:
- Wool Blends: Offer warmth and elasticity, making the vest comfortable and snug.
- Acrylic: A great beginner choice. It’s affordable, easy to care for, and comes in a huge range of colors.
- Cotton: Excellent for a breathable vest, perfect for layering in warmer weather.
2. Stitch Pattern: The Heart of the Charm
A simple stitch can be incredibly effective when paired with the right yarn.
- Garter Stitch: This is the easiest stitch to master (you just knit every single row). It creates a squishy, reversible, and textured fabric that lies flat, making it ideal for beginners.
- Stockinette Stitch: The classic “V” stitch pattern, created by alternating knit and purl rows. It’s smooth and elegant but has a tendency to curl, so it’s best paired with a non-curling border like garter stitch or ribbing.
- Seed Stitch: A lovely textured stitch made by alternating knit and purl stitches within a row. It’s simple to learn and creates a beautiful, pebbly texture.
- Ribbing: A classic choice for cuffs and hems. A simple 1×1 rib (K1, P1) provides great elasticity and a neat finish.
3. Vest Style: Classic and Modern
- Boxy Fit: The simplest construction uses two straight rectangles for the front and back. This creates a modern, oversized, and comfortable fit with minimal shaping.
- Split Hem: Leave a few inches unseamed at the bottom of the side seams for a stylish, casual look that provides extra room at the hips.
- High-Low Hem: Make the back panel a few inches longer than the front for a trendy, flattering silhouette.
- Neckline: The most straightforward neckline is a simple wide boat neck, which is just the unseamed opening between the shoulder seams. A V-neck can be created by dividing the front panel and decreasing stitches along the neck edge.
Materials You’ll Need
- Yarn: Your chosen yarn in a cute color! Consult your pattern for the recommended yardage (e.g., 300-600 yards for an adult vest).
- Knitting Needles: A pair of straight knitting needles in the size recommended on your yarn label (e.g., US 11-15 / 8.0-10.0mm for bulky yarn).
- Scissors: For cutting yarn.
- Tapestry Needle (Yarn Needle): A blunt needle with a large eye, essential for seaming your panels together and weaving in ends.
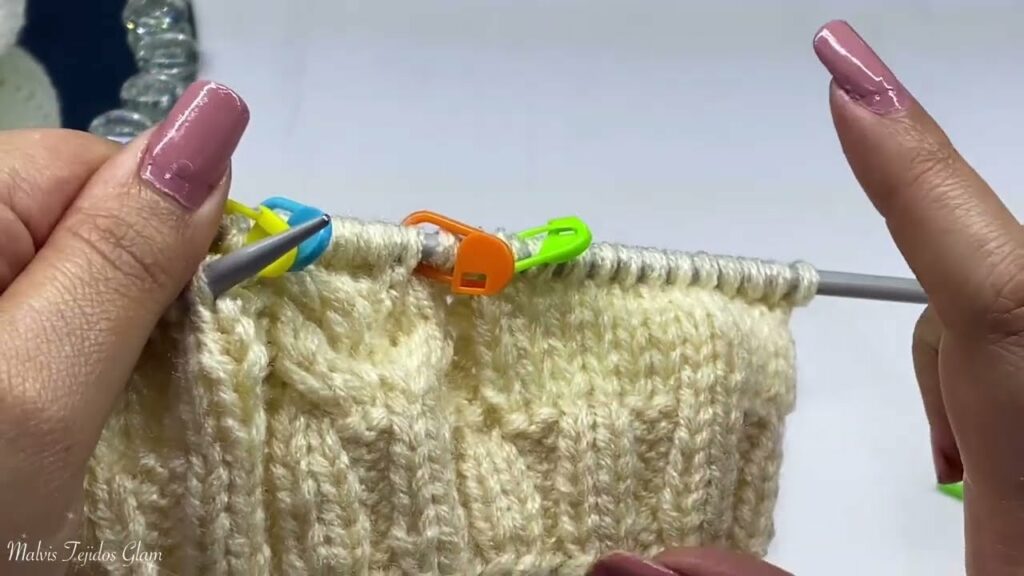
- Stitch Markers (Optional): Helpful for marking the beginning of a row or key shaping points.
- Measuring Tape: Crucial for checking your gauge and panel dimensions.
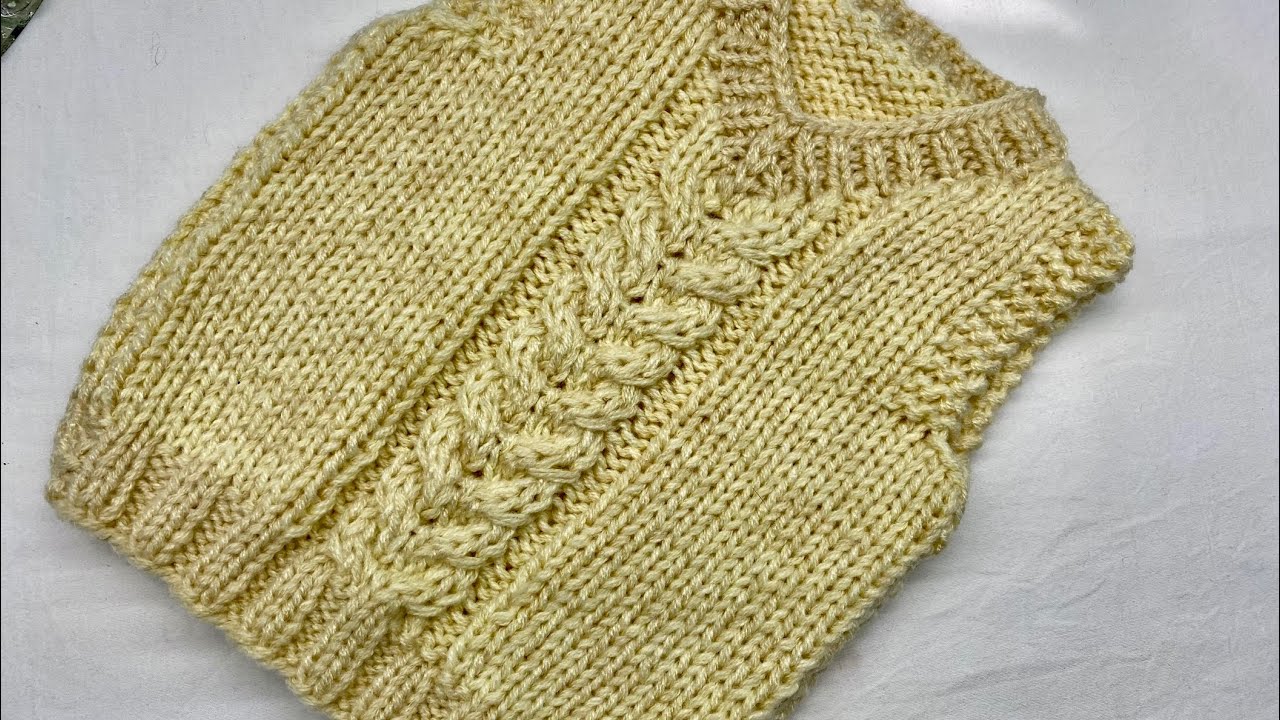
The Two-Needle Construction Journey: A Step-by-Step Guide
This guide outlines the most common and easiest construction method for a knit vest.
Step 1: The Gauge Swatch (Do Not Skip!)
Before you begin, knit a swatch (at least 6×6 inches / 15×15 cm) in your chosen yarn and stitch pattern. Wash and block your swatch to see how it will behave. Measure your stitches and rows to ensure your knitting matches the pattern’s gauge. If you have too many stitches per inch, go up a needle size; too few, go down. This step guarantees your vest will be the right size!
Step 2: Knit the Back Panel
- Cast on the required number of stitches for the back panel width.
- Work in your chosen stitch pattern (e.g., Garter stitch) in straight rows until the panel reaches your desired length from the top of your shoulder to your hip.
- Bind off all your stitches.
Step 3: Knit the Front Panel
- Repeat the exact same steps as for the back panel to create an identical piece. For a V-neck, you’ll work a few inches, then divide the stitches in half and work each side separately, decreasing stitches at the neck edge to create the “V.”
Step 4: The Fun Part: Assembly!
Lay your two flat panels right-side up. This is where the magic happens!
- Shoulder Seams: Using your tapestry needle and a length of matching yarn, seam the top edges of the panels together from the outer edge inwards. Leave a wide opening in the center for the neck.
- Side Seams: Seam the side edges of the panels together from the bottom hem upwards, leaving an opening at the top for the armholes (a good rule of thumb is 8-10 inches for an adult).
Step 5: The Finishing Touches
- Weave in All Ends: Use your tapestry needle to meticulously hide every yarn tail on the inside of the garment.
- Blocking: This is a game-changer! Gently wet your finished vest, lay it flat on a blocking mat or towel, and gently shape it to the correct dimensions. Pin it securely and let it dry completely. Blocking will even out your stitches and give your vest a professional finish and a beautiful drape.
Tips for a Cute and Successful Vest
- Embrace the Simplicity: Don’t feel pressured to add complicated designs. A solid color with a simple stitch can be incredibly chic.
- Press Your Seams: When you seam your pieces together, use an iron to gently press the seams flat. This makes them neat and less bulky.
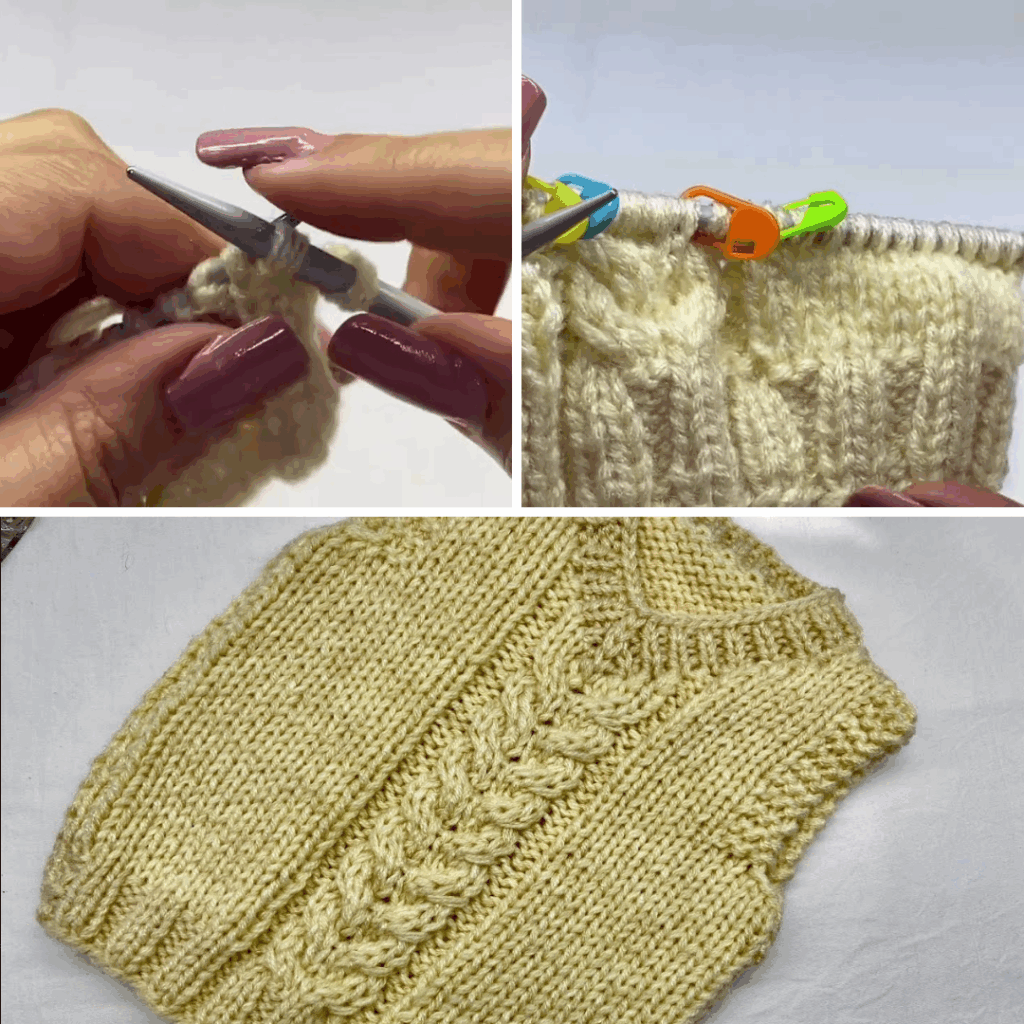
- Watch a Video: If you’re unsure about a technique like casting on or binding off, a quick YouTube video can be a great visual aid.
- Have Fun with It: The beauty of a DIY project is that it doesn’t have to be perfect. Enjoy the process of creating something with your own hands.
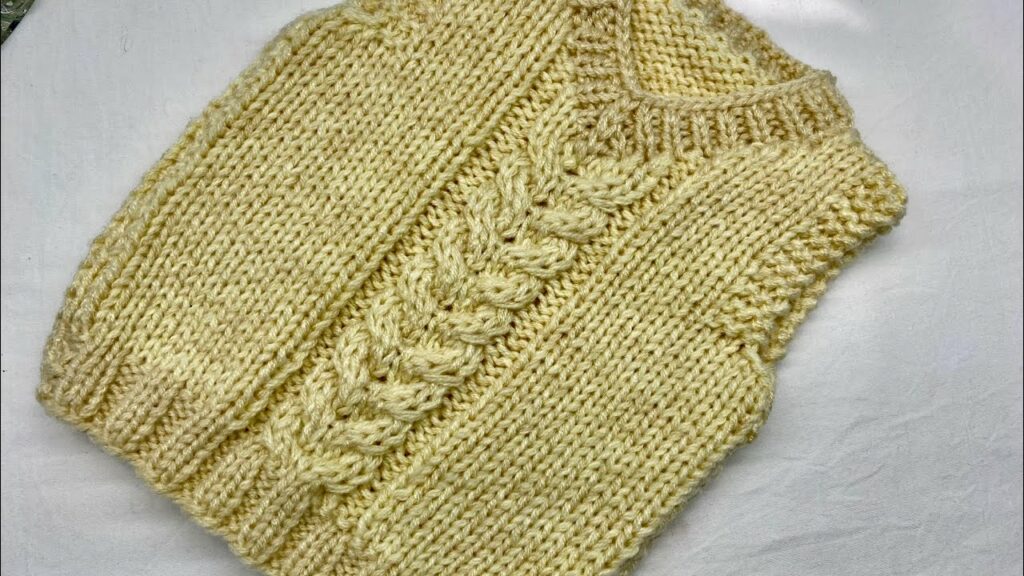
You’ll be surprised how quickly you can knit a cute, stylish vest on two needles. It’s a wonderful project that builds skills and results in a cozy, versatile piece you’ll be proud to wear.
Video Tutorial :