 by
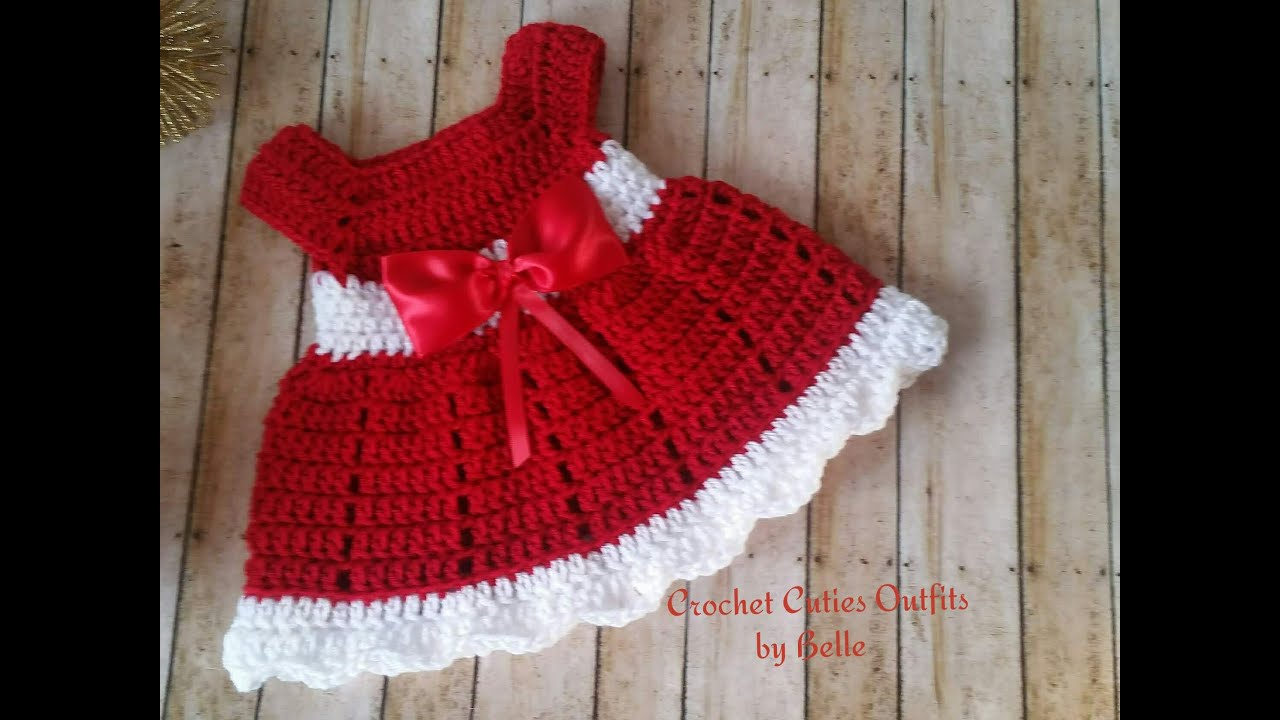
by There’s nothing quite like celebrating a baby’s first Christmas, and what could be more precious than a handmade dress for the occasion? A crocheted baby dress, especially one designed for the tiniest festive elves (0-3 months), is a heartfelt gift that’s quick to make and will be cherished for years. Imagine your little one twinkling in this adorable creation!
This detailed, step-by-step tutorial provides a free crochet pattern for a charming Christmas-themed baby dress, focusing on a top-down, seamless construction. This means less sewing at the end, so you can spend more time enjoying the holiday cheer!
1. Choosing Your Materials: Festive & Gentle
The right materials are key for any baby project, especially one that’s festive.
- Yarn: Opt for softness and washability above all else.
- Fiber: Baby acrylic yarn is popular for its supreme softness, durability, and easy care. Baby cotton or bamboo blends are also excellent, offering breathability—a good consideration even if Christmas is cooler in your region, as babies can overheat easily.
- Weight: DK (Double Knitting, Category 3) or Light Worsted (Category 3/4) weight yarn works best. It’s substantial enough to work up quickly but not too bulky for a tiny dress.
- Colors: Embrace the Christmas spirit! Classic choices include bright red, forest green, crisp white, or shimmering gold/silver. You could even use a variegated yarn with festive specks.
- Crochet Hook: Check your yarn label for the recommended hook size. For this pattern, a 4.0mm (G/6) hook is typically suitable for DK weight yarn, ensuring a soft drape.
- Stitch Markers: These are essential for marking increase points and the start of rounds.
- Tapestry Needle: You’ll use this for neatly weaving in ends.
- Scissors.
- Small Buttons: 2-3 small, flat buttons (around 0.5 inches or 1.25 cm) for the back closure. Consider holiday-themed buttons like tiny stars or snowflakes!
- Optional: Small amount of contrasting yarn (e.g., white if the dress is red/green) for edging or embellishments.
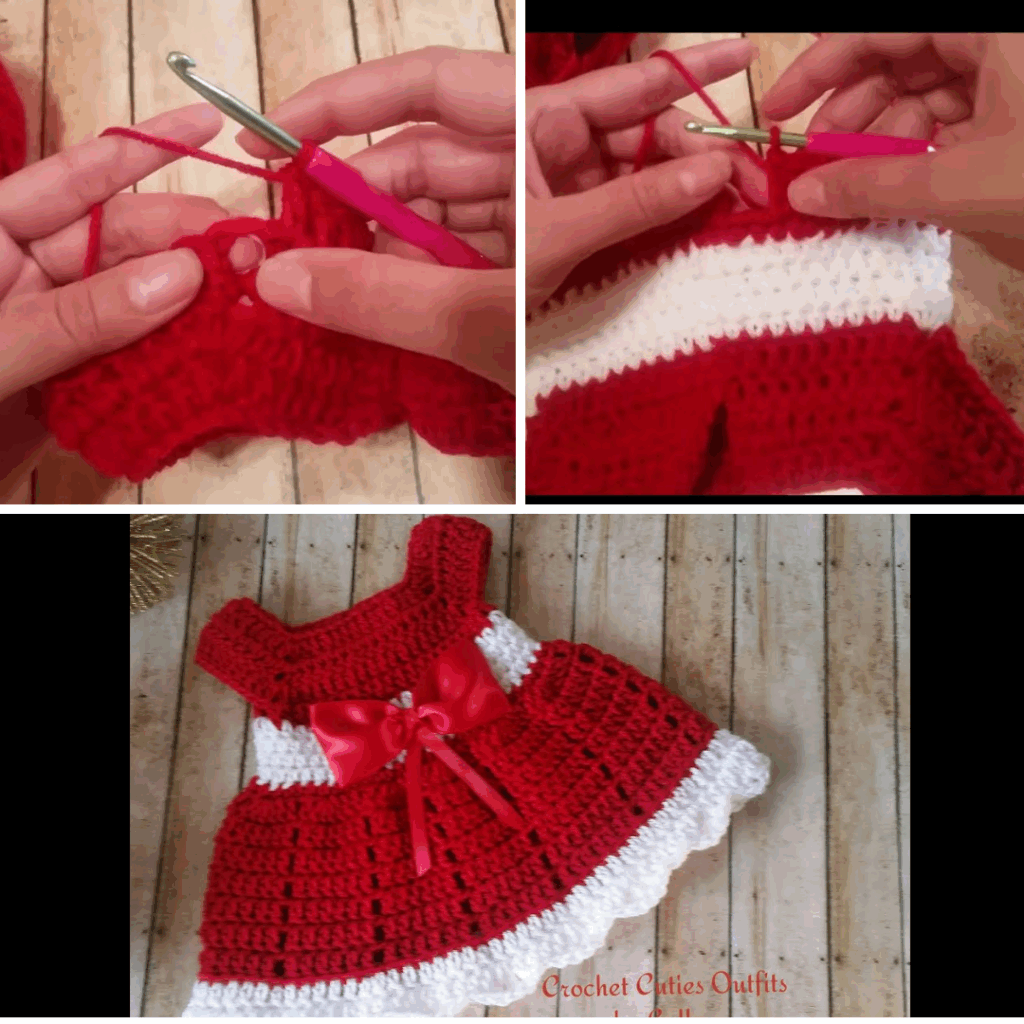
2. Understanding the Top-Down Construction
This dress is worked from the yoke down. The yoke is the top section that covers the shoulders and chest. It starts flat to create a back opening, then joins to form the dress body. This seamless approach minimizes finishing work, letting you focus on the festive details!
Approximate Size for 0-3 Months:
- Chest Circumference: 16-17 inches (40.5-43 cm)
- Yoke Depth (from neck to underarm): 4-4.5 inches (10-11.5 cm)
- Total Dress Length (shoulder to hem): 9-11 inches (23-28 cm)
3. Free Pattern: Christmas Baby Dress (0-3 Months)
This pattern uses primarily Double Crochet (dc) for its main body for speed and a lovely drape, perfect for a special occasion.
Abbreviations Used:
- ch: chain
- sl st: slip stitch
- sc: single crochet
- dc: double crochet
- sk: skip
- st(s): stitch(es)
- sp: space
- inc: increase (work 2 or more stitches in the same stitch/space)
- (): repeat instructions within parentheses
- *: repeat instructions between asterisks
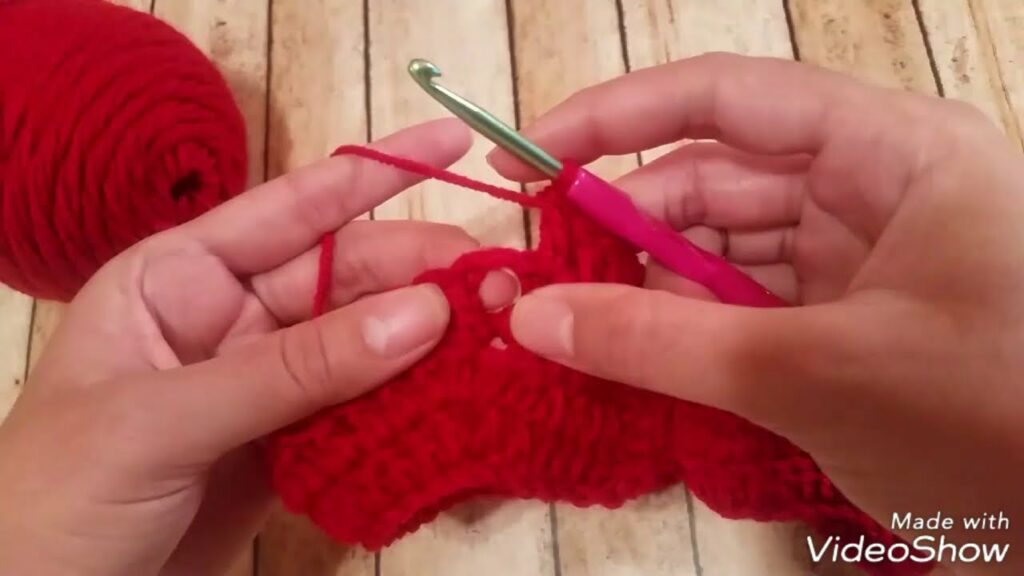
Part 1: The Yoke (Worked Flat)
The starting chain should loosely fit the baby’s neck. A chain of 52 stitches works well for this size.
Chain 52.
Row 1: Dc in the 3rd ch from hook and in each ch across. (50 dc). Ch 2, turn. (The skipped 2 chains count as the first dc).
Row 2 (Increase Row): You’ll create 4 corner increases for shaping.
- Dc in first 7 sts.
- (1 dc, ch 1, 1 dc) in next st. [Place a stitch marker in the ch-1 sp]
- Dc in next 9 sts.
- (1 dc, ch 1, 1 dc) in next st. [Place a stitch marker in the ch-1 sp]
- Dc in next 16 sts.
- (1 dc, ch 1, 1 dc) in next st. [Place a stitch marker in the ch-1 sp]
- Dc in next 9 sts.
- (1 dc, ch 1, 1 dc) in next st. [Place a stitch marker in the ch-1 sp]
- Dc in last 7 sts. Ch 2, turn. (Total 58 dc, 4 ch-1 sps).
Row 3:
- Dc in each dc up to the first ch-1 sp.
- (1 dc, ch 1, 1 dc) in the ch-1 sp. [Move stitch marker to new ch-1 sp]
- Dc in each dc up to the next ch-1 sp. (1 dc, ch 1, 1 dc) in the ch-1 sp. [Move stitch marker]**
- Repeat * to * 2 more times.
- Dc in each remaining dc to end of row. Ch 2, turn. (Total 66 dc, 4 ch-1 sps).
Row 4 – 6: Repeat Row 3. (After Row 6, your yoke will have 90 dc and 4 ch-1 sps. It should measure approximately 4 inches from the neck edge at the deepest point. If your baby is larger, or your tension is tight, add one more repeat of Row 3.)
Video Tutorial Part 1
Part 2: Dividing for Body & Sleeves (Joining to Work in the Round)
Now you’ll separate the armholes and close the yoke into a circle to begin the dress body.
Row 7 (Body Join):
- Ch 2. Dc in each dc up to the first ch-1 sp (Front Panel 1).
- Skip first ch-1 sp and all dc stitches of the first Sleeve Panel.
- Ch 2 (this creates the underarm opening).
- Dc in each dc up to the third ch-1 sp (Back Panel).
- Skip third ch-1 sp and all dc stitches of the second Sleeve Panel.
- Ch 2 (this creates the second underarm opening).
- Dc in each remaining dc (Front Panel 2).
- Sl st to the top of the initial Ch 2 to join the round. You are now working in the round. (Total dc count will depend on your specific starting stitch count; ensure it’s an even number).
Part 3: The Skirt (Worked in Rounds)
Now the dress body will grow downwards. For a festive flair, we’ll add a simple increase round and a decorative border.
Round 8: Ch 2. Dc in each dc around the dress body, including working 2 dc into each of the Ch-2 sps from the underarm joins. Sl st to top of initial Ch 2.
Round 9 – 14: Ch 2. Dc in each dc around. Sl st to top of initial Ch 2. (This creates a straight, comfortable skirt. If you want more flare, you can add an increase round: every 3rd or 4th round, ch 2, dc in next 9 sts, 2 dc in next st. Repeat around. Sl st.)
Round 15 (Optional Flare Increase): Ch 2. Dc in next 5 sts, 2 dc in next st. Repeat * to * around. Sl st to top of initial Ch 2. (This creates a gentle flare for the skirt).
Round 16 – 19: Ch 2. Dc in each dc around. Sl st to top of initial Ch 2. (Adjust the number of rounds until the dress reaches your desired length. For 0-3 months, a common length is 9-11 inches / 23-28 cm from shoulder to hem.)
Round 20 (Christmas Shell Stitch Border):
- Ch 1. Sc in same st.
- Sk 2 sts, (2 dc, ch 1, 2 dc) in next st (this forms a shell).
- Sk 2 sts, sc in next st.
- Repeat * to * around. Sl st to first sc to join. If the pattern does not end evenly, adjust the last few skips/stitches as needed to meet the first sc.
Fasten off and weave in ends.

Part 4: Finishing Touches
- Sleeve Edging (Optional but recommended):
- Attach yarn (or contrasting color) to the bottom of one armhole (where the Ch 2 sp was).
- Round 1: Ch 1. Work sc evenly around the armhole opening (approximately 1 sc per dc row, and 2 sc in the Ch-2 underarm sp). Sl st to first sc.
- Round 2 (Optional decorative edge): Ch 1. Sc in each sc around. Sl st to first sc.
- Fasten off and weave in ends. Repeat for the second armhole.
- Neckline & Back Opening Edging:
- Attach yarn (or contrasting color) to the bottom corner of one back opening edge.
- Work sc evenly up the side of the back opening, around the entire neckline, and down the other side of the back opening. Sl st to join if working back to starting point, or simply fasten off.
- Button Loops: On one side of the back opening (usually the left side when looking at the back of the dress), create button loops.
- Method 1 (Chain Loops): Ch 3-4 (adjust based on button size), sl st into a nearby stitch to form a loop. Space 2-3 loops evenly along the back opening.
- Method 2 (Picot Loops): Sc into a stitch, ch 3, sl st into the 3rd ch from hook (picot). Space 2-3 picots evenly.
- Buttons: Sew your small, flat buttons onto the opposite side of the back opening, aligning them with your newly created button loops.
- Weave in All Ends: Use your tapestry needle to meticulously weave in every yarn tail for a neat and professional finish. This is crucial for baby items so loose ends don’t get caught.
- Optional Christmas Embellishments:
- Crochet Star/Bow: Crochet a small star or bow and stitch it onto the yoke or skirt.
- Ribbon: Thread a narrow satin ribbon through the stitches just above the skirt border or around the waist.
- Tiny Bells: Carefully stitch tiny jingle bells along the hem for a subtle festive jingle!
You’ll be delighted by how easy it is to create this sweet and cheerful Christmas baby dress. It’s a wonderful reminder that with a bit of yarn and creativity, you can stitch warmth and love into any garment for a special little one, especially for their first Christmas!
Video Tutorial Part 2 :