 by
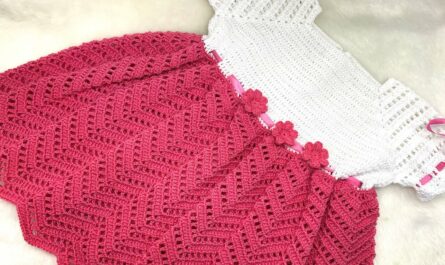
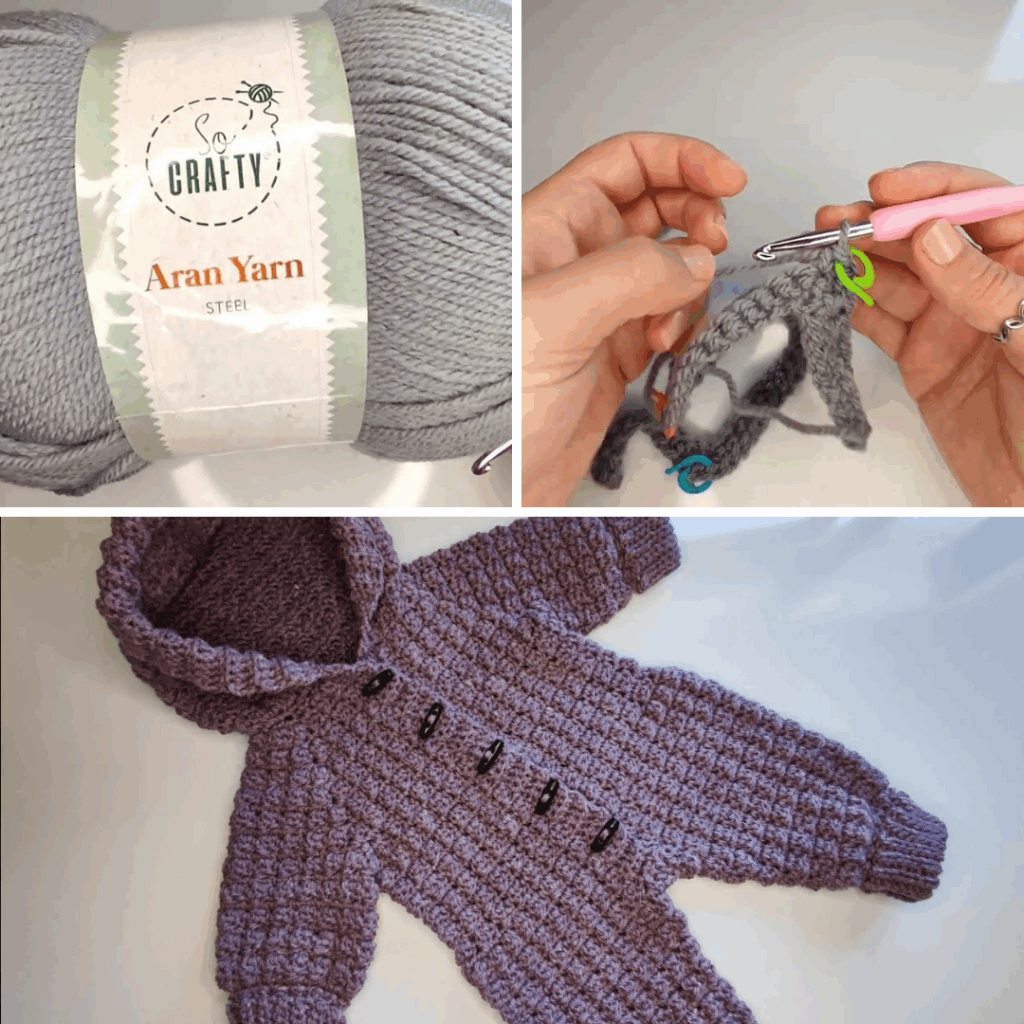
by There’s nothing quite as comforting as seeing a baby utterly snug and warm, and a handmade crocheted bodysuit, onesie, or romper delivers on that promise with an extra layer of love. Perfect for cooler seasons, breezy evenings, or simply for an extra layer of cozy comfort, these all-in-one garments are practical, adorable, and wonderfully customizable for both little girls and boys.
This detailed guide will walk you through the essential steps and considerations for crocheting a warm, comfortable, and utterly charming baby bodysuit, ensuring your little one is wrapped in softness from head to toe (or ankle!).
Why Crochet a Warm Baby Bodysuit/Onesie/Romper?
- Ultimate Warmth & Comfort: The all-in-one design ensures no shirts ride up and no gaps expose little tummies to chilly air. It keeps babies fully covered and adds a vital layer of insulation.
- Practicality Personified: They simplify dressing and diaper changes with secure closures, making them a go-to choice for parents.
- Personalized & Unique: You have complete control over yarn color, texture, and subtle design details, creating a truly one-of-a-kind garment that perfectly suits the baby.
- Heirloom Potential: A handmade onesie, crafted with care, often becomes a cherished keepsake, holding memories of baby’s early days.
- Skill Building: Crocheting a full garment offers a fantastic opportunity to practice various techniques like yoke construction, shaping for legs and arms, and creating functional closures.
- Thoughtful Gift: A crocheted warm bodysuit is a deeply personal and incredibly practical gift for baby showers, birthdays, or just to show you care.
Key Elements of a Warm Baby Bodysuit/Onesie/Romper:
Understanding these components will help you plan your project:
- Gender-Neutral Design (Optional but Popular):
- Colors: Opt for universally appealing shades like creams, greys, whites, sage greens, muted blues or yellows, earthy browns, or subtle variegated yarns.
- Stitch Patterns: Choose textures that aren’t overtly masculine or feminine, such as moss stitch, simple hdc, or classic ribbing.
- Embellishments: Simple stripes, texture variations, or small, non-gendered appliques (stars, clouds, friendly animals).
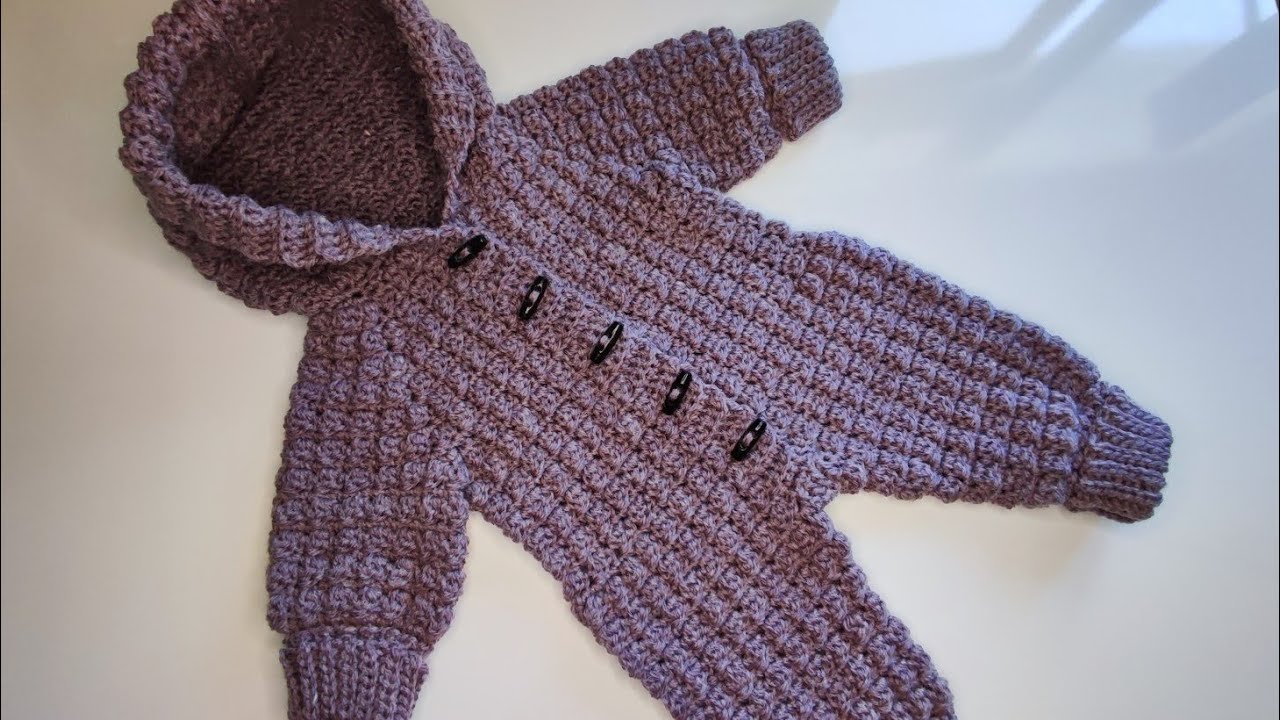
- The Yoke/Bodice: The upper part of the garment. Top-down construction (starting from the neckline and working downwards) is highly recommended for seamlessness and ease of fit.
- Sleeve Length: For warmth, aim for long sleeves that reach the wrist, often finished with a cuff.
- Leg Length: Full-length legs are essential for a warm garment, typically finished with cuffs or even integrated feet (more advanced).
- Bottom/Crotch Closure: Crucial for diaper changes. This area requires secure snaps or buttons for easy access.
- Main Closure: Buttons are commonly used on the shoulders, down the back, or along a front placket for ease of dressing.
- Durable & Comfortable Fabric: Achieved through careful yarn selection and appropriate stitch density, ensuring the fabric is soft against baby’s skin and holds up to wear.
Choosing Your Tools & Materials:
The right supplies are paramount for creating a comfortable, warm, and durable baby bodysuit.
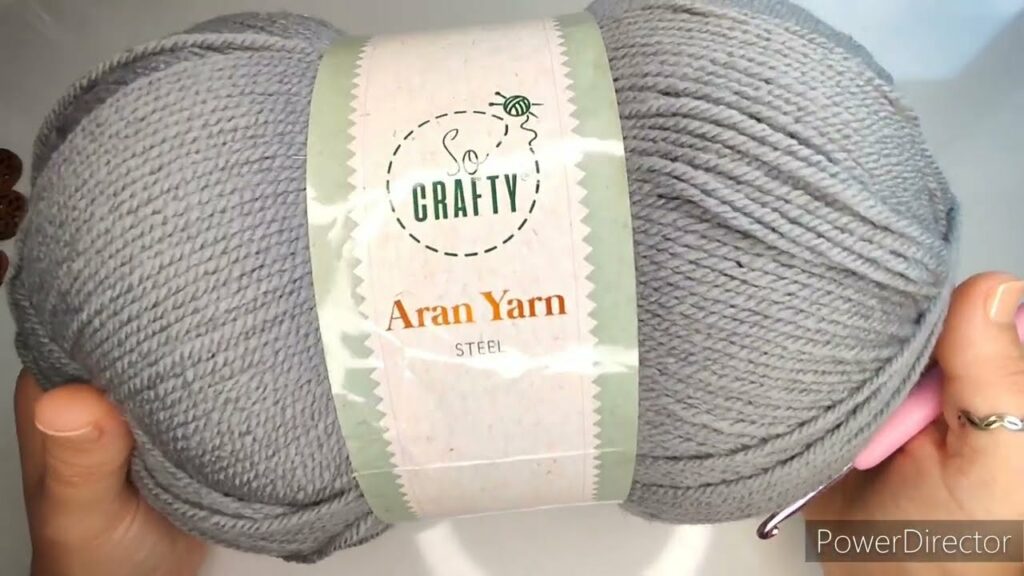
- Yarn: The Source of Warmth and Softness!
- Fiber:
- Superwash Merino Wool: An excellent choice for warmth, breathability, softness, and ease of care (machine washable – always check the label!).
- Baby-Specific Acrylic: Many modern acrylic yarns are incredibly soft, hypoallergenic, durable, and very easy to care for (often machine wash and dry). A practical and affordable option.
- Alpaca Blends: Luxuriously soft, incredibly warm, and have a beautiful drape. Be aware that many alpaca yarns require hand washing.
- Avoid: Any yarn that feels scratchy, stiff, or is prone to excessive shedding.
- Weight:
- DK (Double Knitting / Category 3): Offers a good balance of warmth and drape, creating a comfortable fabric.
- Worsted (Aran / Category 4): Ideal for maximum warmth and a cozier, more substantial fabric.
- Color Palette: For gender-neutral, consider classic creams, whites, light greys, sage greens, muted blues or yellows, or earthy tones. For specific genders, the possibilities are endless!
- Quantity: Varies significantly by size and yarn weight. For a 0-6 month onesie, expect 400-600 yards; for 6-18 months, 600-1000+ yards. Always check your chosen pattern’s recommendations.
- Fiber:
- Crochet Hook:
- Consult your chosen yarn label for a suggested hook size (e.g., 4.0mm, 4.5mm, 5.0mm, 5.5mm).
- Crucial for Garments: Your actual hook size will be determined by achieving the correct gauge for your pattern. You will almost certainly need to adjust your hook size (up or down by half a size) to ensure a comfortable fit and proper fabric drape.
- Other Notions:
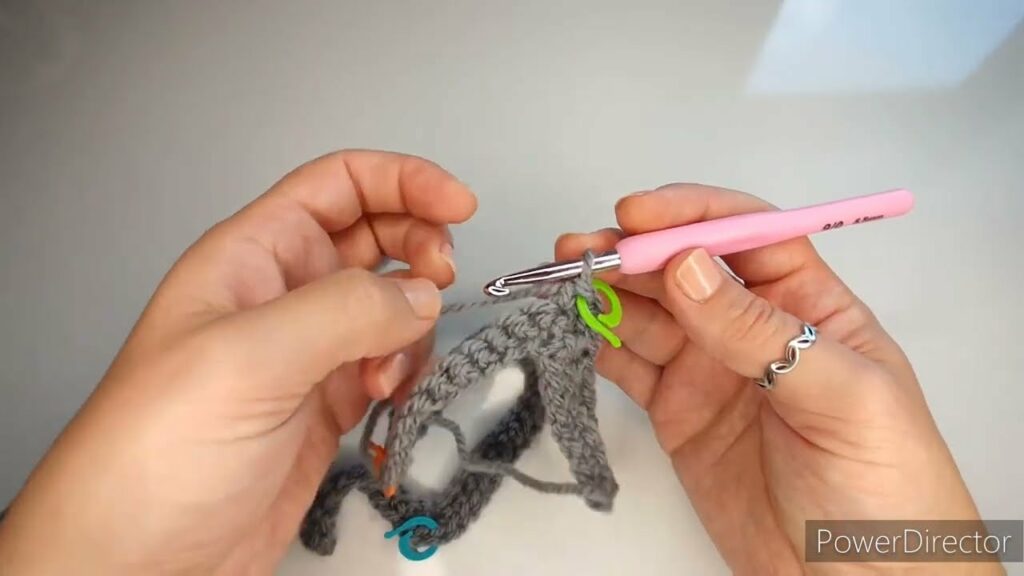
- Stitch Markers: Essential for marking raglan lines, the beginning of rounds, or specific shaping points.
- Tapestry Needle: For neatly weaving in all yarn ends and seaming if necessary.
- Scissors.
- Small, Flat Buttons: For shoulder, back, or front placket closures (e.g., 2-5 buttons). Choose flat buttons for baby’s comfort.
- Sew-on Snaps: Crucial for the crotch closure. Look for flat, durable sew-on snaps (e.g., size 4/0 or 2/0 for babies).
- Sewing Needle & Matching Thread: To securely attach buttons and snaps.
Understanding Sizing & Gauge (ABSOLUTELY CRITICAL for Garments!)
Accurate sizing is paramount for a comfortable and well-fitting garment, especially one that fully encloses the baby.
General Baby Bodysuit/Onesie Sizing (Approximate Measurements):
| Size | Approx. Chest Circ. | Approx. Torso Length (Shoulder to Crotch) | Approx. Sleeve Length (Underarm to Cuff) | Approx. Leg Length (Crotch to Ankle) |
|---|---|---|---|---|
| Newborn | 16 inches | 13 inches | 6 inches | 6 inches |
| 0-3 Months | 17-18 inches | 13-14 inches | 7 inches | 7-8 inches |
| 3-6 Months | 18-19 inches | 14-16 inches | 8 inches | 8-9 inches |
| 6-12 Months | 19-20 inches | 16-18 inches | 9-10 inches | 9-10 inches |
| 12-18 Months | 20-21 inches | 18-20 inches | 10-11 inches | 10-11 inches |
| 18-24 Months | 21-22 inches | 20-22 inches | 11-12 inches | 11-12 inches |
Export to Sheets
Disclaimer: These are general averages. Always refer to the specific pattern’s measurements and sizing chart.
How to Make a Gauge Swatch (Do NOT Skip This Step!):
- Chain: Chain about 25-30 stitches, plus any turning chains (e.g., ch 3 for dc) as per your chosen main stitch pattern.
- Work: Crochet a square of at least 6×6 inches (15×15 cm) in the main stitch pattern you’ll be using for the bodysuit. A larger swatch provides a more accurate measurement.
- Wash & Block: Fasten off your swatch. Crucially, wash and block your swatch exactly as you plan to treat the finished garment. This step relaxes the fibers and reveals the true stitch size and drape after washing, which can change significantly.
- Measure: Once dry, lay the swatch flat. Place a ruler over the center. Count how many stitches fit within 4 inches (10 cm) and how many rows fit within 4 inches (10 cm).
- Adjust:
- If you have more stitches per inch than your pattern (or desired gauge) states (your work is too tight), go up half a hook size and re-swatch.
- If you have fewer stitches per inch than your pattern states (your work is too loose), go down half a hook size and re-swatch.
- Repeat until your gauge precisely matches.
General Stitch Patterns for a Warm Bodysuit/Onesie:
- Main Body (for warmth and density):
- Half Double Crochet (hdc): Creates a dense, warm fabric with good drape. Excellent for a cozy bodysuit.
- Double Crochet (dc): Works up quicker, creates a slightly softer drape.
- Moss Stitch (Linen Stitch): (sc, ch 1, sk 1) Produces a beautiful, dense, textured fabric with good drape and a modern feel, great for warmth.
- Ribbing (for cuffs, hem, and neckline):
- Front Post/Back Post Double Crochet (fpdc/bpdc): Creates a strong, elastic, and professional-looking ribbed edge.
- Single Crochet in Back Loop Only (sc blo): A simpler, stretchy ribbing option.
Step-by-Step Construction: The Top-Down Baby Bodysuit/Onesie (Raglan Yoke)
This outline describes a common and highly favored construction method for baby garments due to minimal seaming and ease of fit. This is a general guide to the methodology; for precise stitch counts, specific increase/decrease rates for different sizes, and unique design details, you MUST use a detailed crochet pattern.
Phase 1: The Yoke (Top-Down, Raglan Shaping)
This forms the neckline, shoulders, and upper chest, worked from the top down.

- Step 1.1: Starting Chain & Neckband/Opening
- Foundation Chain: Chain the number of stitches specified by your pattern for the neckline circumference.
- Neckband Rows: Ch 1 (or ch 2/3 for taller stitches). Work 2-4 rows in sc or hdc (or a soft ribbing like sc blo) for a stable and neat neckband.
- Shoulder/Back Opening (Common for Dressing): For ease of dressing, one shoulder or the entire back often incorporates an opening.
- If shoulder buttons: The pattern will instruct you to work one shoulder flat for a few rows, creating buttonholes on one side (e.g., ch 2, skip 2 stitches).
- If back opening: The pattern will have you work the entire back section flat for several rows with buttonholes, before joining in the round.
- Step 1.2: Setting Up Raglan Yoke Divisions
- First Yoke Row (Raglan Setup): This row divides your total stitches into: Back Panel, Sleeve 1, Front Panel, Sleeve 2. You will have 4 raglan corners where all shaping increases occur.
- Work your main stitch (e.g., hdc or dc) for the Back Panel. At the first raglan corner, work your increase (e.g.,
(2 dc, ch 2, 2 dc)or(dc, ch 1, dc)). Place a stitch marker (SM) in the ch-2 or ch-1 space. Continue this pattern for Sleeve 1, Front Panel, Sleeve 2, with increases at each raglan corner. Turn.
- Work your main stitch (e.g., hdc or dc) for the Back Panel. At the first raglan corner, work your increase (e.g.,
- First Yoke Row (Raglan Setup): This row divides your total stitches into: Back Panel, Sleeve 1, Front Panel, Sleeve 2. You will have 4 raglan corners where all shaping increases occur.
- Step 1.3: Continuing Yoke Increases
- Subsequent Yoke Rows: Continue working your main stitch across, and work your specified increase into each of the 4 raglan spaces from the previous row. Move your stitch markers up to the new increase spaces. Turn.
- Continue working these increase rows until the yoke measures the correct depth from the top of the neckline to the underarm for your chosen size. Ensure you continue adding buttonholes on your opening if applicable.
Phase 2: Separating for Body & Sleeves
Once the yoke is the correct depth, you’ll divide the stitches to create the armholes.
- Separation Row:
- Work stitches for the Back Panel.
- Work into Raglan Corner 1.
- Skip Sleeve 1: Place all stitches of Sleeve 1 (the stitches between Raglan Corner 1 and Raglan Corner 2) onto a piece of scrap yarn or a stitch holder.
- Underarm Chain: Chain 2-4 stitches (this creates extra room at the underarm and fills the gap).
- Work into Raglan Corner 2.
- Work stitches for the Front Panel.
- Work into Raglan Corner 3.
- Skip Sleeve 2: Place all stitches of Sleeve 2 onto a holder.
- Underarm Chain: Chain 2-4 stitches.
- Work into Raglan Corner 4.
- Join in the Round: Join with a sl st to the first stitch to form a continuous circle (unless your pattern continues flat for a back seam).
Phase 3: The Torso/Body of the Bodysuit
This forms the main section of the garment below the armholes, down to where the legs separate.
- Body Rounds: Continue working in rounds (or flat if your pattern dictates) using your chosen main stitch.
- Shaping (for Diaper Room): Maintain the width of the body, or add very slight increases/decreases as specified by your pattern to accommodate diaper room, particularly around the hips.
- Length: Continue working until the body reaches the desired length from the underarm to the crotch separation point.
Phase 4: Separating for Legs
At the crotch point, you’ll divide the stitches to create the two leg openings.
- Divide Stitches: Your pattern will instruct you to divide the total body stitches in half (or slightly offset for the front/back) to create two leg openings.
- Place Stitches on Holder: Place all stitches for one leg (e.g., Leg 1) onto a piece of scrap yarn or a stitch holder.
- Continue Working: You will now continue working on the stitches designated for Leg 2 (or vice versa).
Phase 5: Crocheting the Legs (Make 2)
Each leg is worked individually, ensuring full length for warmth.
- Leg 1:
- Attach yarn to the first stitch of the chosen leg opening.
- Work in continuous rounds down the length of the leg.
- Shaping: Consider gentle increases for thigh room and diaper accommodation, or slight decreases towards the ankle for a tapered fit.
- Length: Work until the leg reaches the desired full length for your chosen size (to the ankle).
- Cuff/Foot (Optional): Finish the leg opening with a few rows of ribbing (fpdc/bpdc or sc blo) for a comfortable cuff. For integrated feet (more advanced), your pattern will guide you on decreasing stitches to close the end of the leg.
- Fasten off.
- Leg 2: Attach yarn to the other leg opening and repeat all steps for the second leg, ensuring symmetry.

Phase 6: Crotch Gusset / Bottom Closure
This is absolutely crucial for easy diaper changes and a secure fit.
- Overlapping Flaps (Common & Practical): Your pattern will likely instruct you to create small rectangular flaps of fabric (e.g., 5-8 stitches wide, 3-5 rows long in hdc or dc) extending from the crotch of each leg’s inner seam. These flaps will overlap.
- Sew snaps onto these overlapping flaps (one set on the underside of one flap, the corresponding set on the top of the other flap). Snaps are highly recommended for quick and fuss-free diaper changes.
- Alternatively, you can create small buttonholes on one flap and sew buttons onto the other.
- Ensure all snaps/buttons are very securely sewn for safety.
Phase 7: The Sleeves (Make 2 – Long Sleeves)
- Attach Yarn: Attach yarn to the center underside of one armhole opening (where your underarm chain is).
- Pick Up Stitches: Pick up stitches evenly around the armhole opening. Join to work in the round.
- Working the Sleeve: Continue working in rounds using your main stitch pattern.
- Shaping: Gradually decrease stitches evenly spaced over several rounds to taper the sleeve towards the wrist.
- Length: Work until the sleeve reaches the desired full length.
- Cuff: Finish the sleeve with a few rows of ribbing.
- Fasten off. Repeat for the second sleeve.
video tutorial part 1 ;
Phase 8: Finishing Touches
These final steps bring your bodysuit to a professional finish.
- Weave in All Ends: Using your tapestry needle, meticulously weave in every single yarn tail. Secure them firmly by weaving into existing stitches in different directions. This is crucial for a neat, durable, and safe finish (no loose ends for baby to pull).
- Attach Buttons & Snaps: Securely sew any buttons to the shoulders, back, or front placket. Attach the snaps to the crotch flap(s) as described in Phase 6. Double-check security.
- Blocking (CRUCIAL for drape and finished look).
- Gentle Wash: Gently hand wash the finished bodysuit (or machine wash on a delicate cycle if your yarn allows) in cool water with a mild, baby-safe detergent.
- Remove Excess Water: Gently squeeze out excess water (do not wring or twist). Roll the bodysuit in a clean towel and press to absorb moisture.
- Shape & Dry: Lay the bodysuit flat on a clean, dry towel or a blocking mat. Gently shape it to the correct dimensions for its size, smoothing out any unevenness. Pay special attention to shaping the leg openings, sleeves, and torso for a comfortable fit. Use rust-proof pins if needed to hold the shape.
- Air Dry Completely: Allow the bodysuit to air dry completely. Blocking softens the fabric, evens out stitches, enhances drape, and gives your bodysuit a beautifully finished, professional appearance.
Tips for Warm Bodysuit/Onesie Success:
- Yarn Choice is Paramount: Always prioritize soft, warm, and baby-safe fibers. Comfort is key!
- Gauge, Gauge, Gauge! This cannot be stressed enough. Correct gauge ensures the bodysuit fits properly and comfortably, allowing for diaper room.
- Practical Closures: Sew-on snaps at the crotch are a lifesaver for quick diaper changes.
- Seamless Construction: Reduces bulk and potential irritation points for baby’s sensitive skin.
- Measure Frequently: Babies grow quickly! Compare your work to a commercial onesie or the baby’s actual measurements.
- Safety First: Securely attach all buttons and snaps. Avoid any loose threads or small, detachable embellishments that could pose a choking hazard.
Care Instructions for Your Handmade Bodysuit:
- Always follow your yarn label’s specific care instructions.
- Reshape and Lay Flat to Dry: Gently reshape the bodysuit while wet and lay it flat on a clean towel or drying rack to air dry completely. Do not hang, as this can stretch the fabric and distort the shape.
video tutorial part2 ;
Creating a crocheted warm baby bodysuit, onesie, or romper is a deeply satisfying project. With each stitch, you’re not just making a garment; you’re crafting a cozy embrace, ensuring a special little one stays warm, comfortable, and undeniably adorable. Happy hooking!